My learning curve in fossil preparation took a direction I had not anticipated while working my most difficult fossils. My early image of a fossil prep lab was that of a pristine clean room environment where skilled technicians meticulously removed each grain of matrix to reveal yet undiscovered scientific information. The fossils I find all have been of the most common dinosaurs of the Cretaceous age and of little scientific significance.
After prepping several of these difficult bones, I recognized a simple reality that perfection was already lost to nature by erosion, and that the fossil I found is what it is. You often need to create what is no longer there to develop a fossil for display. You begin to leave that image of fine prep lab and migrate to more crude tactics and blatant sculpture work. I initially felt odd about taking drastic shortcuts and compromises until I learned that this practice is not uncommon in the commercial field. There are many exceptions like prep sites that work on those large intricate, delicate trilobites: incredible work!
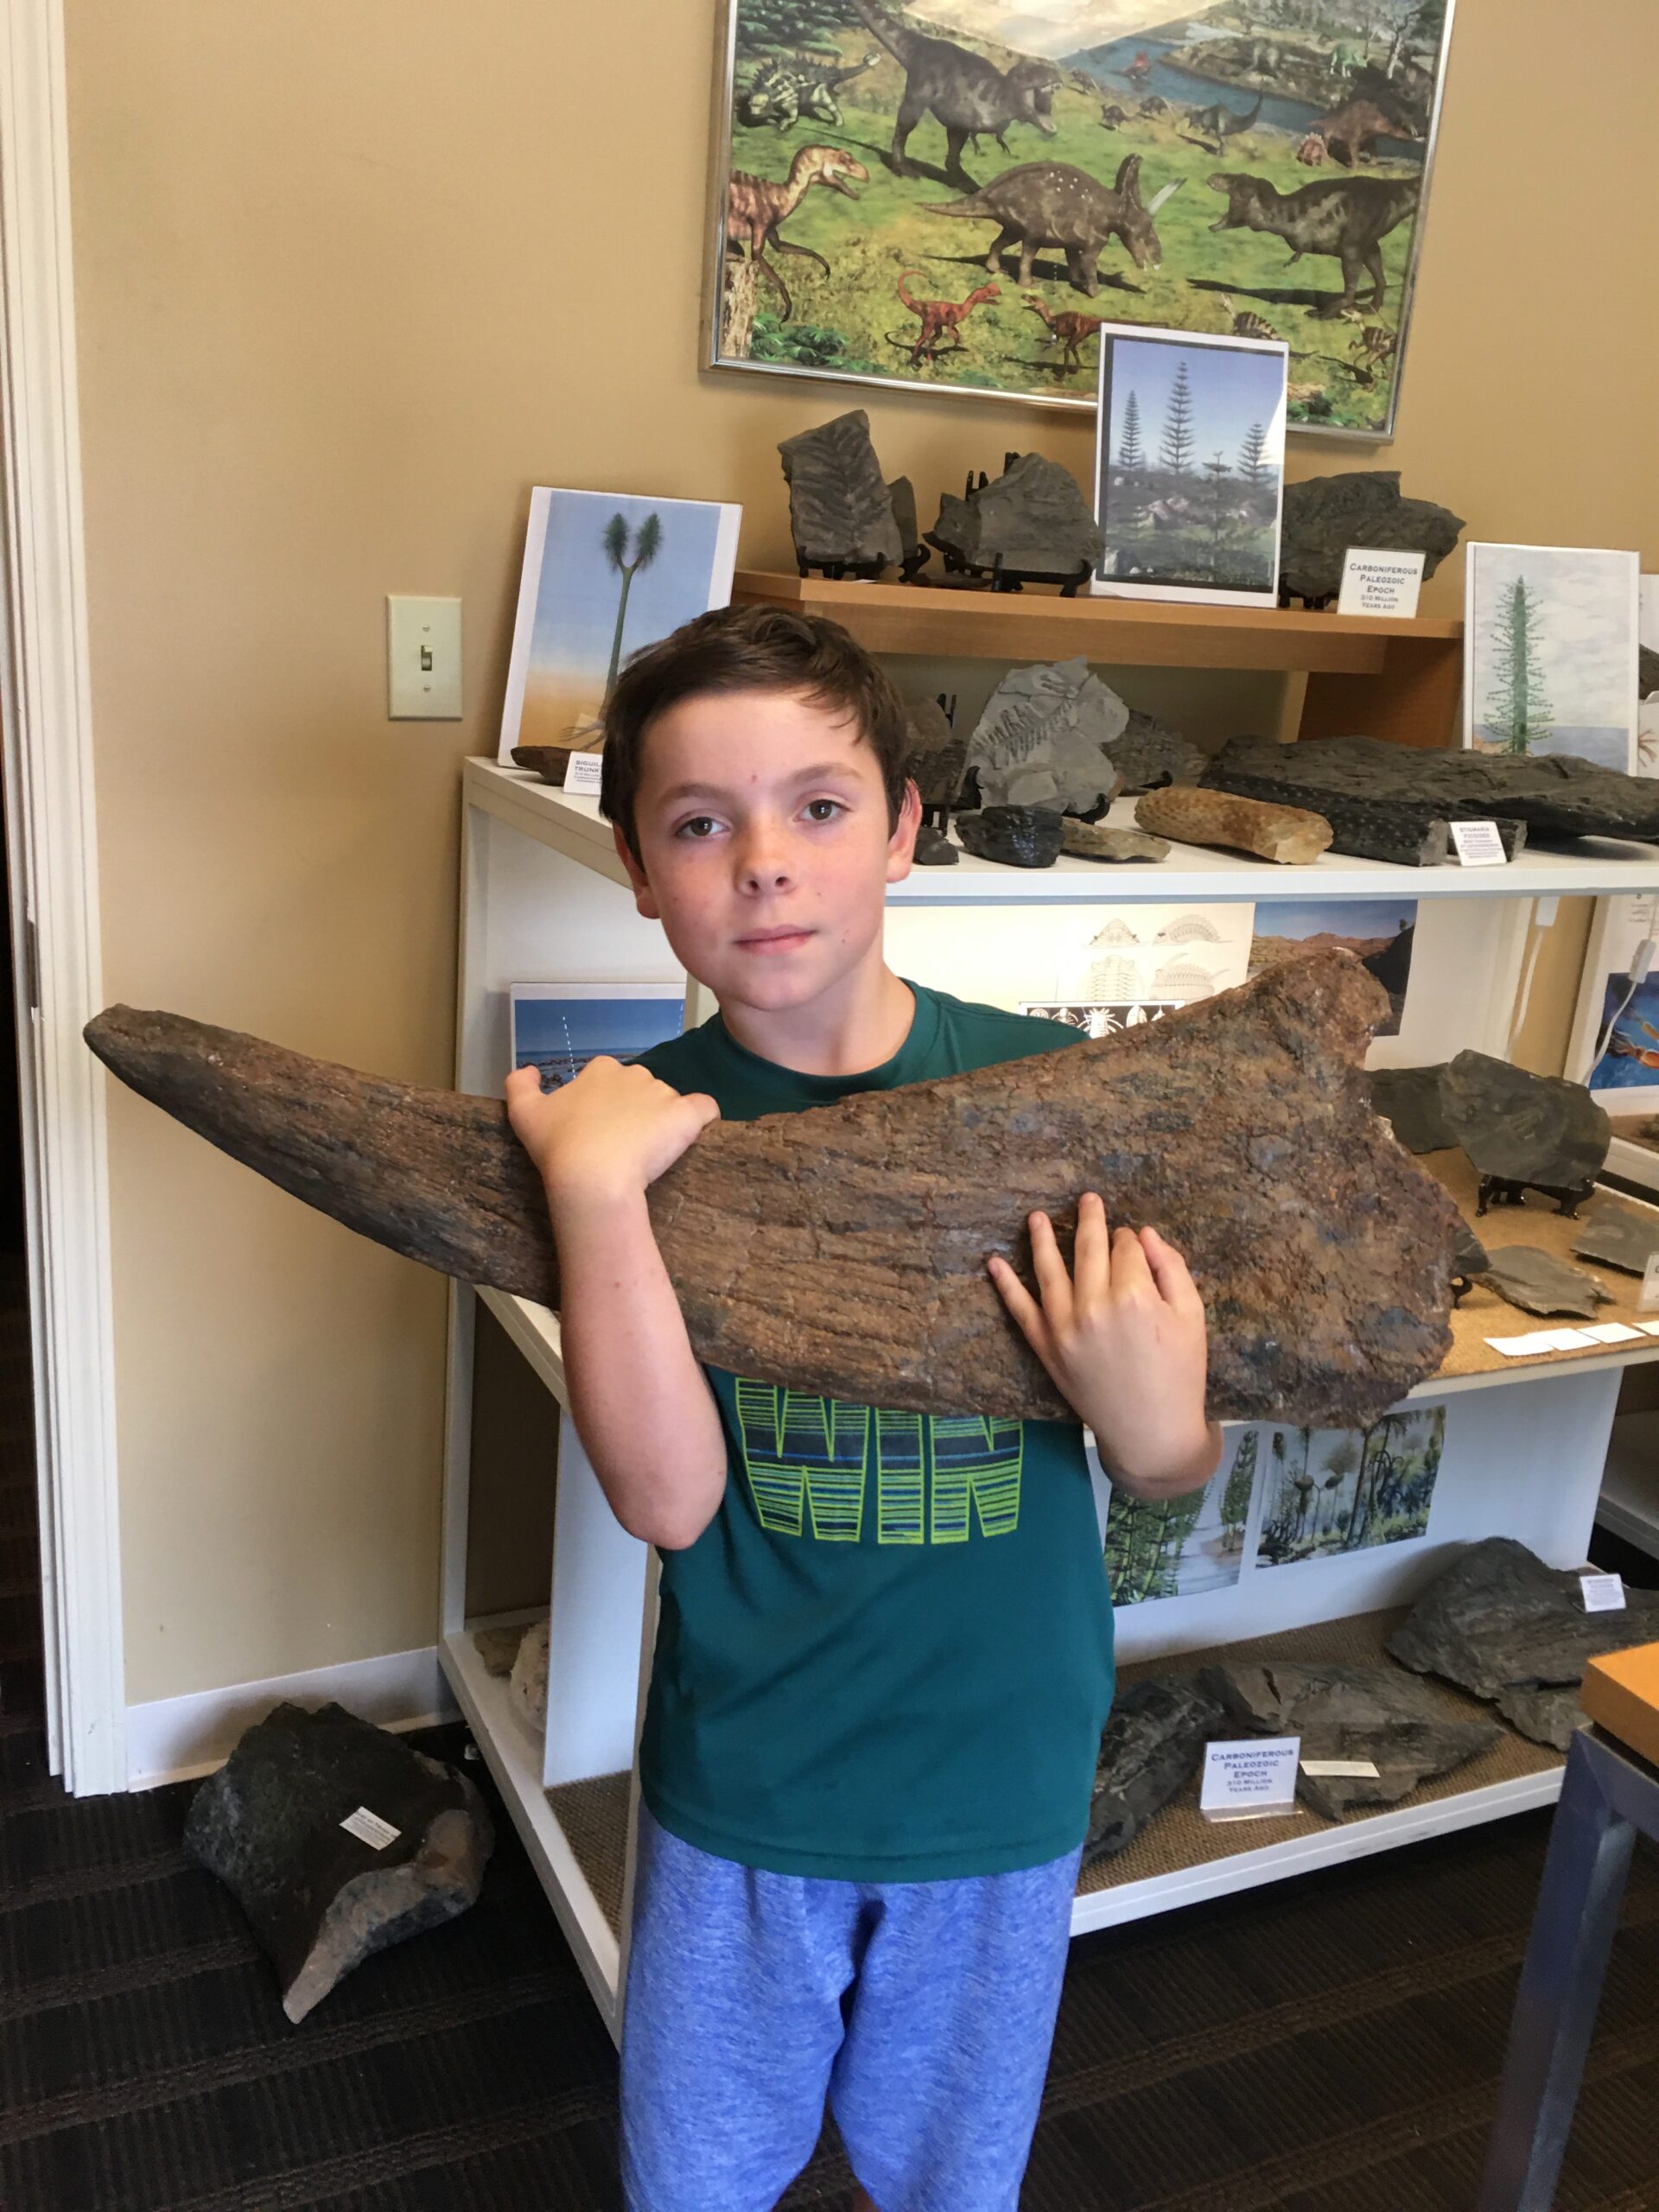
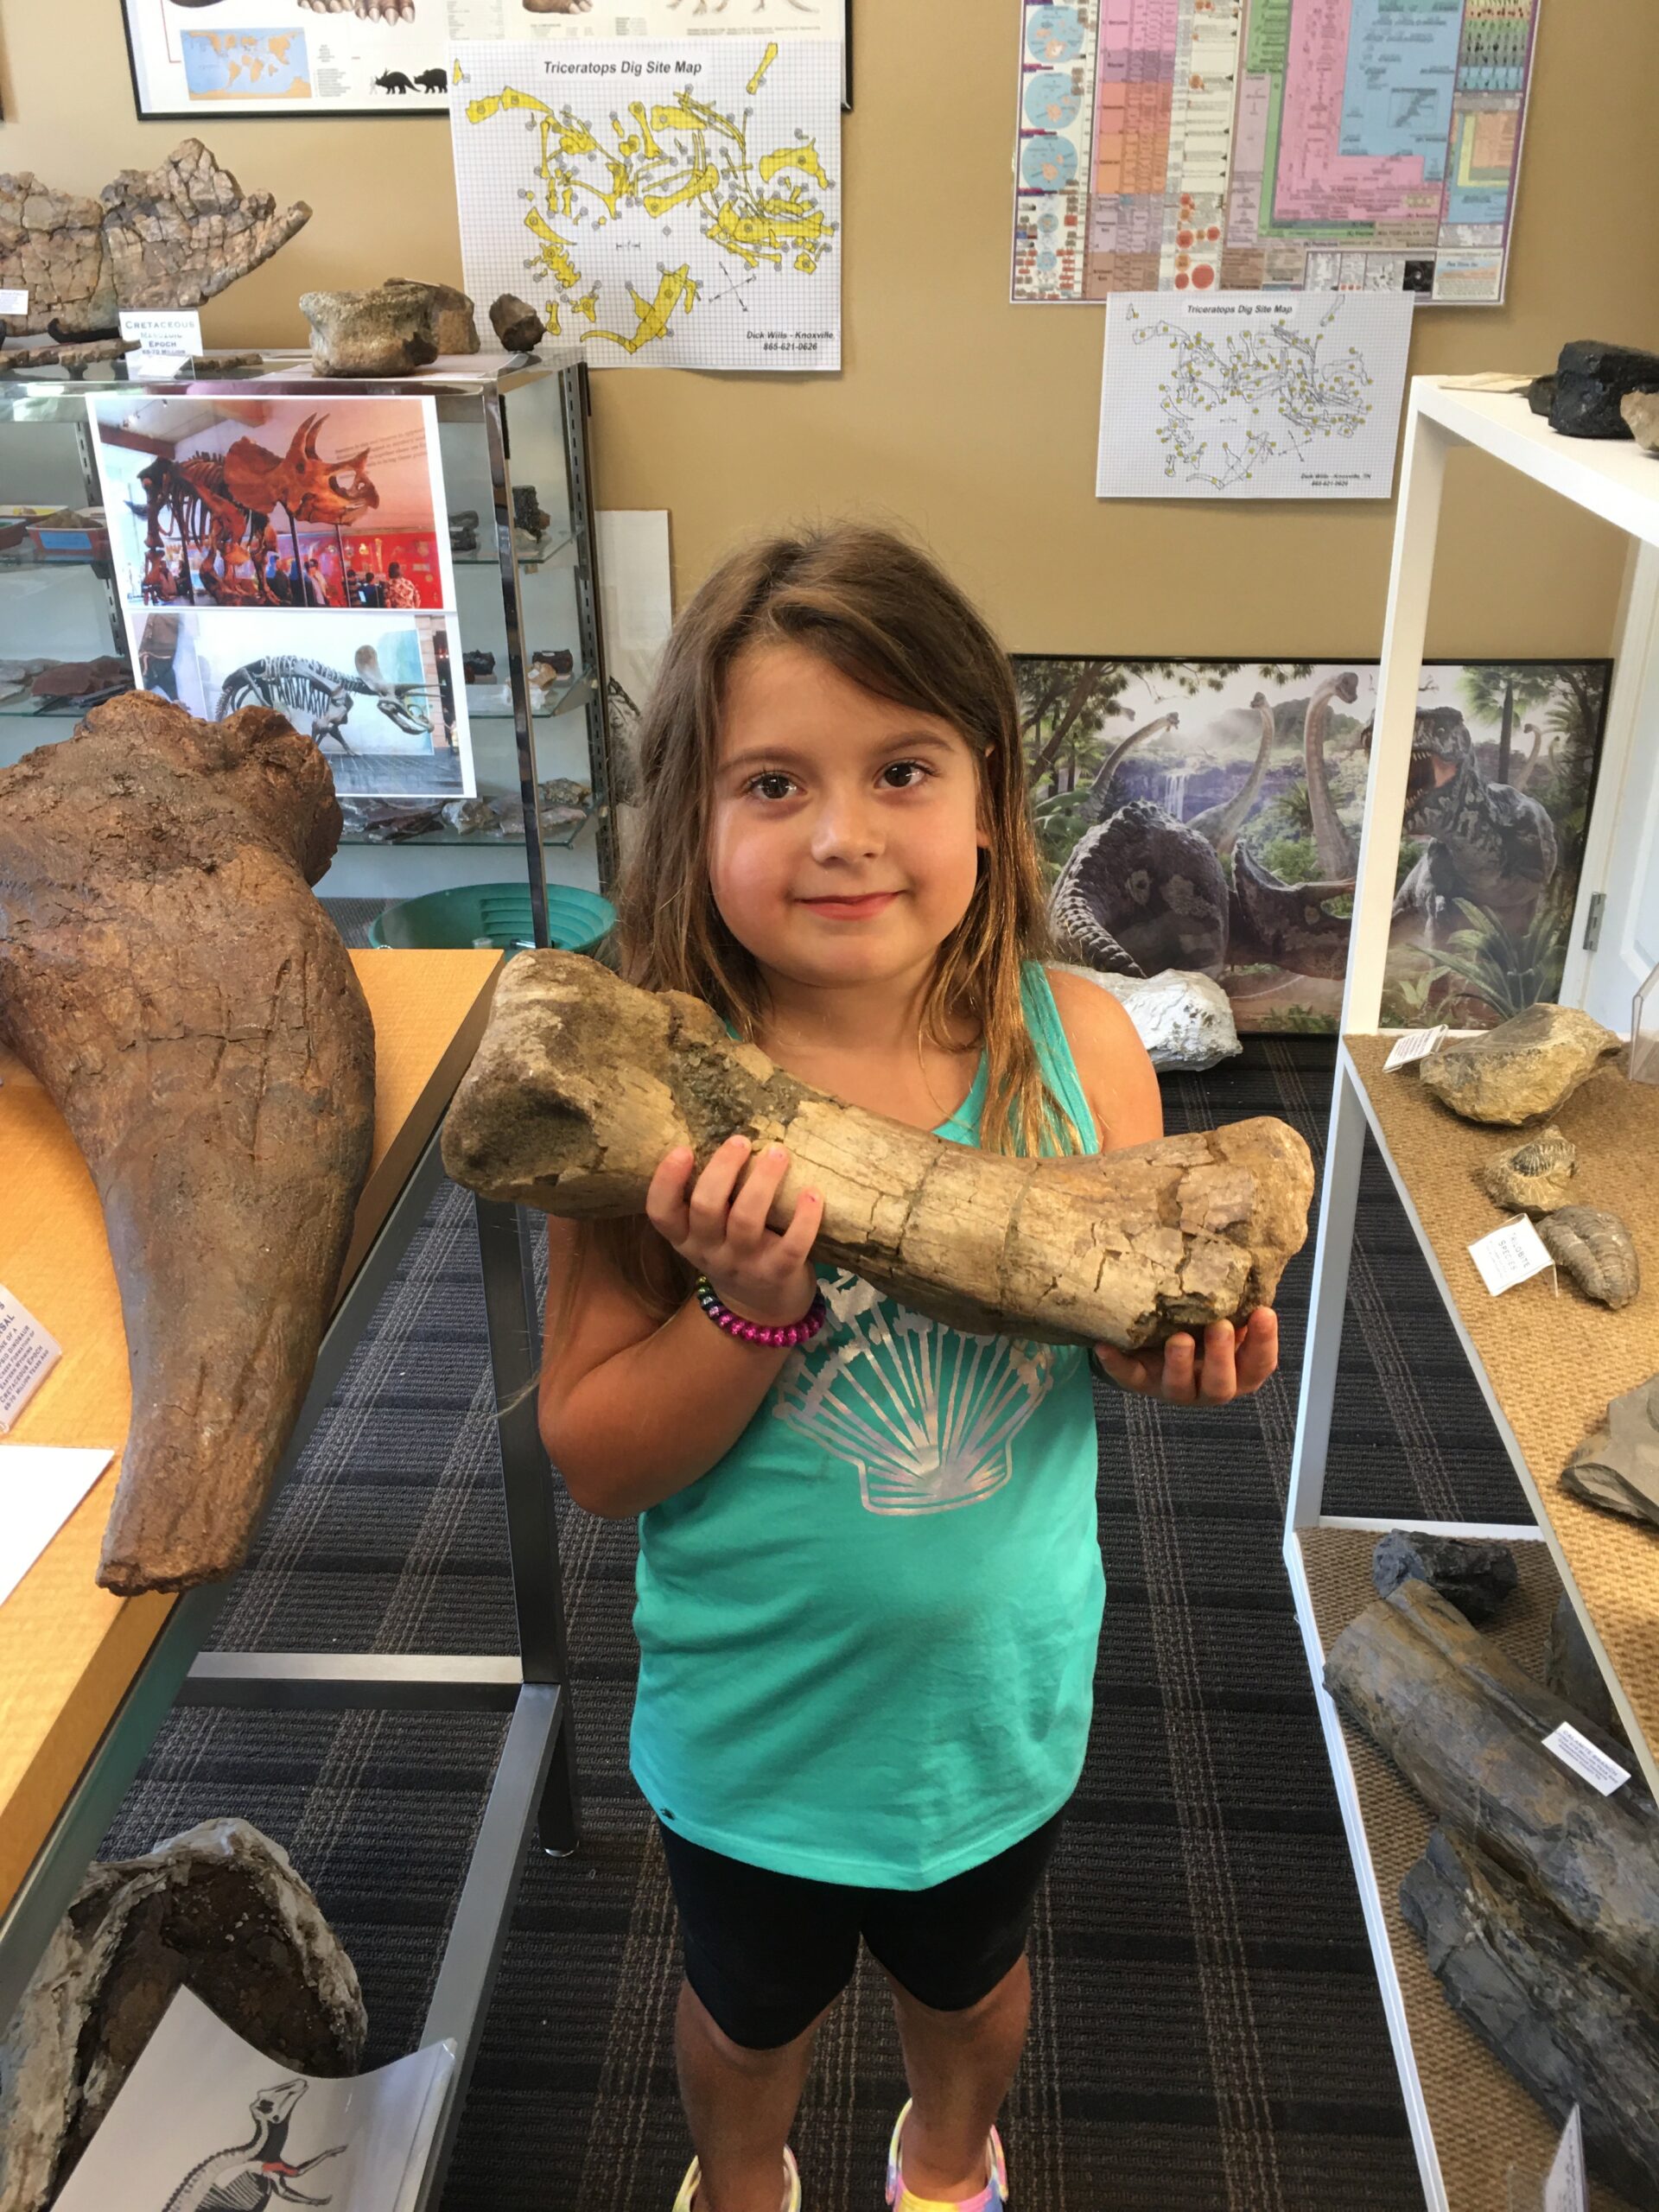
My prep objective has been to make a fossil specimen presentable to families and kids who visit the Prairie Fossil Museum. These kids have the wonder of the animal that ounce was, and do not care about what corners may have been cut to create the fossil they are now holding.


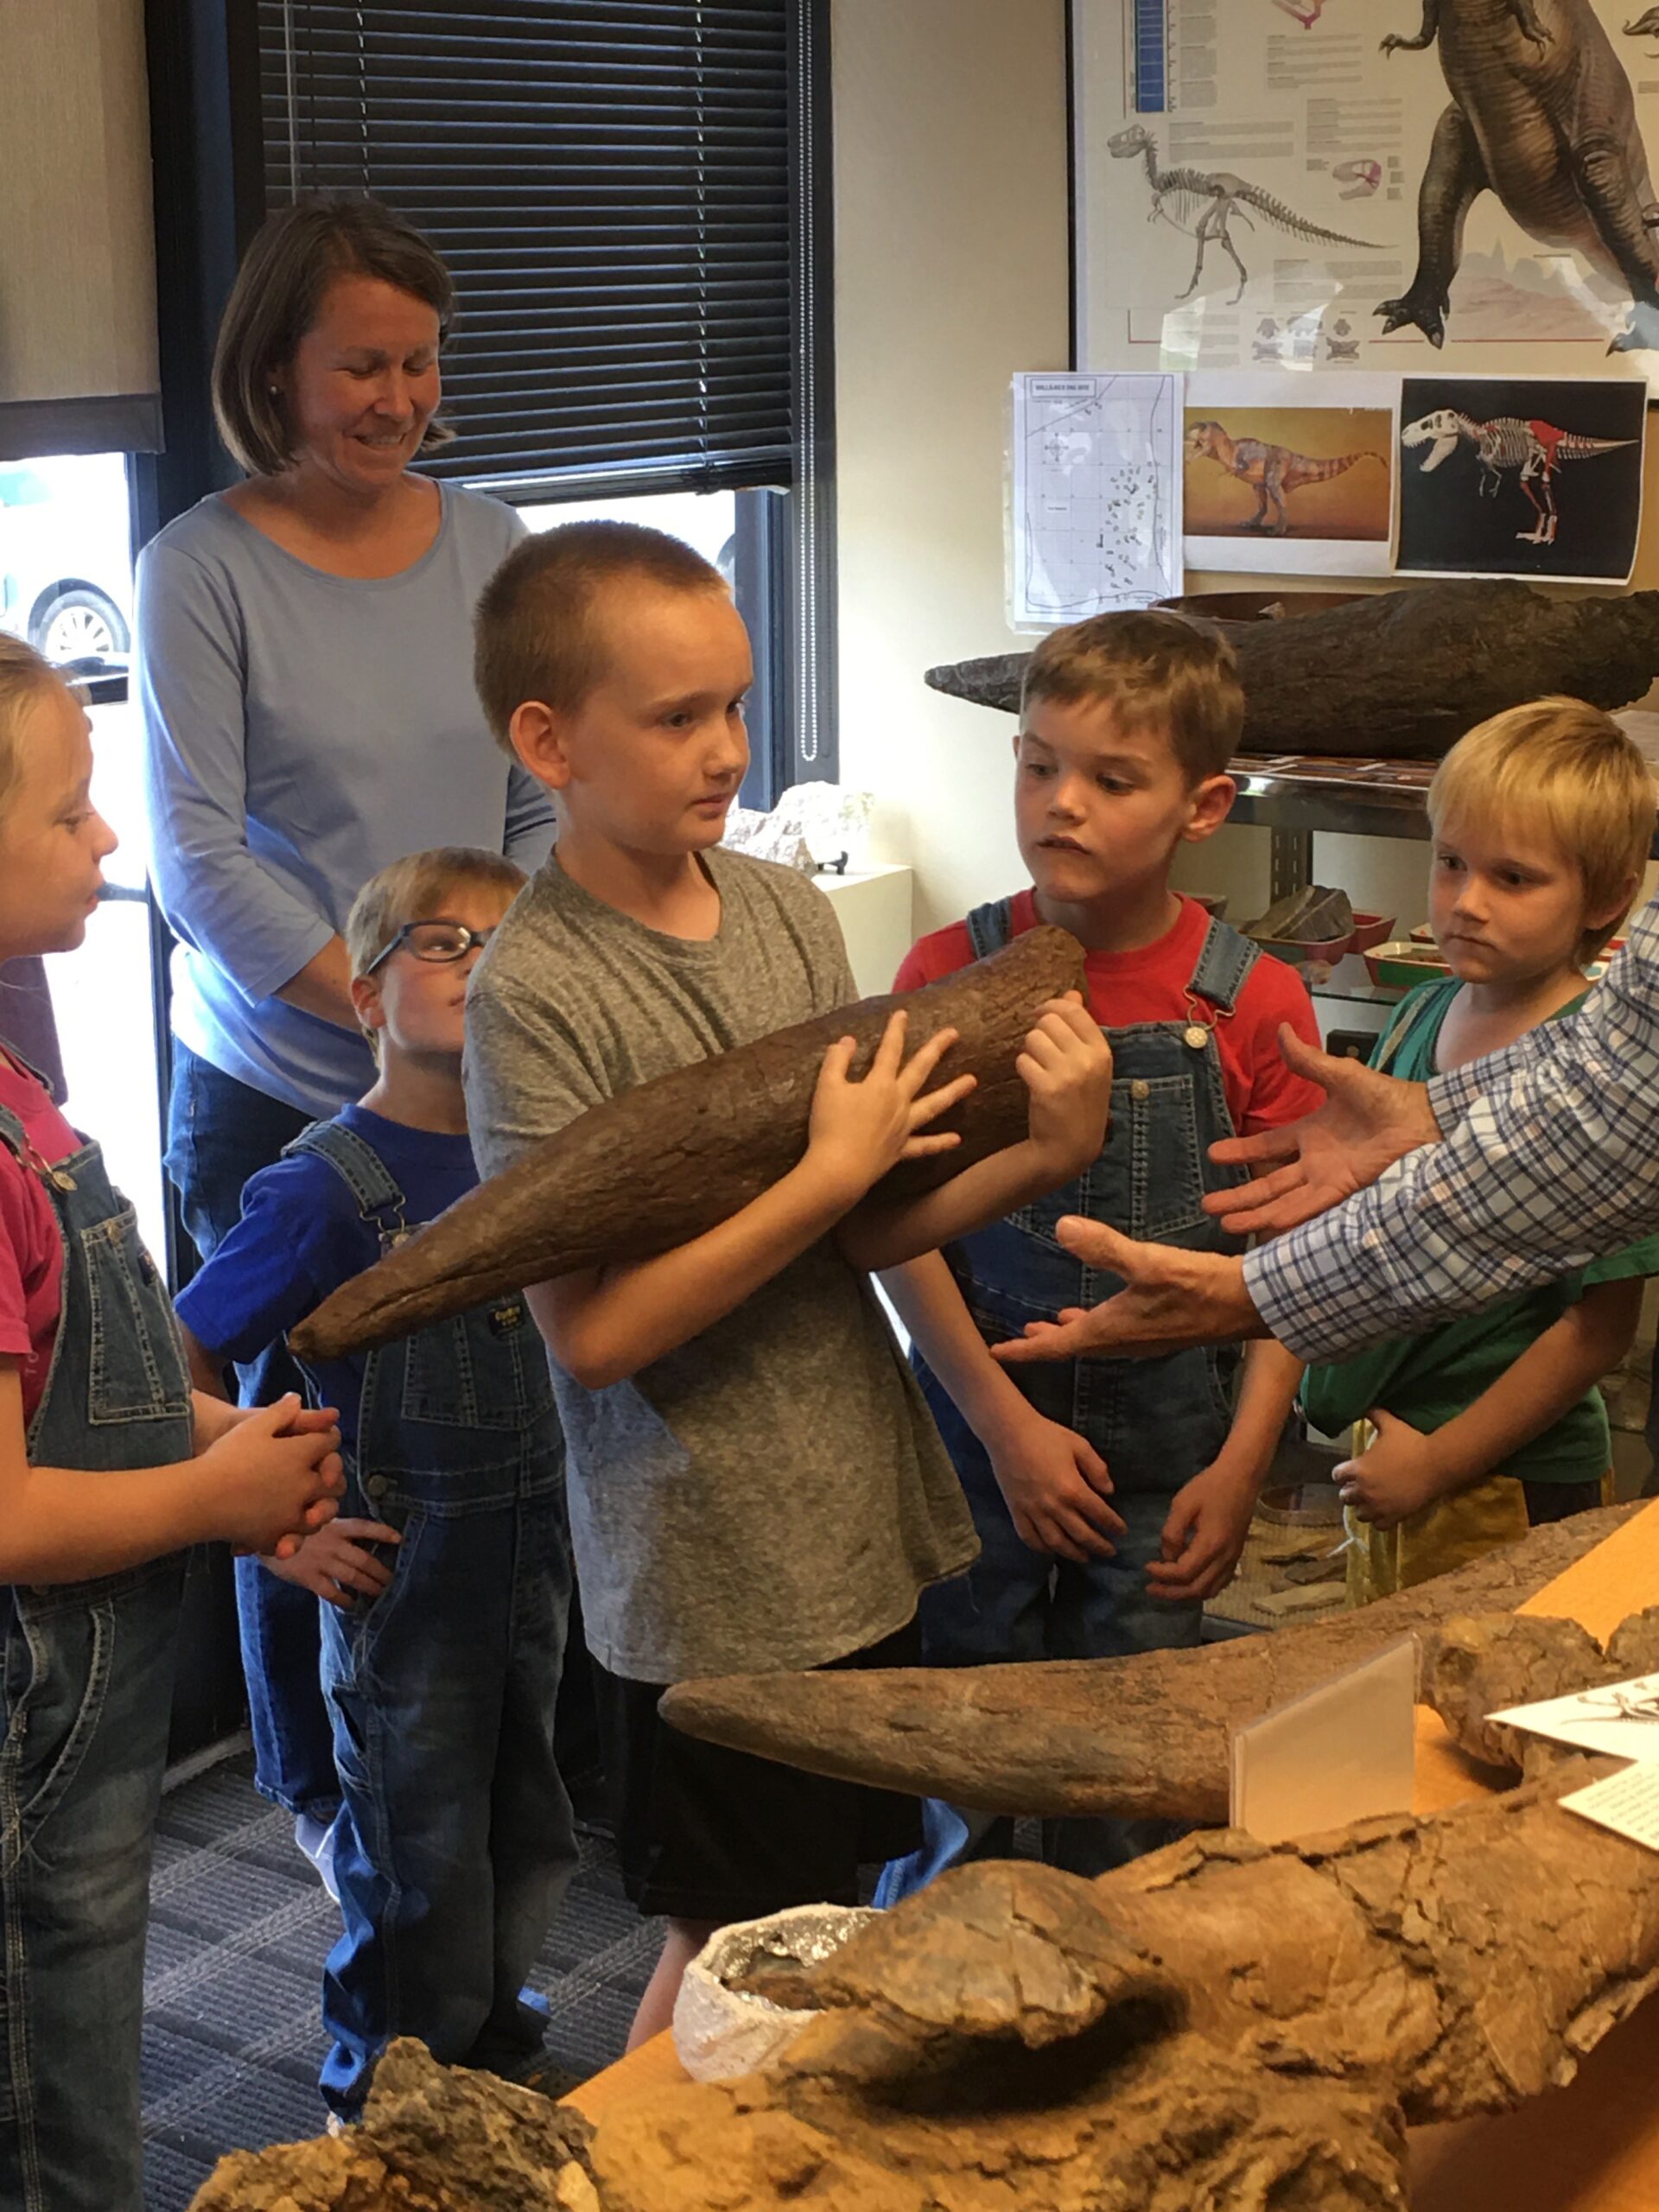

I want to embolden other amateurs to dig in, take risks and be creative rather than stare at a specimen fearful of what damage you might do. The following three examples demonstrate some practical, but perhaps more crude practices: Ankylosaurus Scute, Triceratops Horn and Triceratops Horn Composite
Ankylosaurus Scute
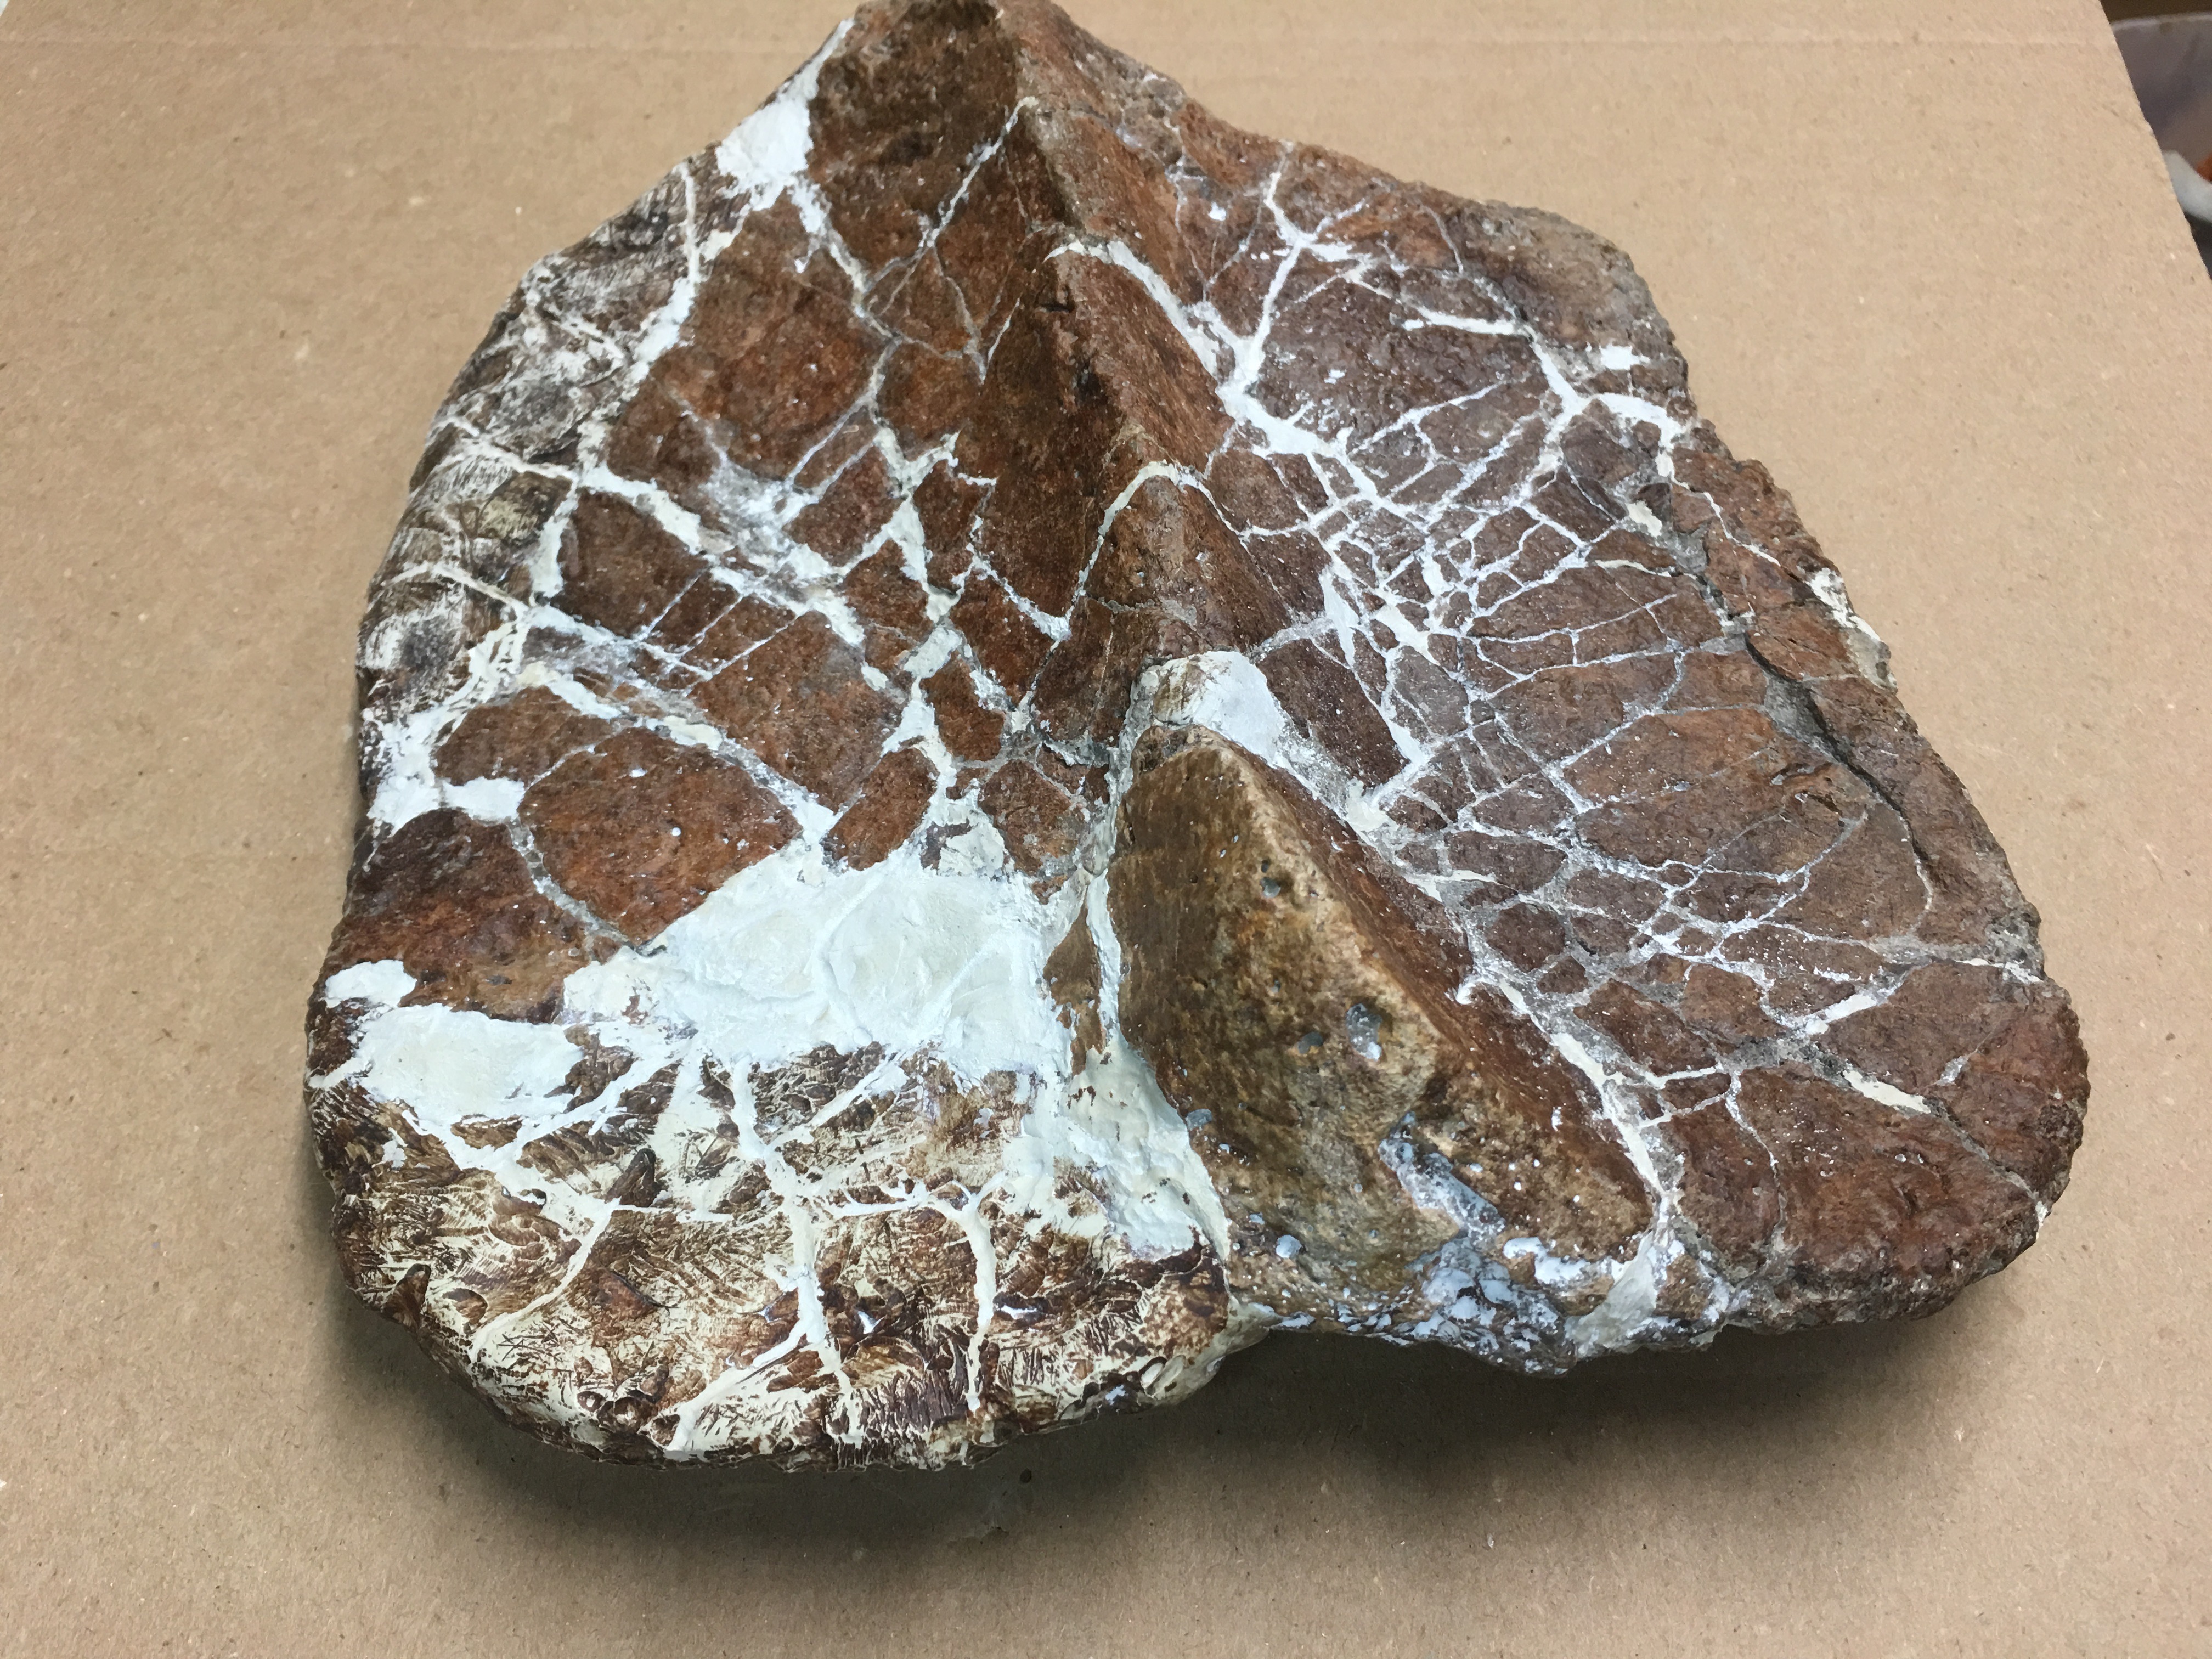
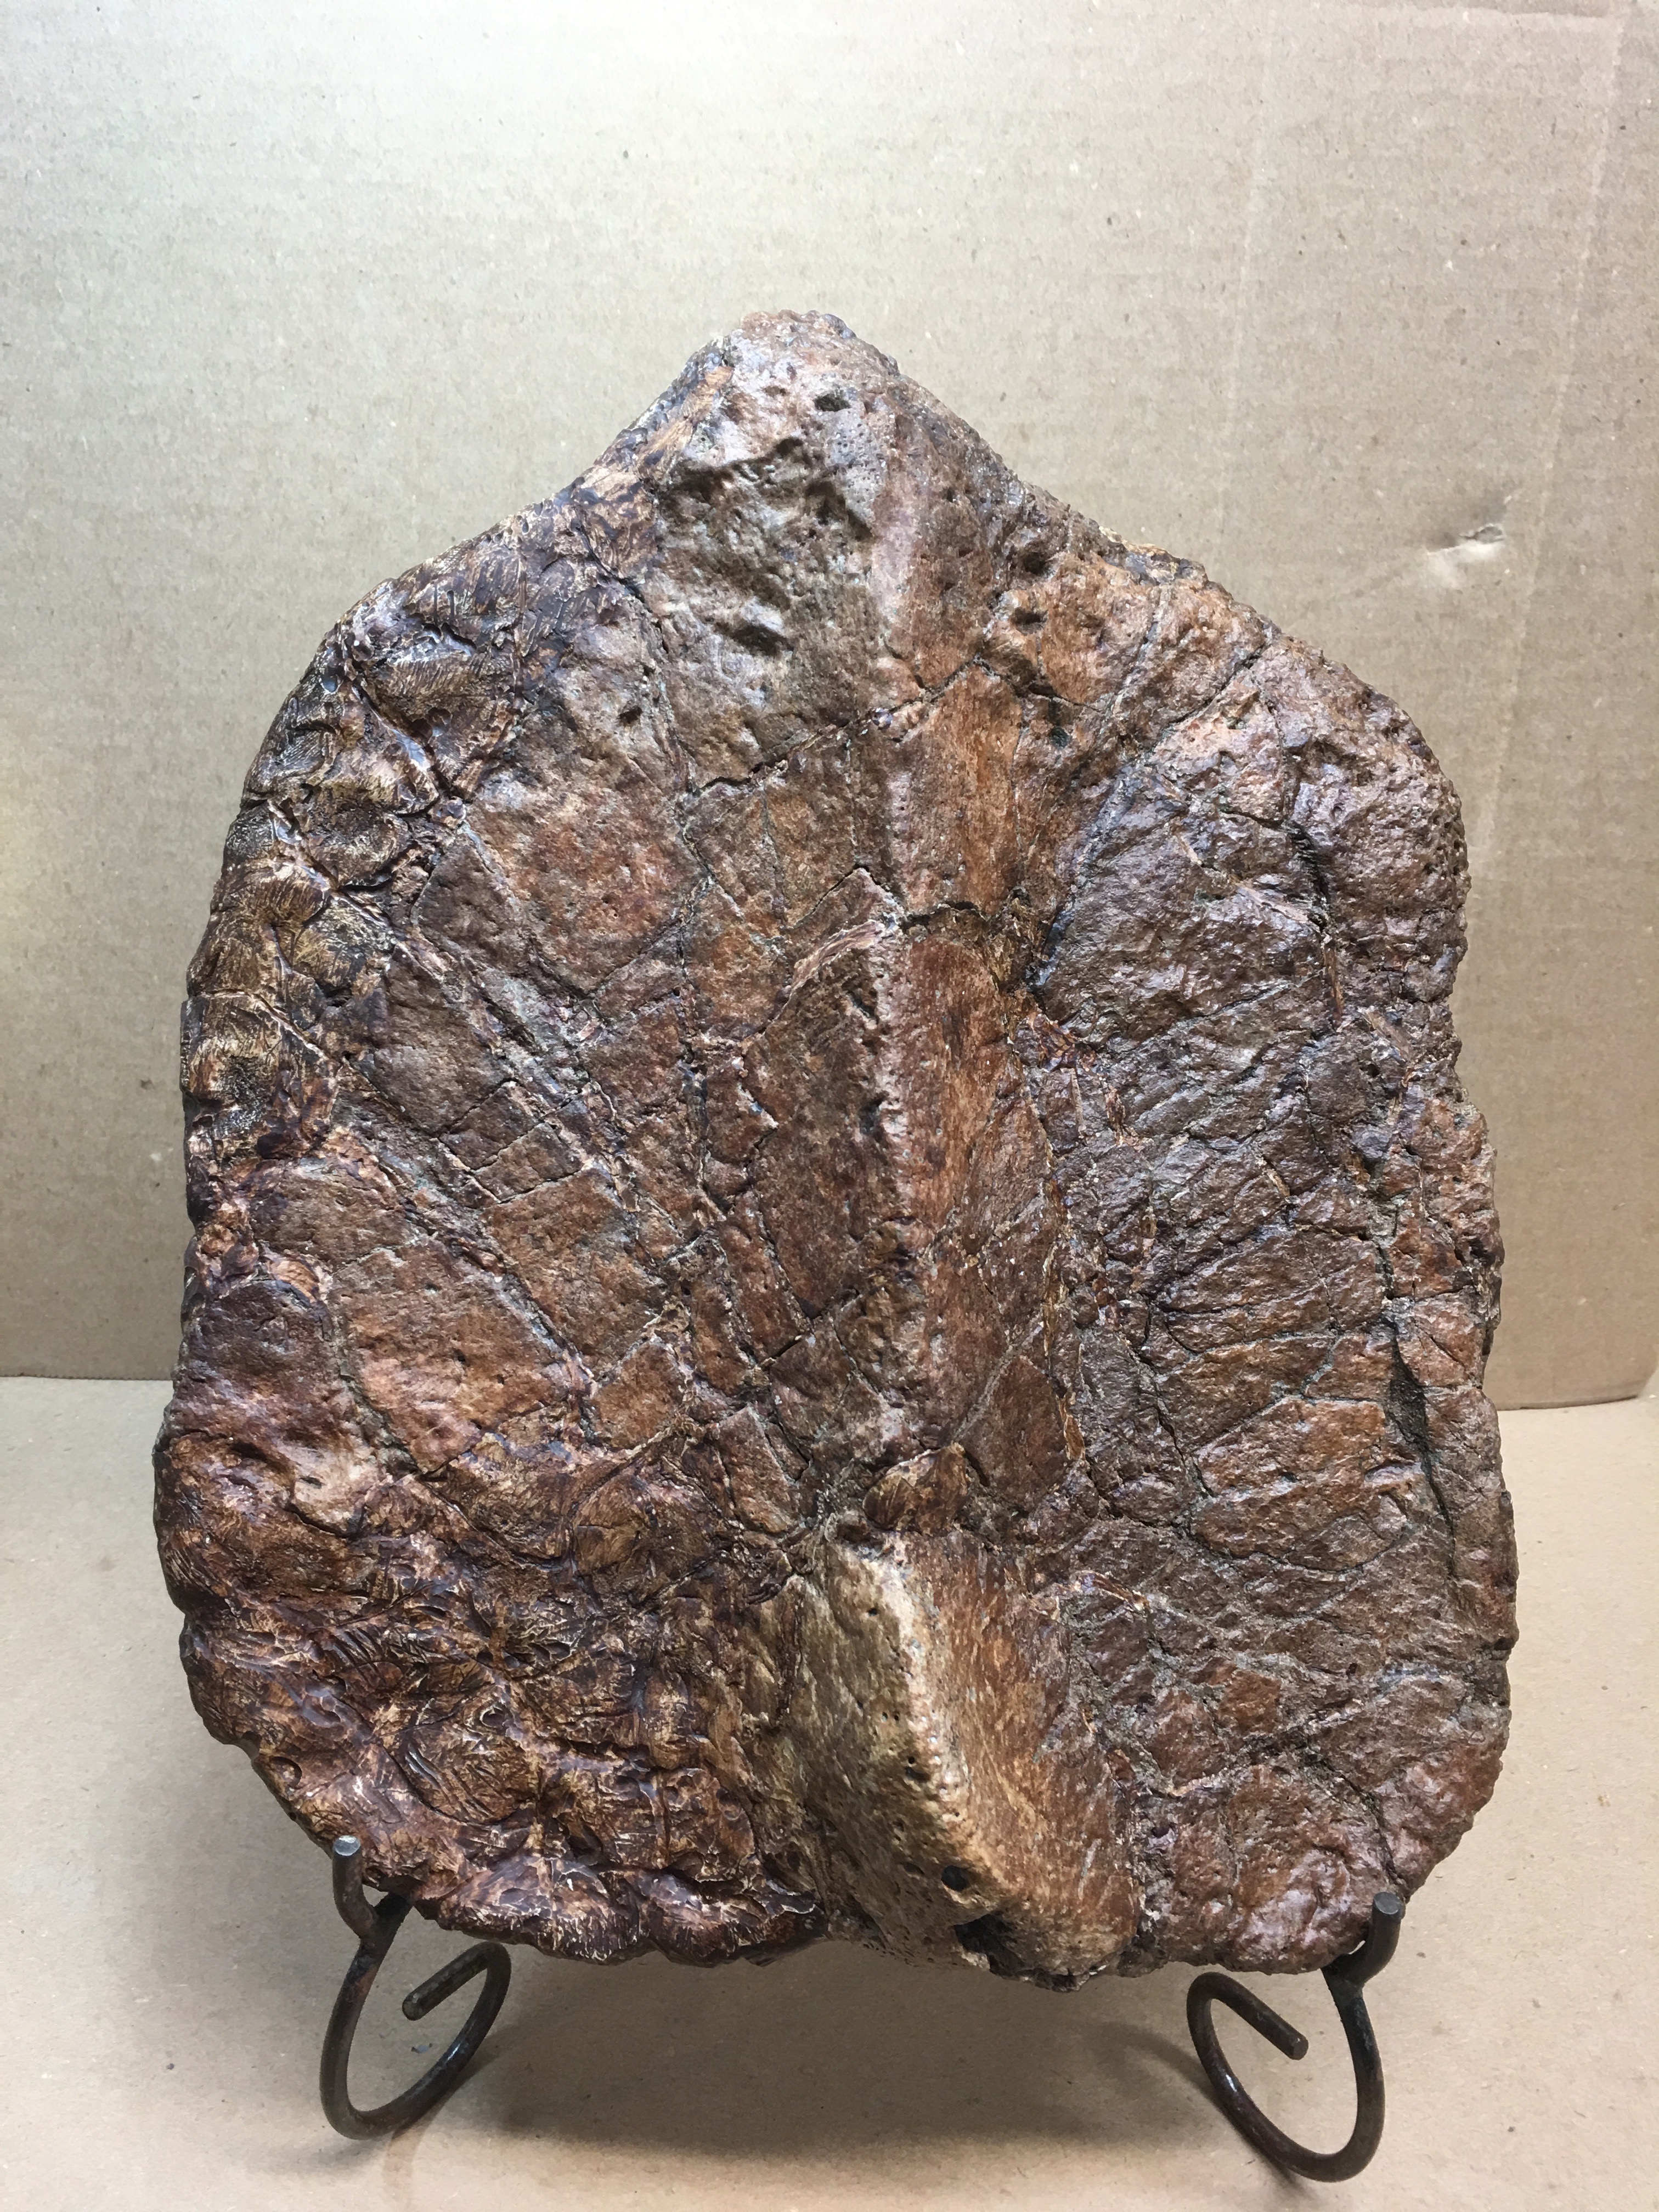
This is my preparation or reconstruction of an Ankylosaur Teepee Scute from the field site to full display. The finished display contains about 70% original fossil and 30% wooden supports and epoxy fill sculpted to match the adjacent fossil surfaces.
When I use epoxy putty to fill all the cracks and holes in a specimen the putty remains visible especially white putty. Some prefer to leave the specimen in this condition to indicate the degree of restoration. I prefer to explain the percent of restoration but then over paint and touch up these filled areas with acrylic dyes and paint. This way I can cosmetically improve the appearance and also blend in pieces with different shades due to sun exposure or differences in mineralization.
Tip of Scute as found 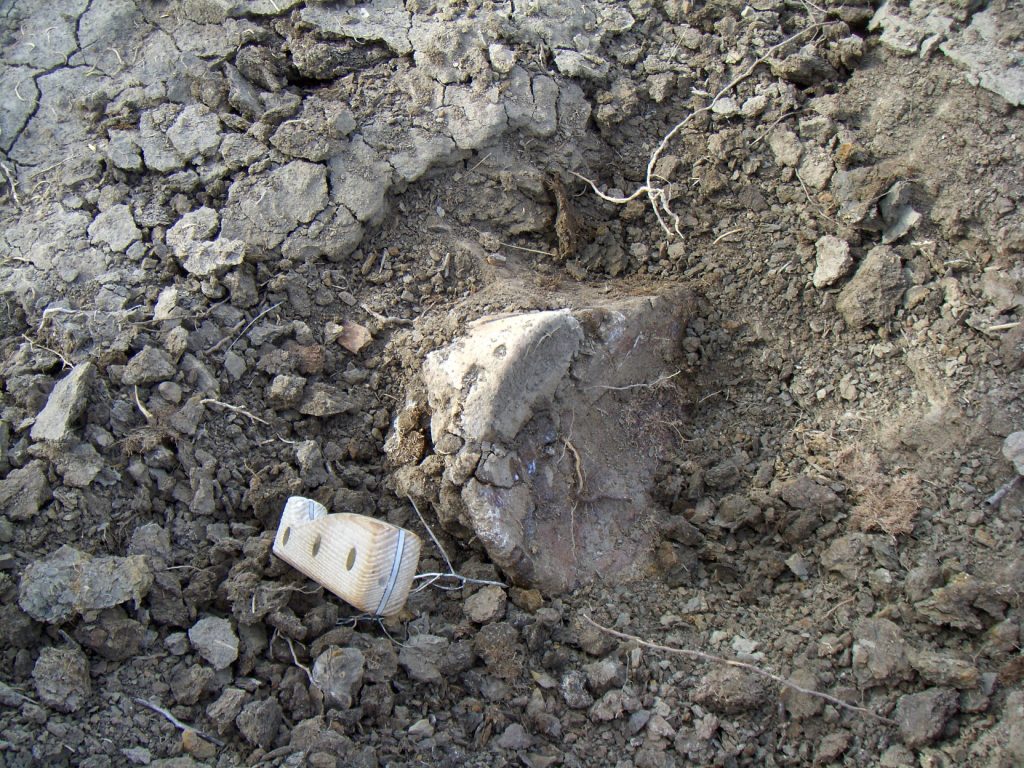
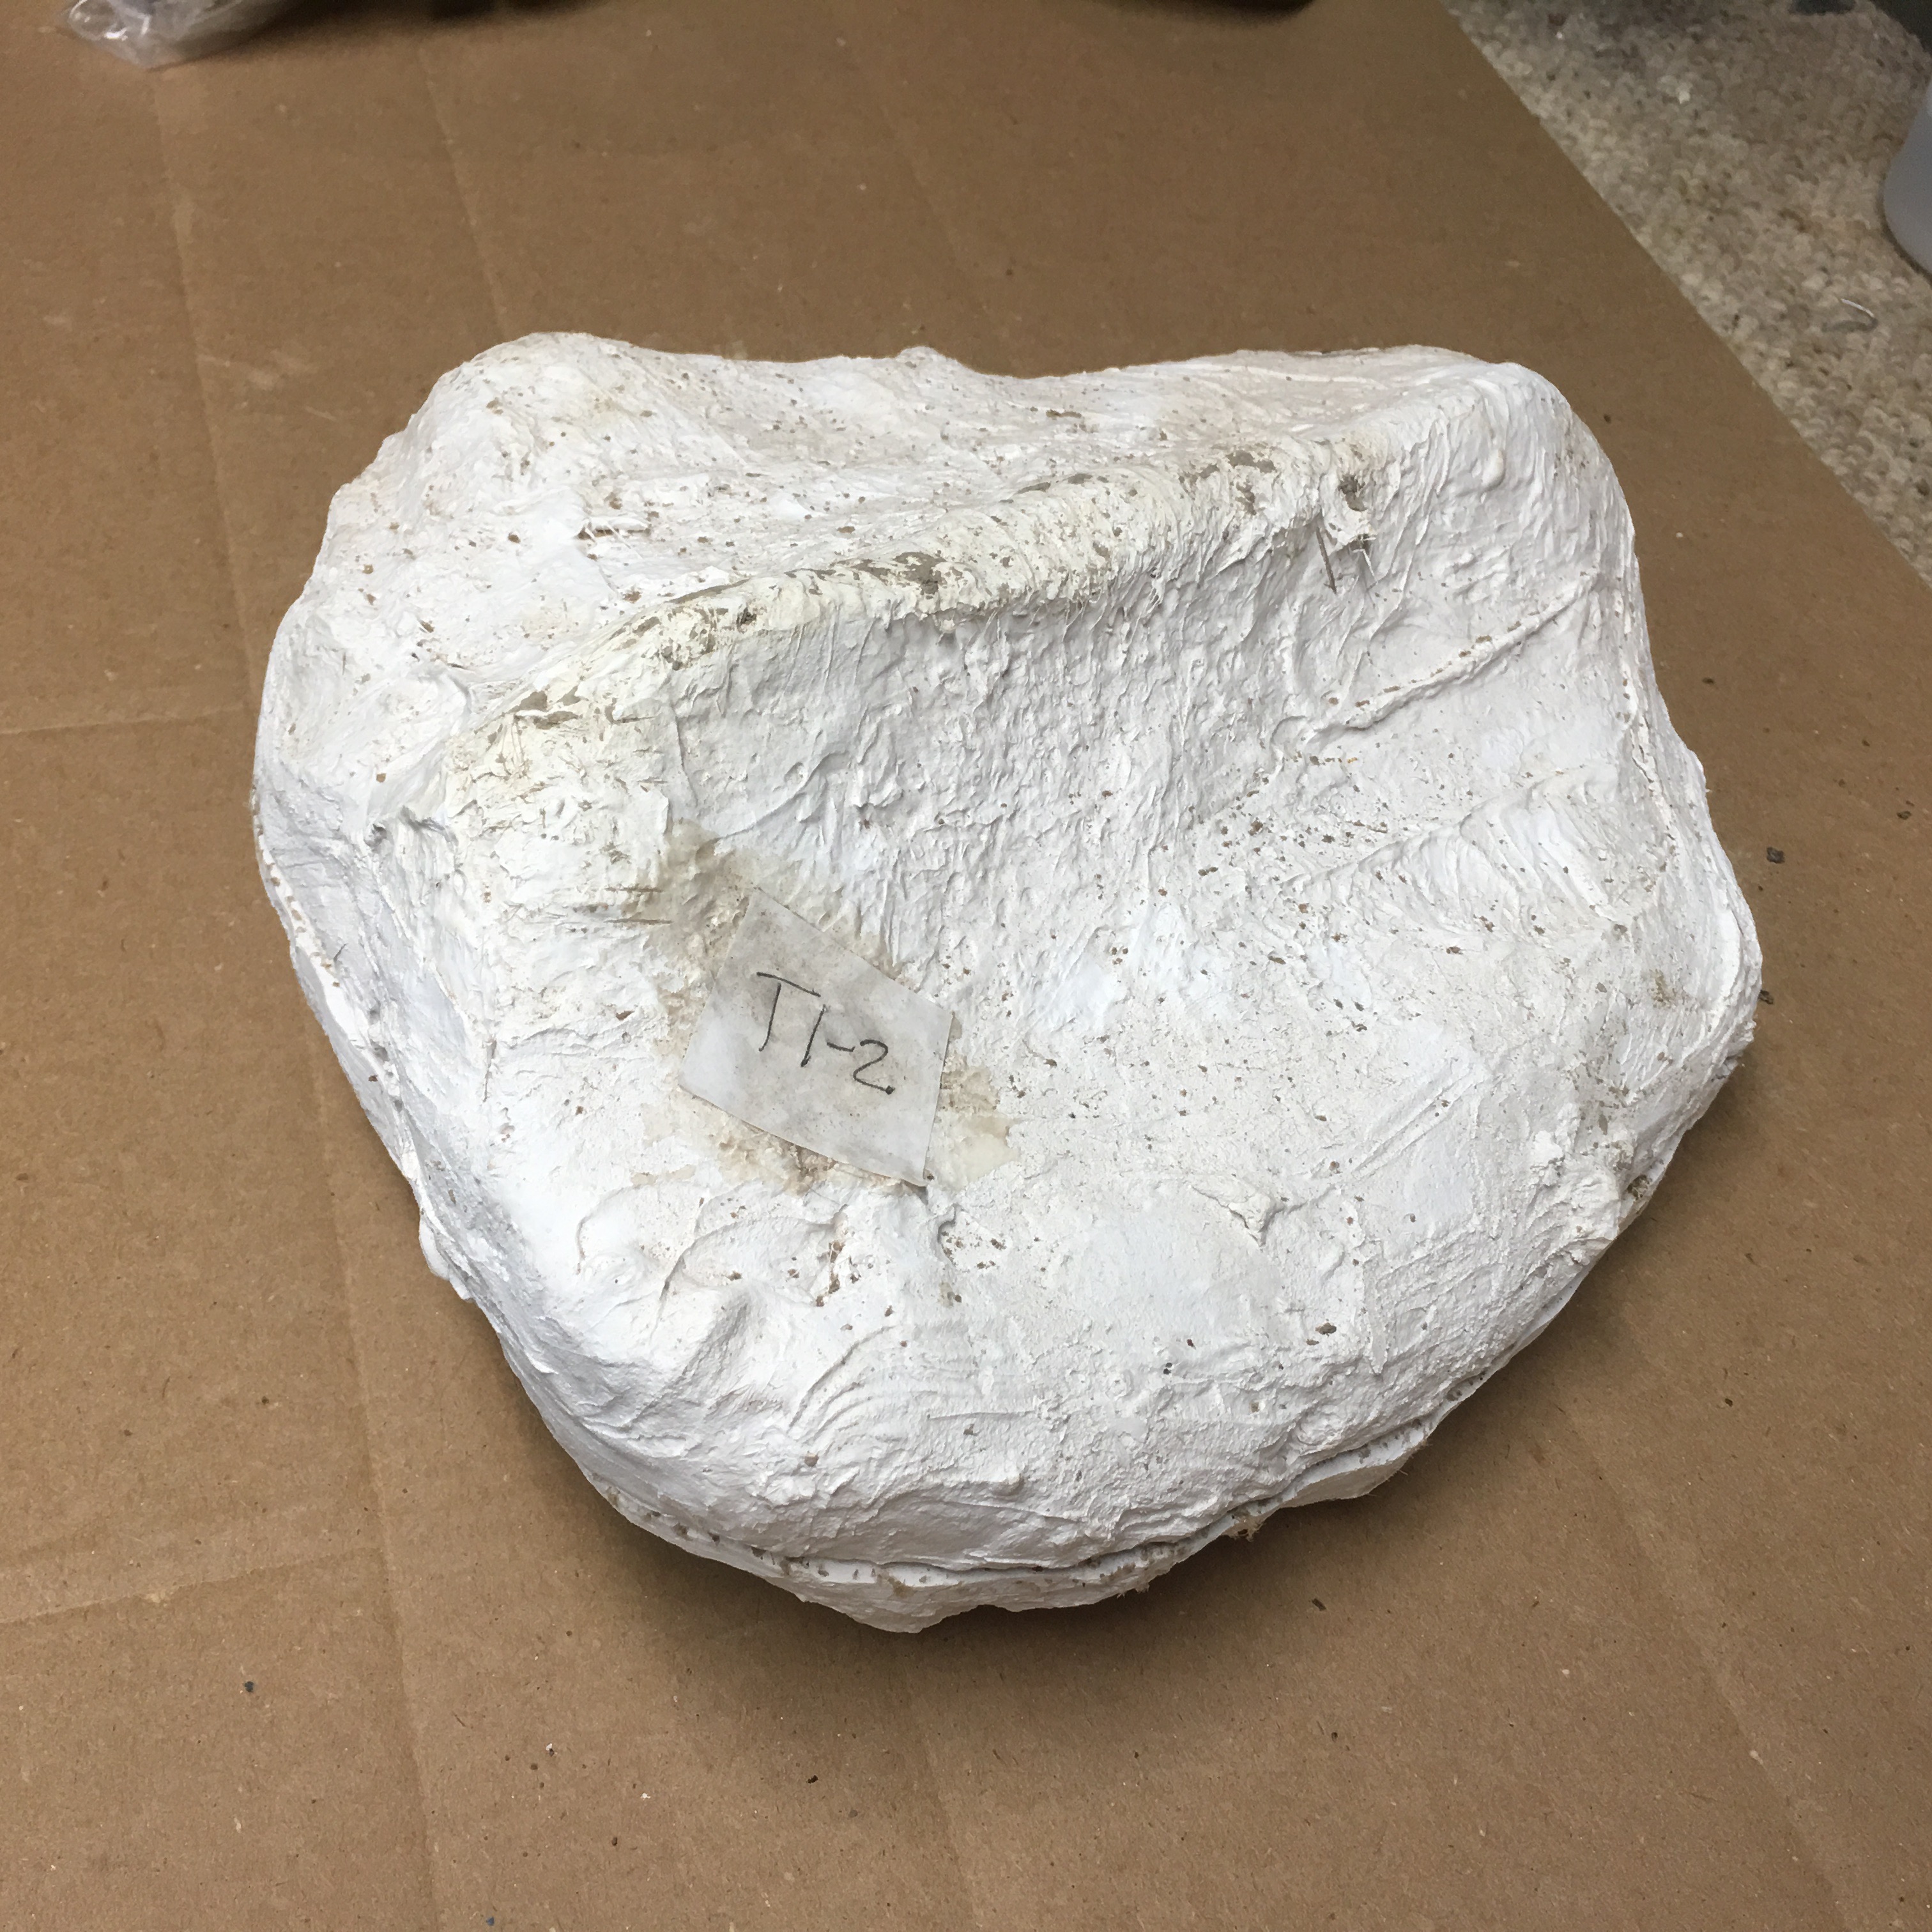
Tip of Scute 
Cast in Lab 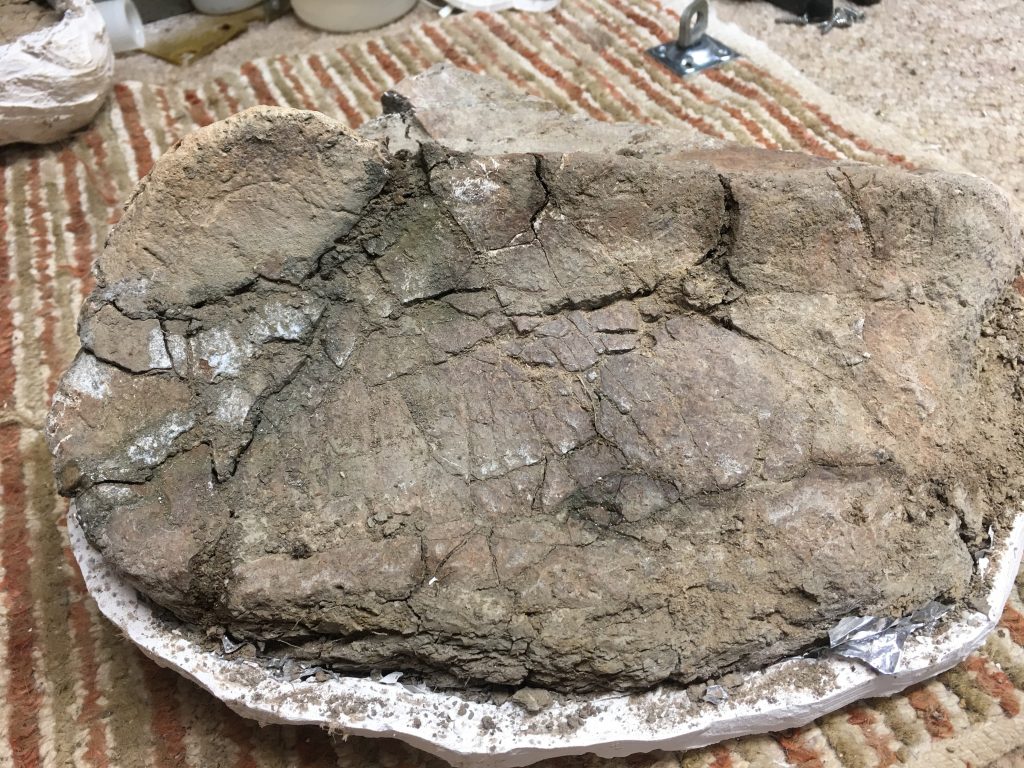
Scute Pieces 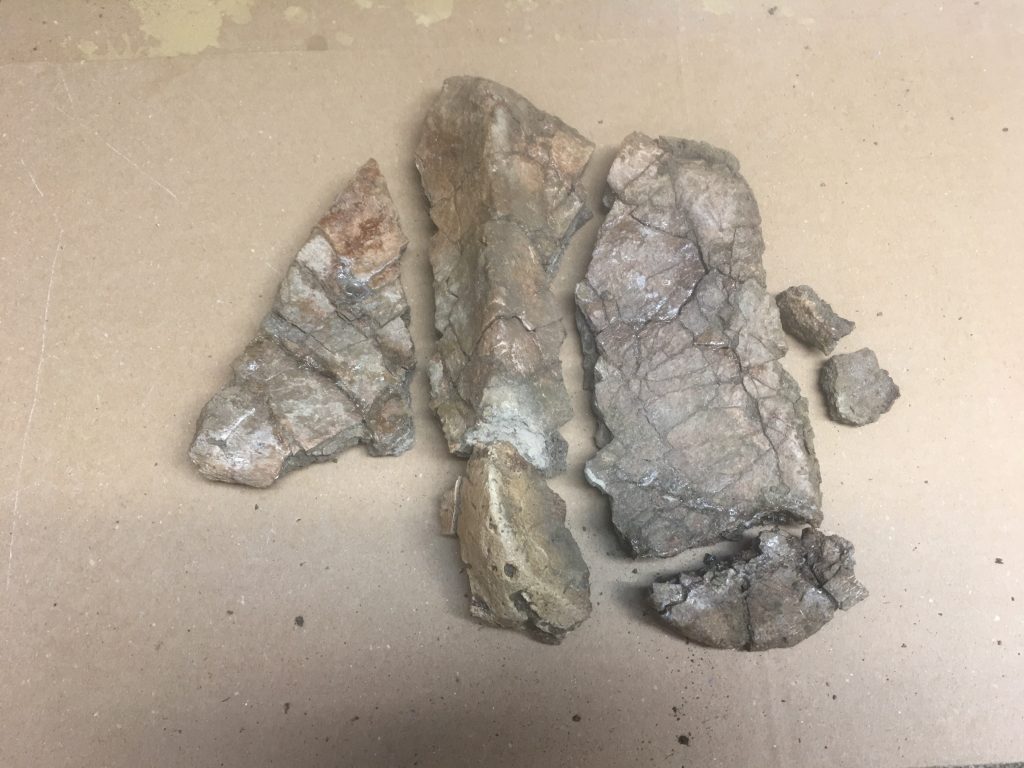
Scute Piece Alignment 
Scute Assembly 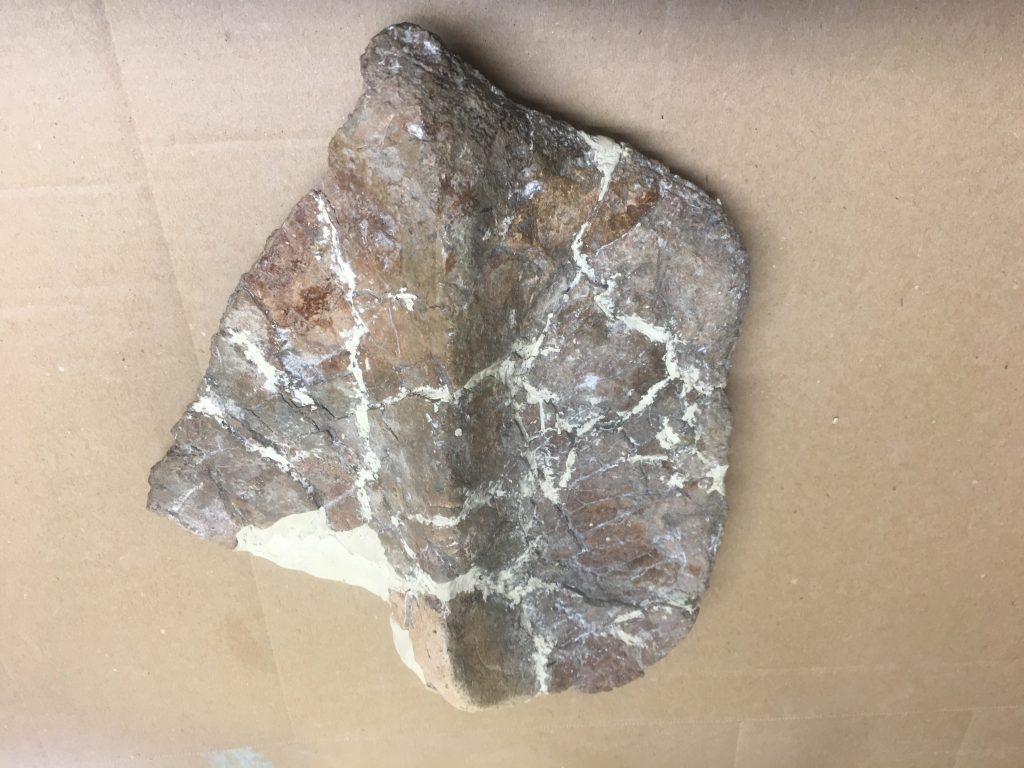
Cracks all filled 
Build Up Support 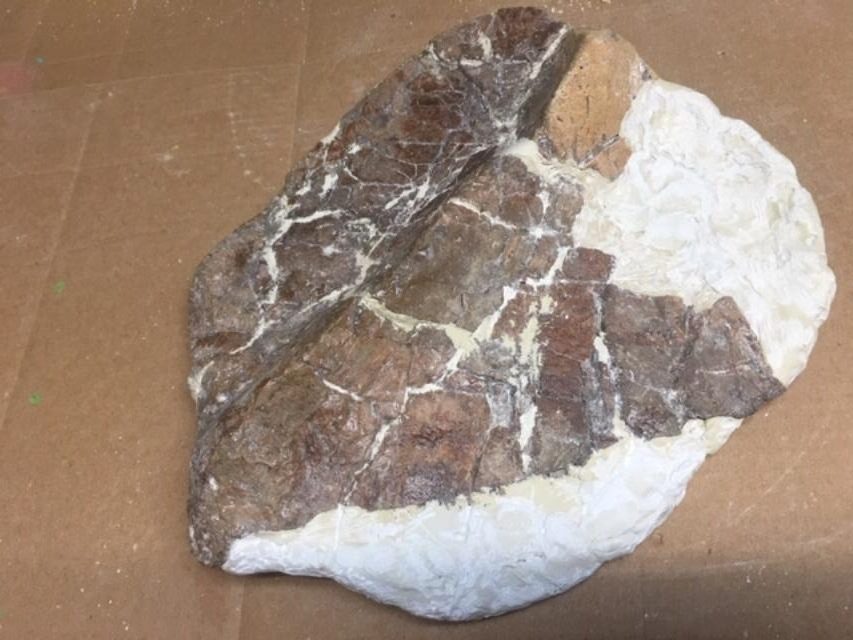
Epoxy Build Up 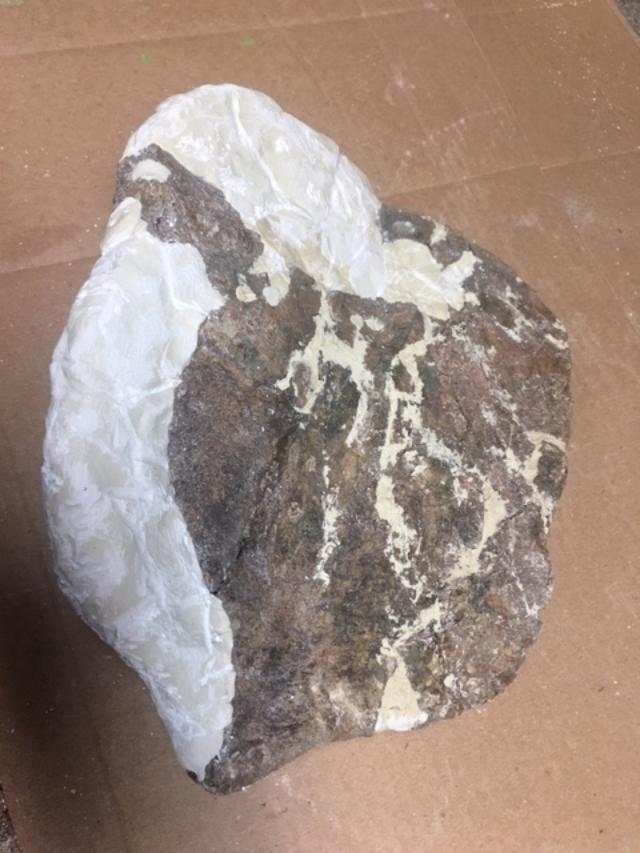

Epoxy Rebuild Void Areas 
Epoxy Rebuild Void Areas 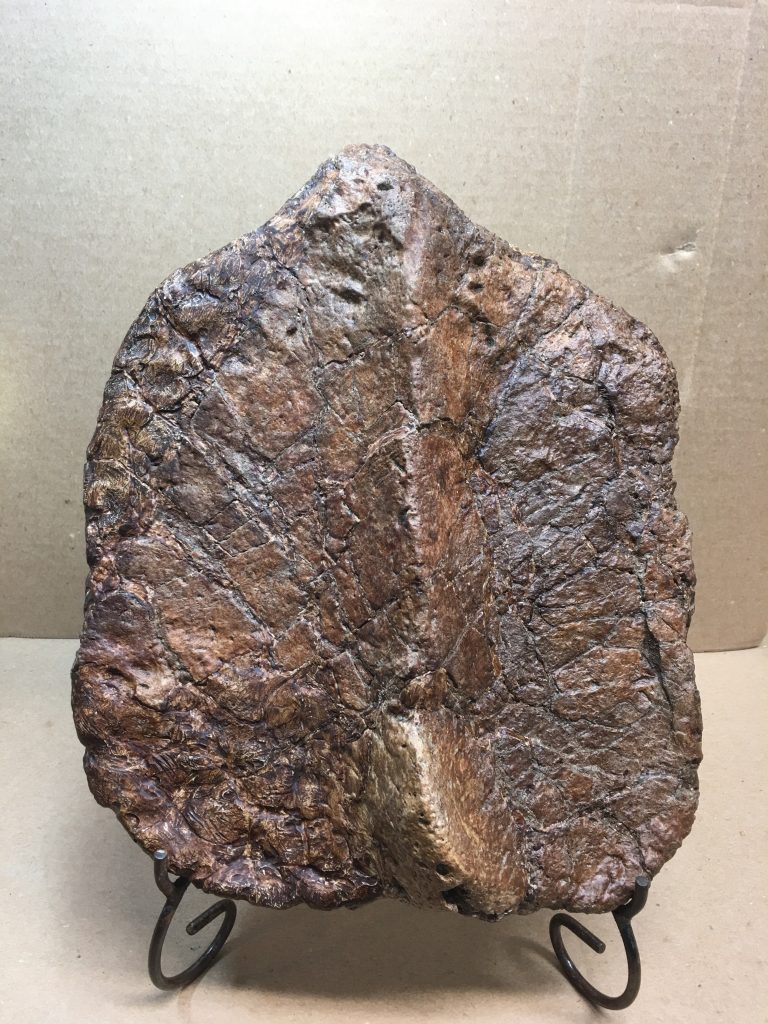
Finished Display


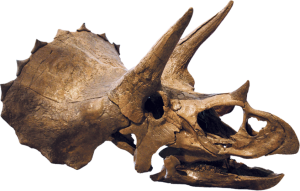
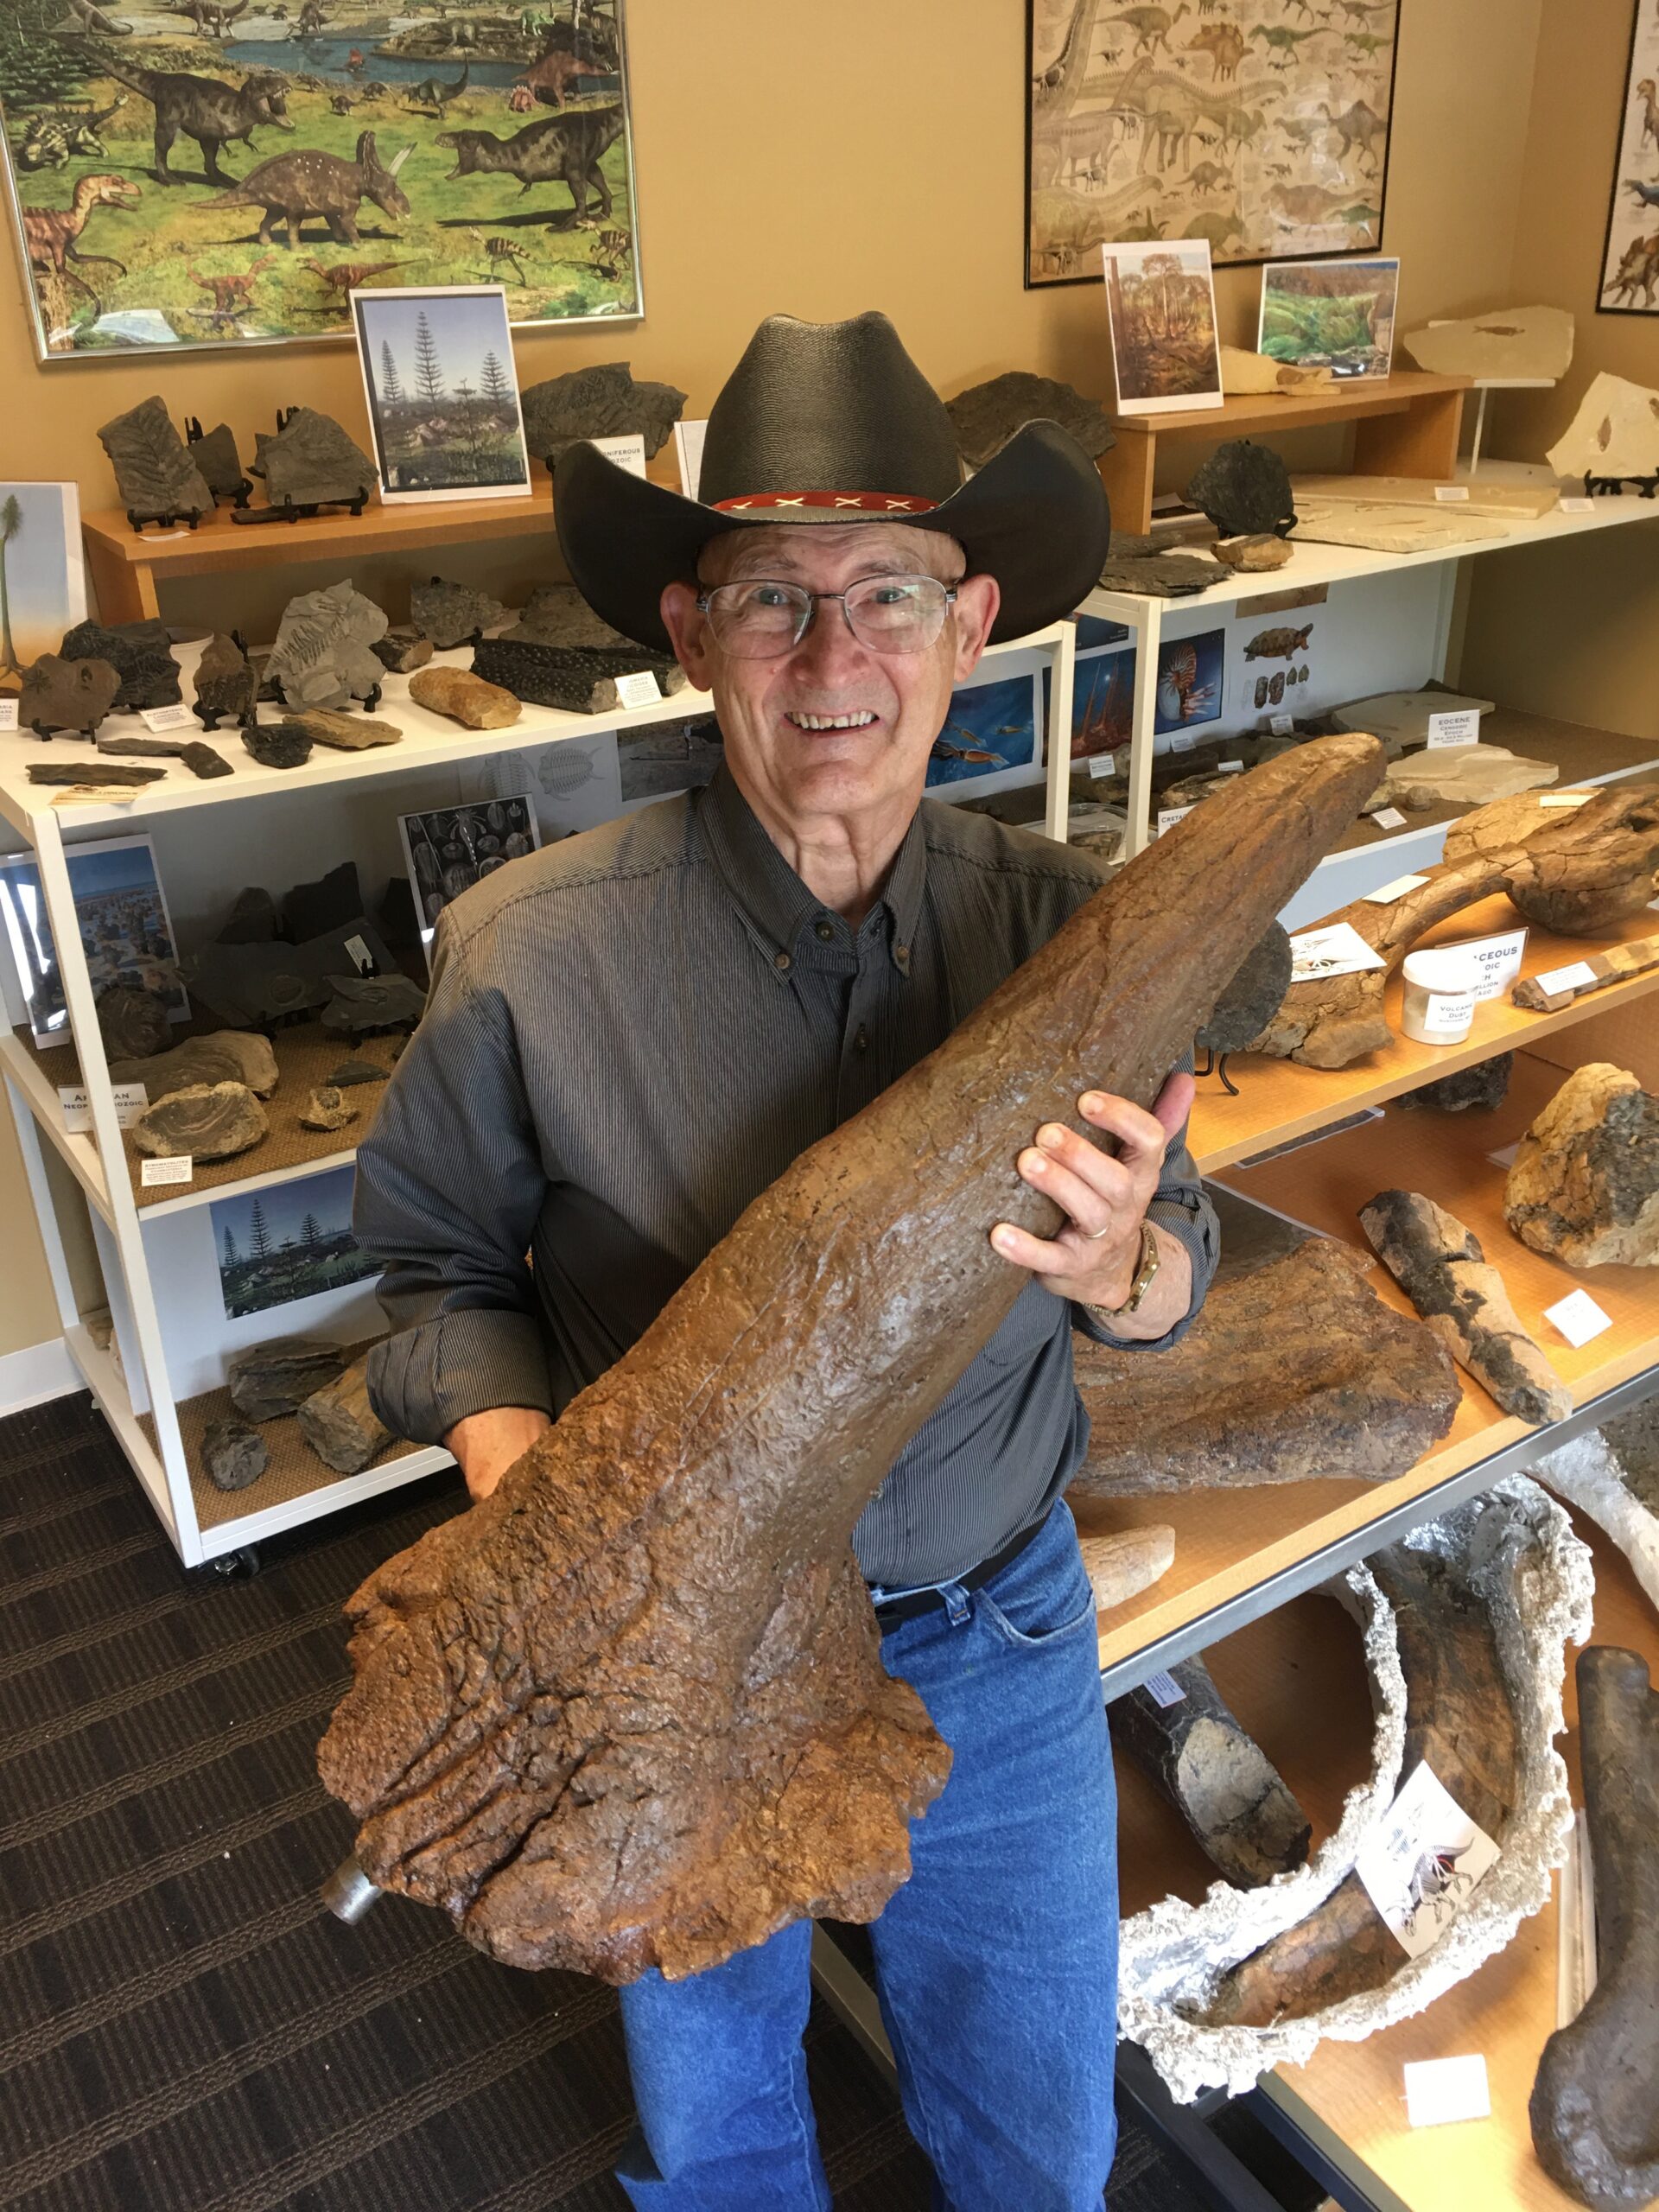
Triceratops Horn
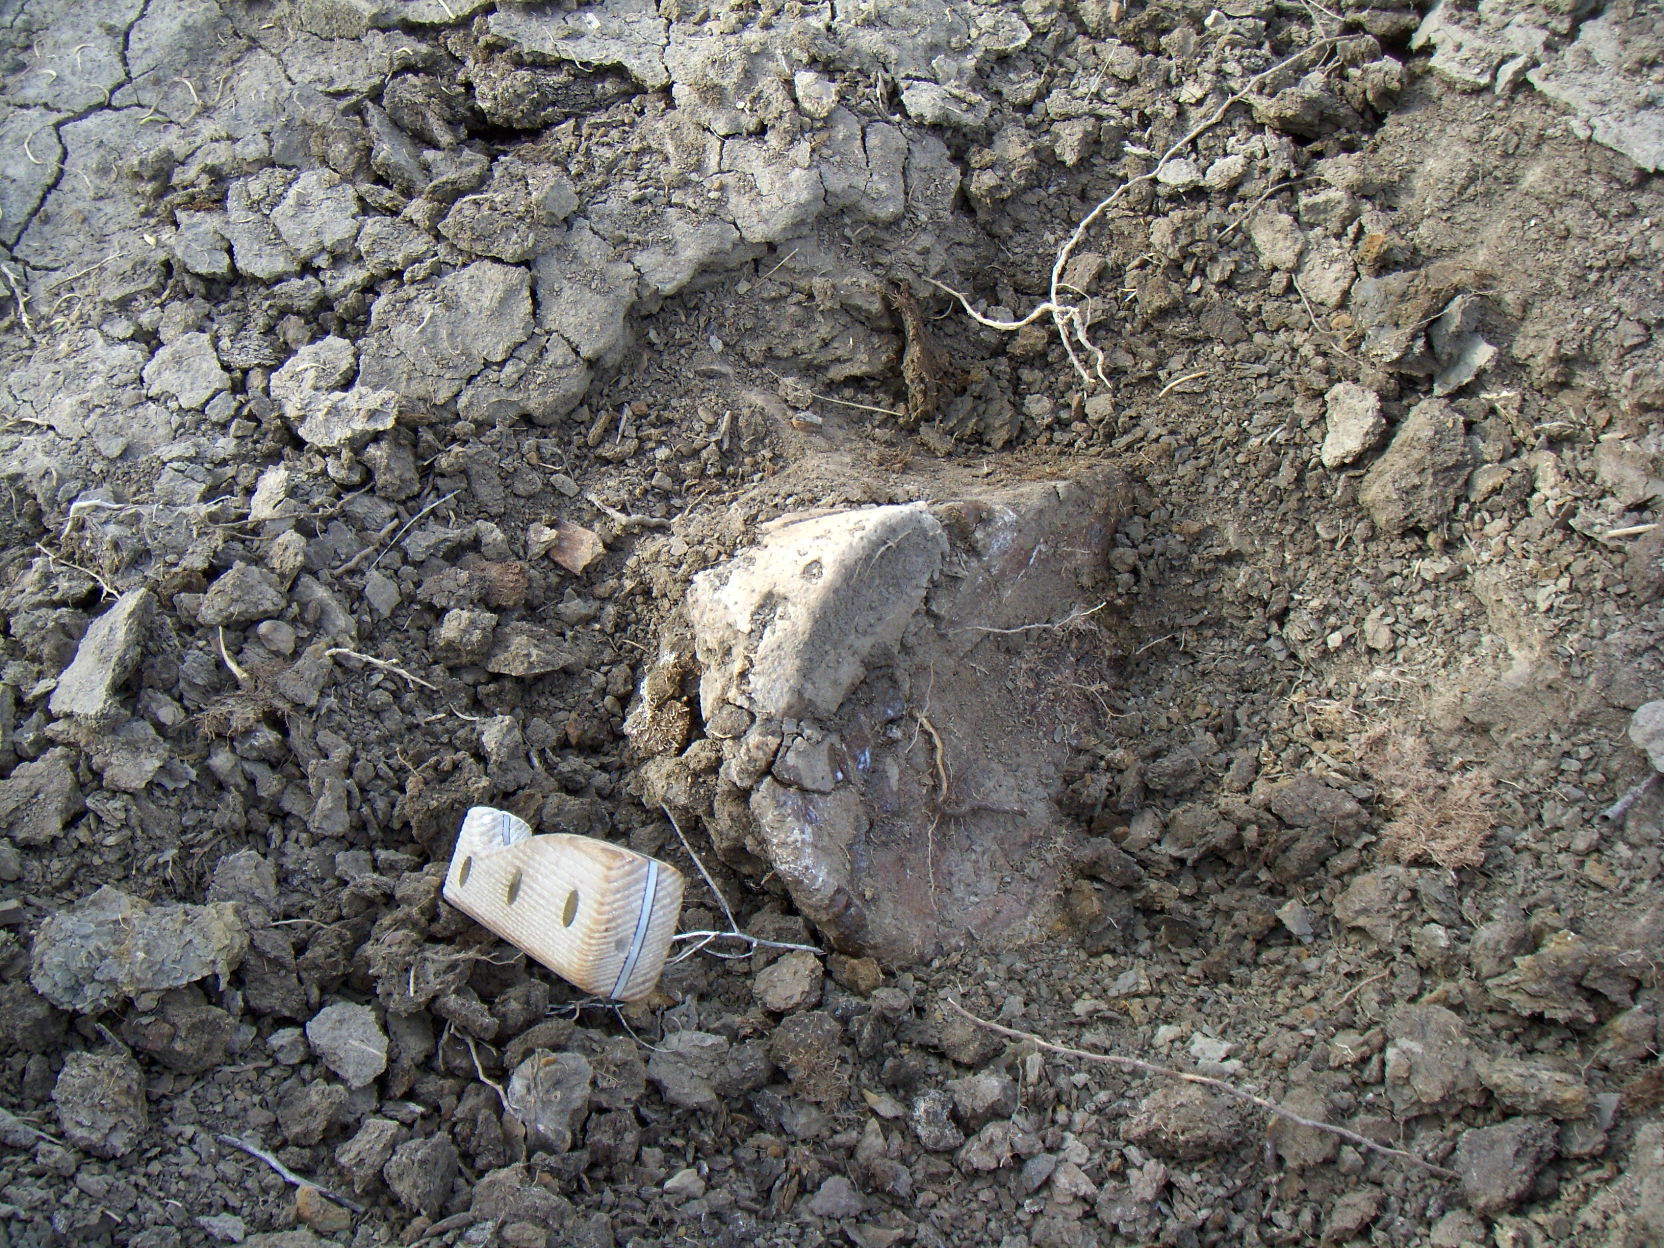
This Triceratops brow horn was a more difficult restoration. When discovered, it was disintegrated and in so many pieces I thought it was not worth saving. I made a cast of what I could, and collected the scattered pieces into numbered bags. It was such a lost cause that I did not reopen the cast for 5 years. When I did get it open, I found that some of the pieces fit, some did not, and others have no home at all and still remain leftover. I had to rebuild the tip and fill in missing veneer. I textured the epoxy fill to resemble the veined surface so characteristic of brow horns. The result has about 90% original bone and it looks good even if some of the pieces are not in their original positions. This shows the process from field to shelf display.
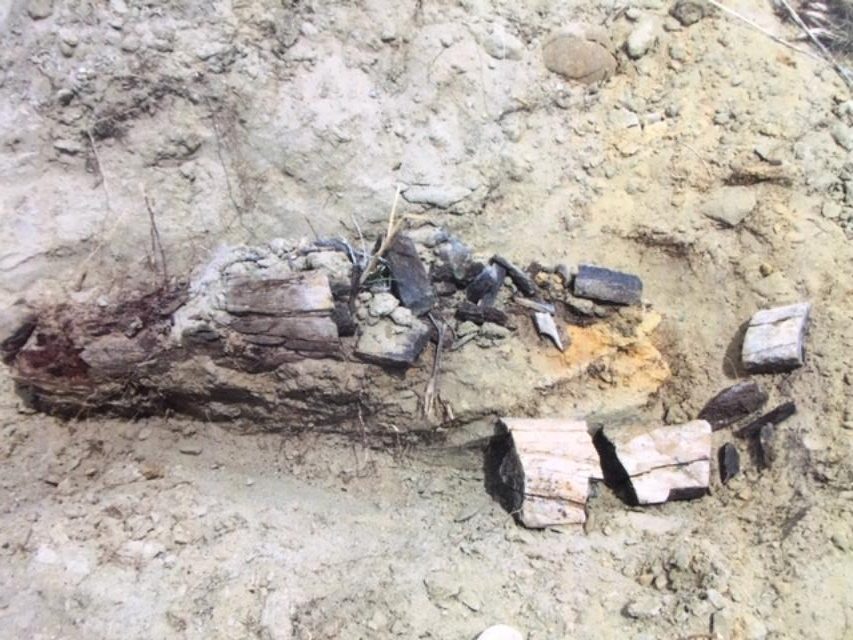
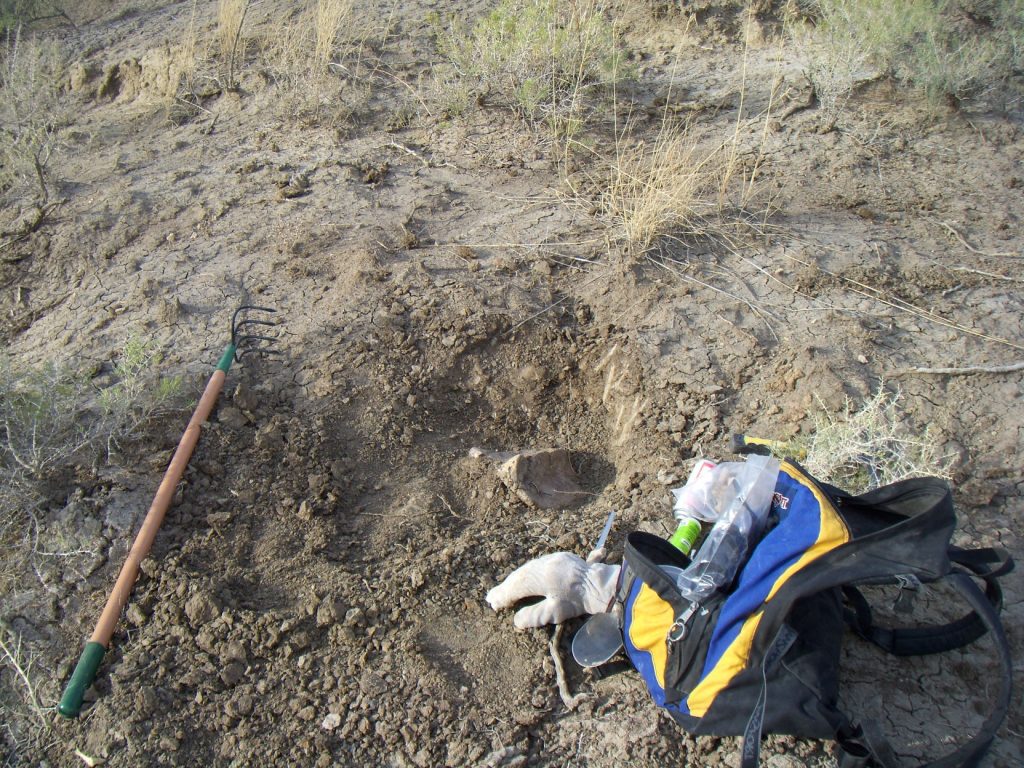
As Found in Field 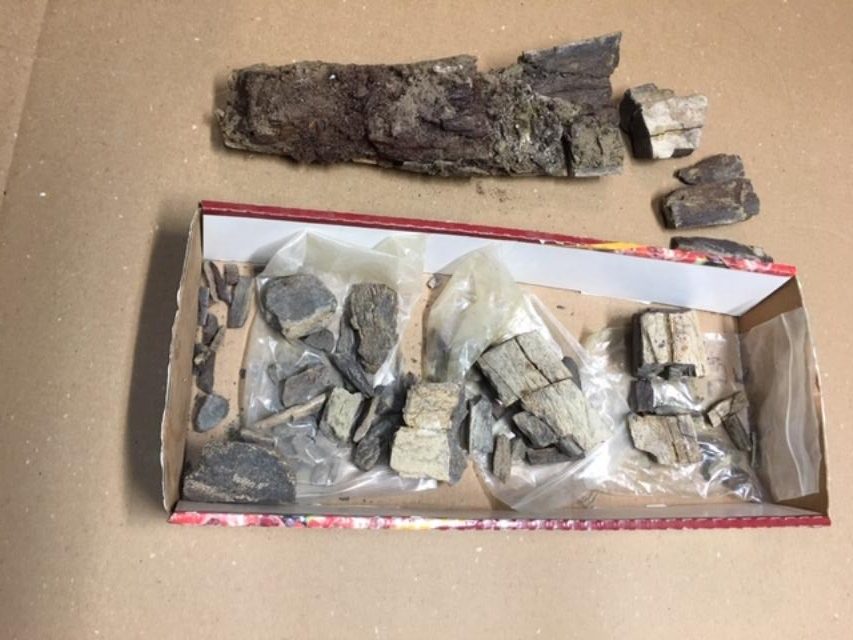
The pieces I could save 
Reassemble with Guidelines 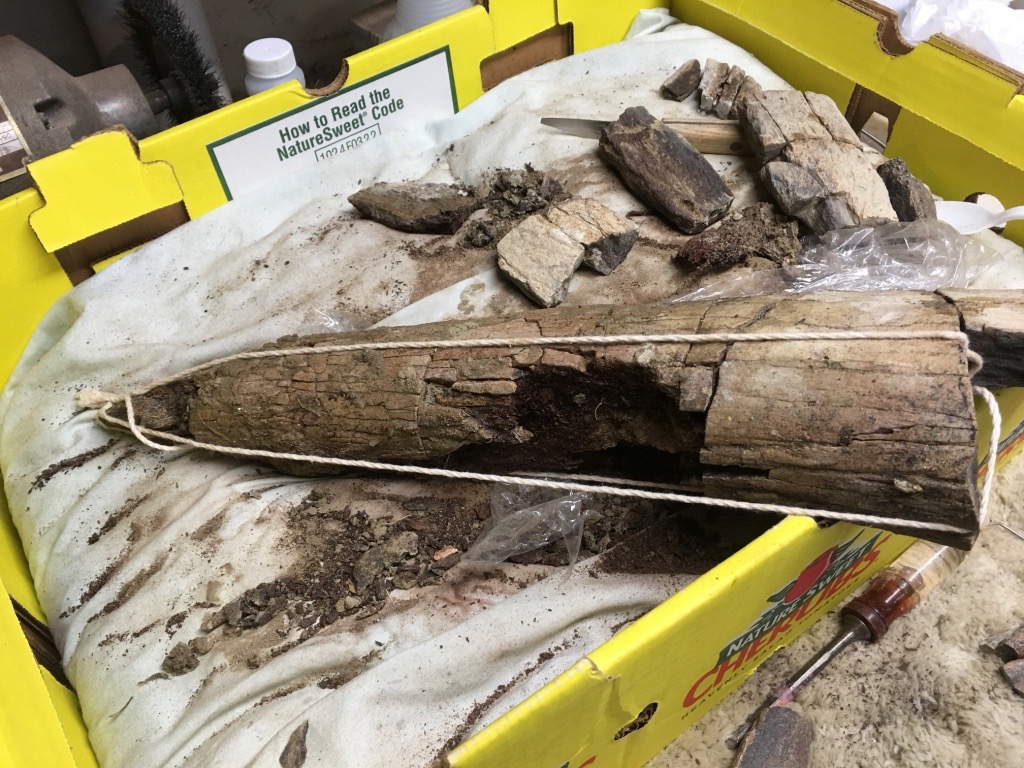
Reassemble with Guidelines 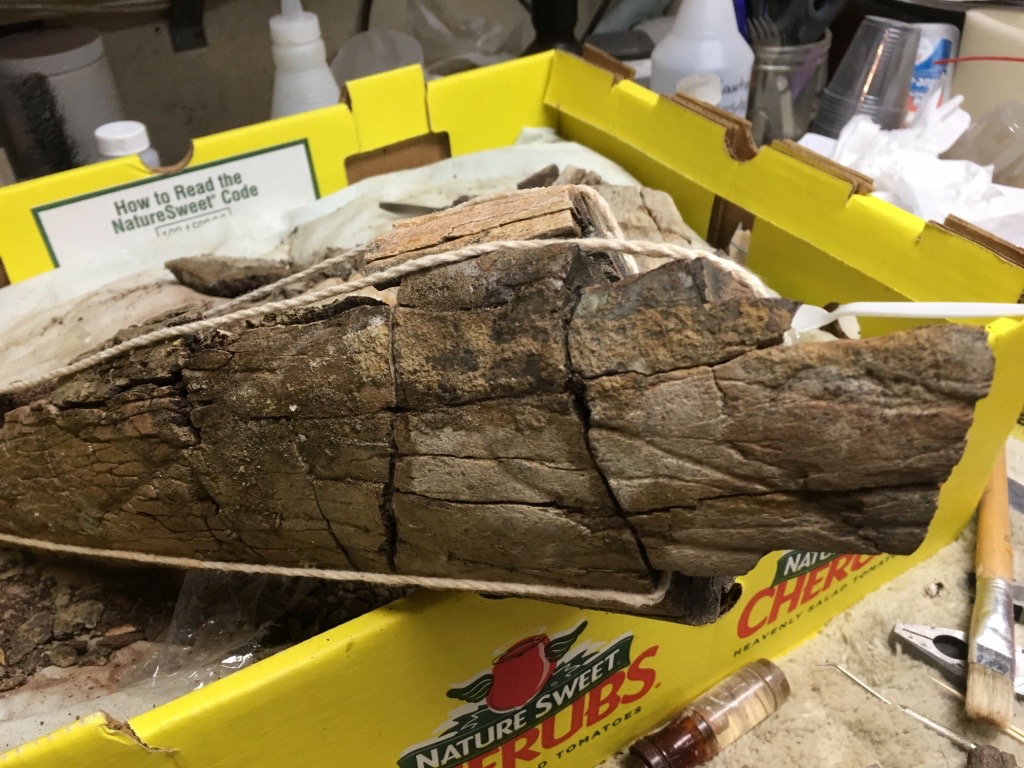

Reassemble with Guidelines 
Epoxy Fill Patches 
Epoxy Fill Patches 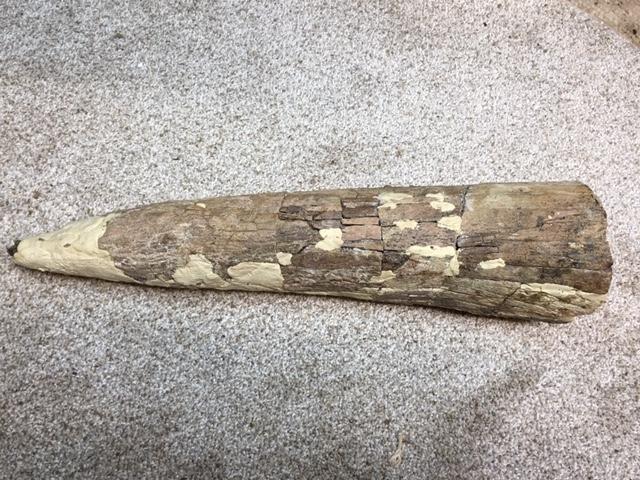
Epoxy Fill Patches 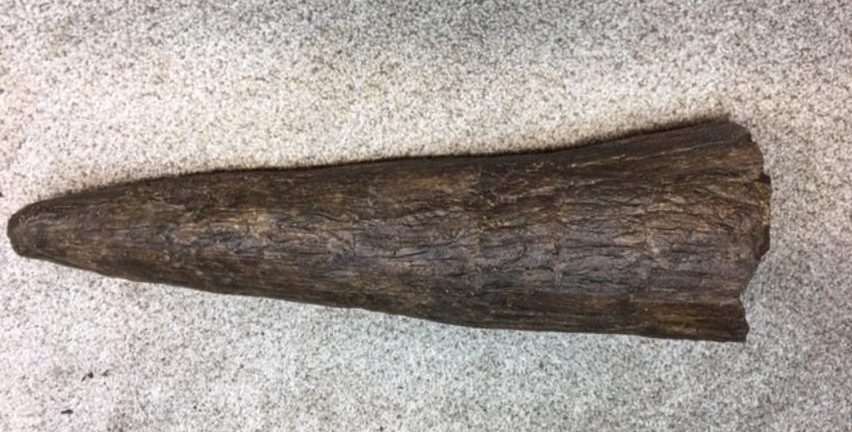
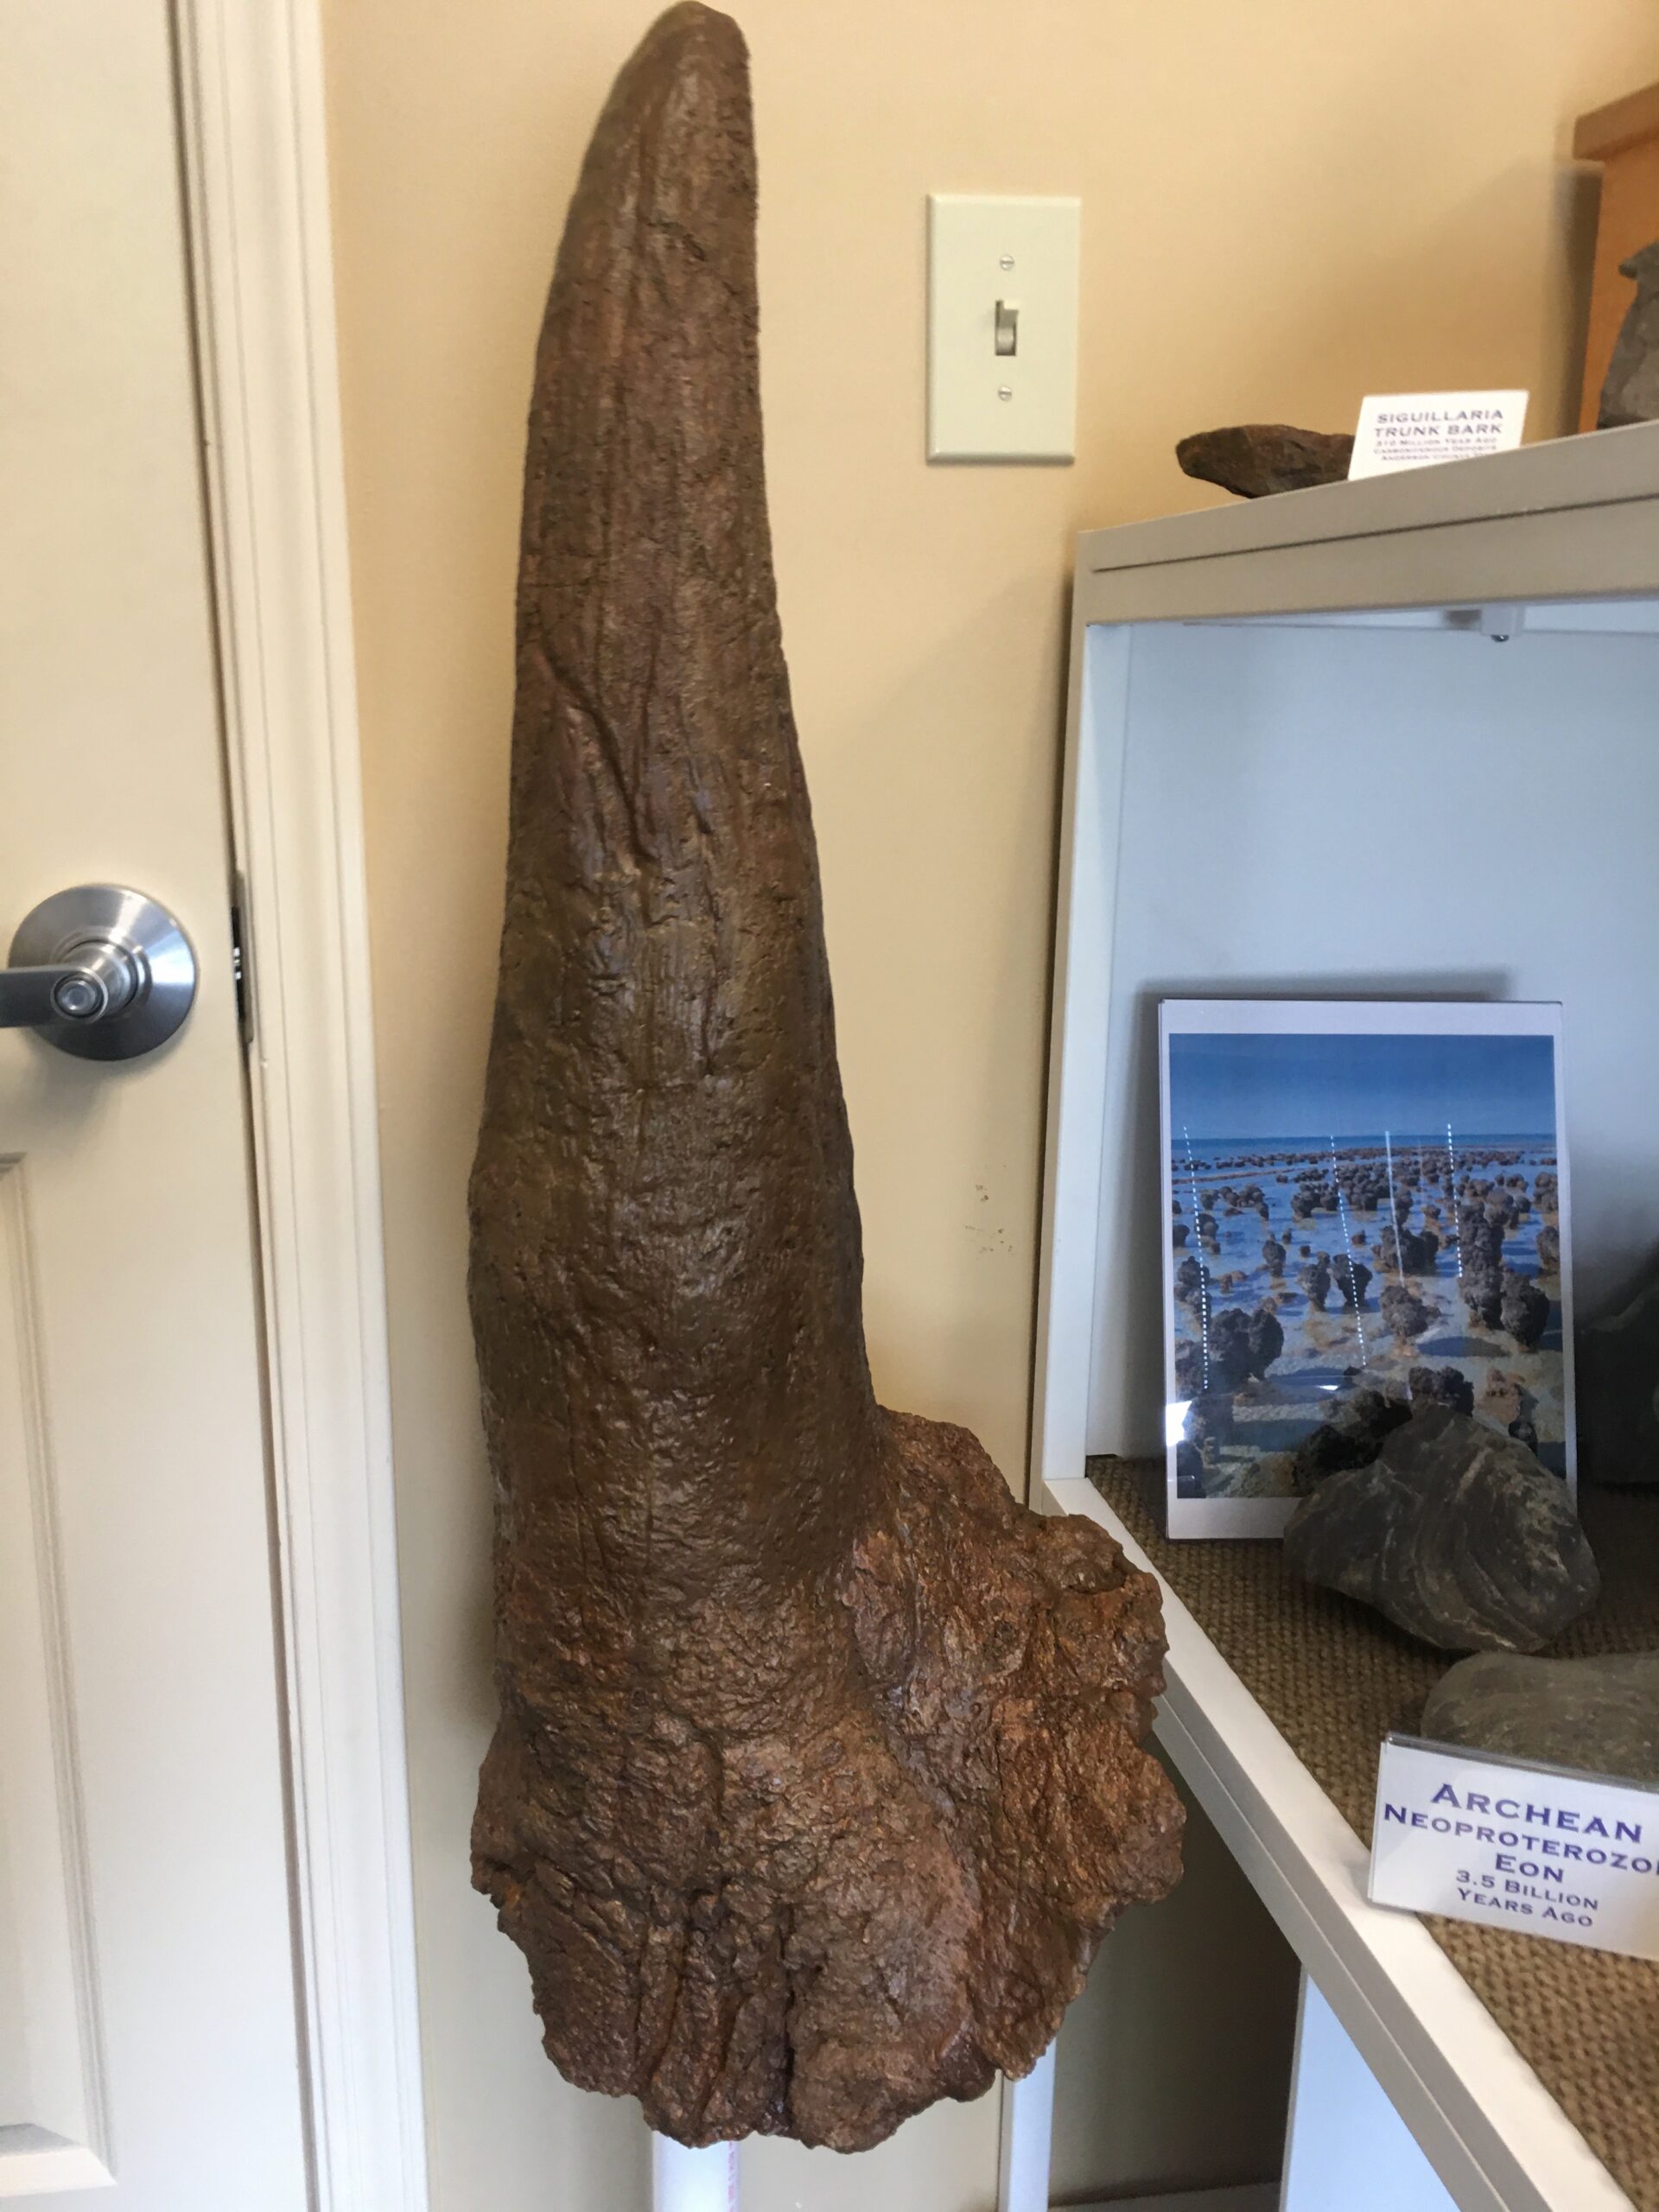
Finished Horn
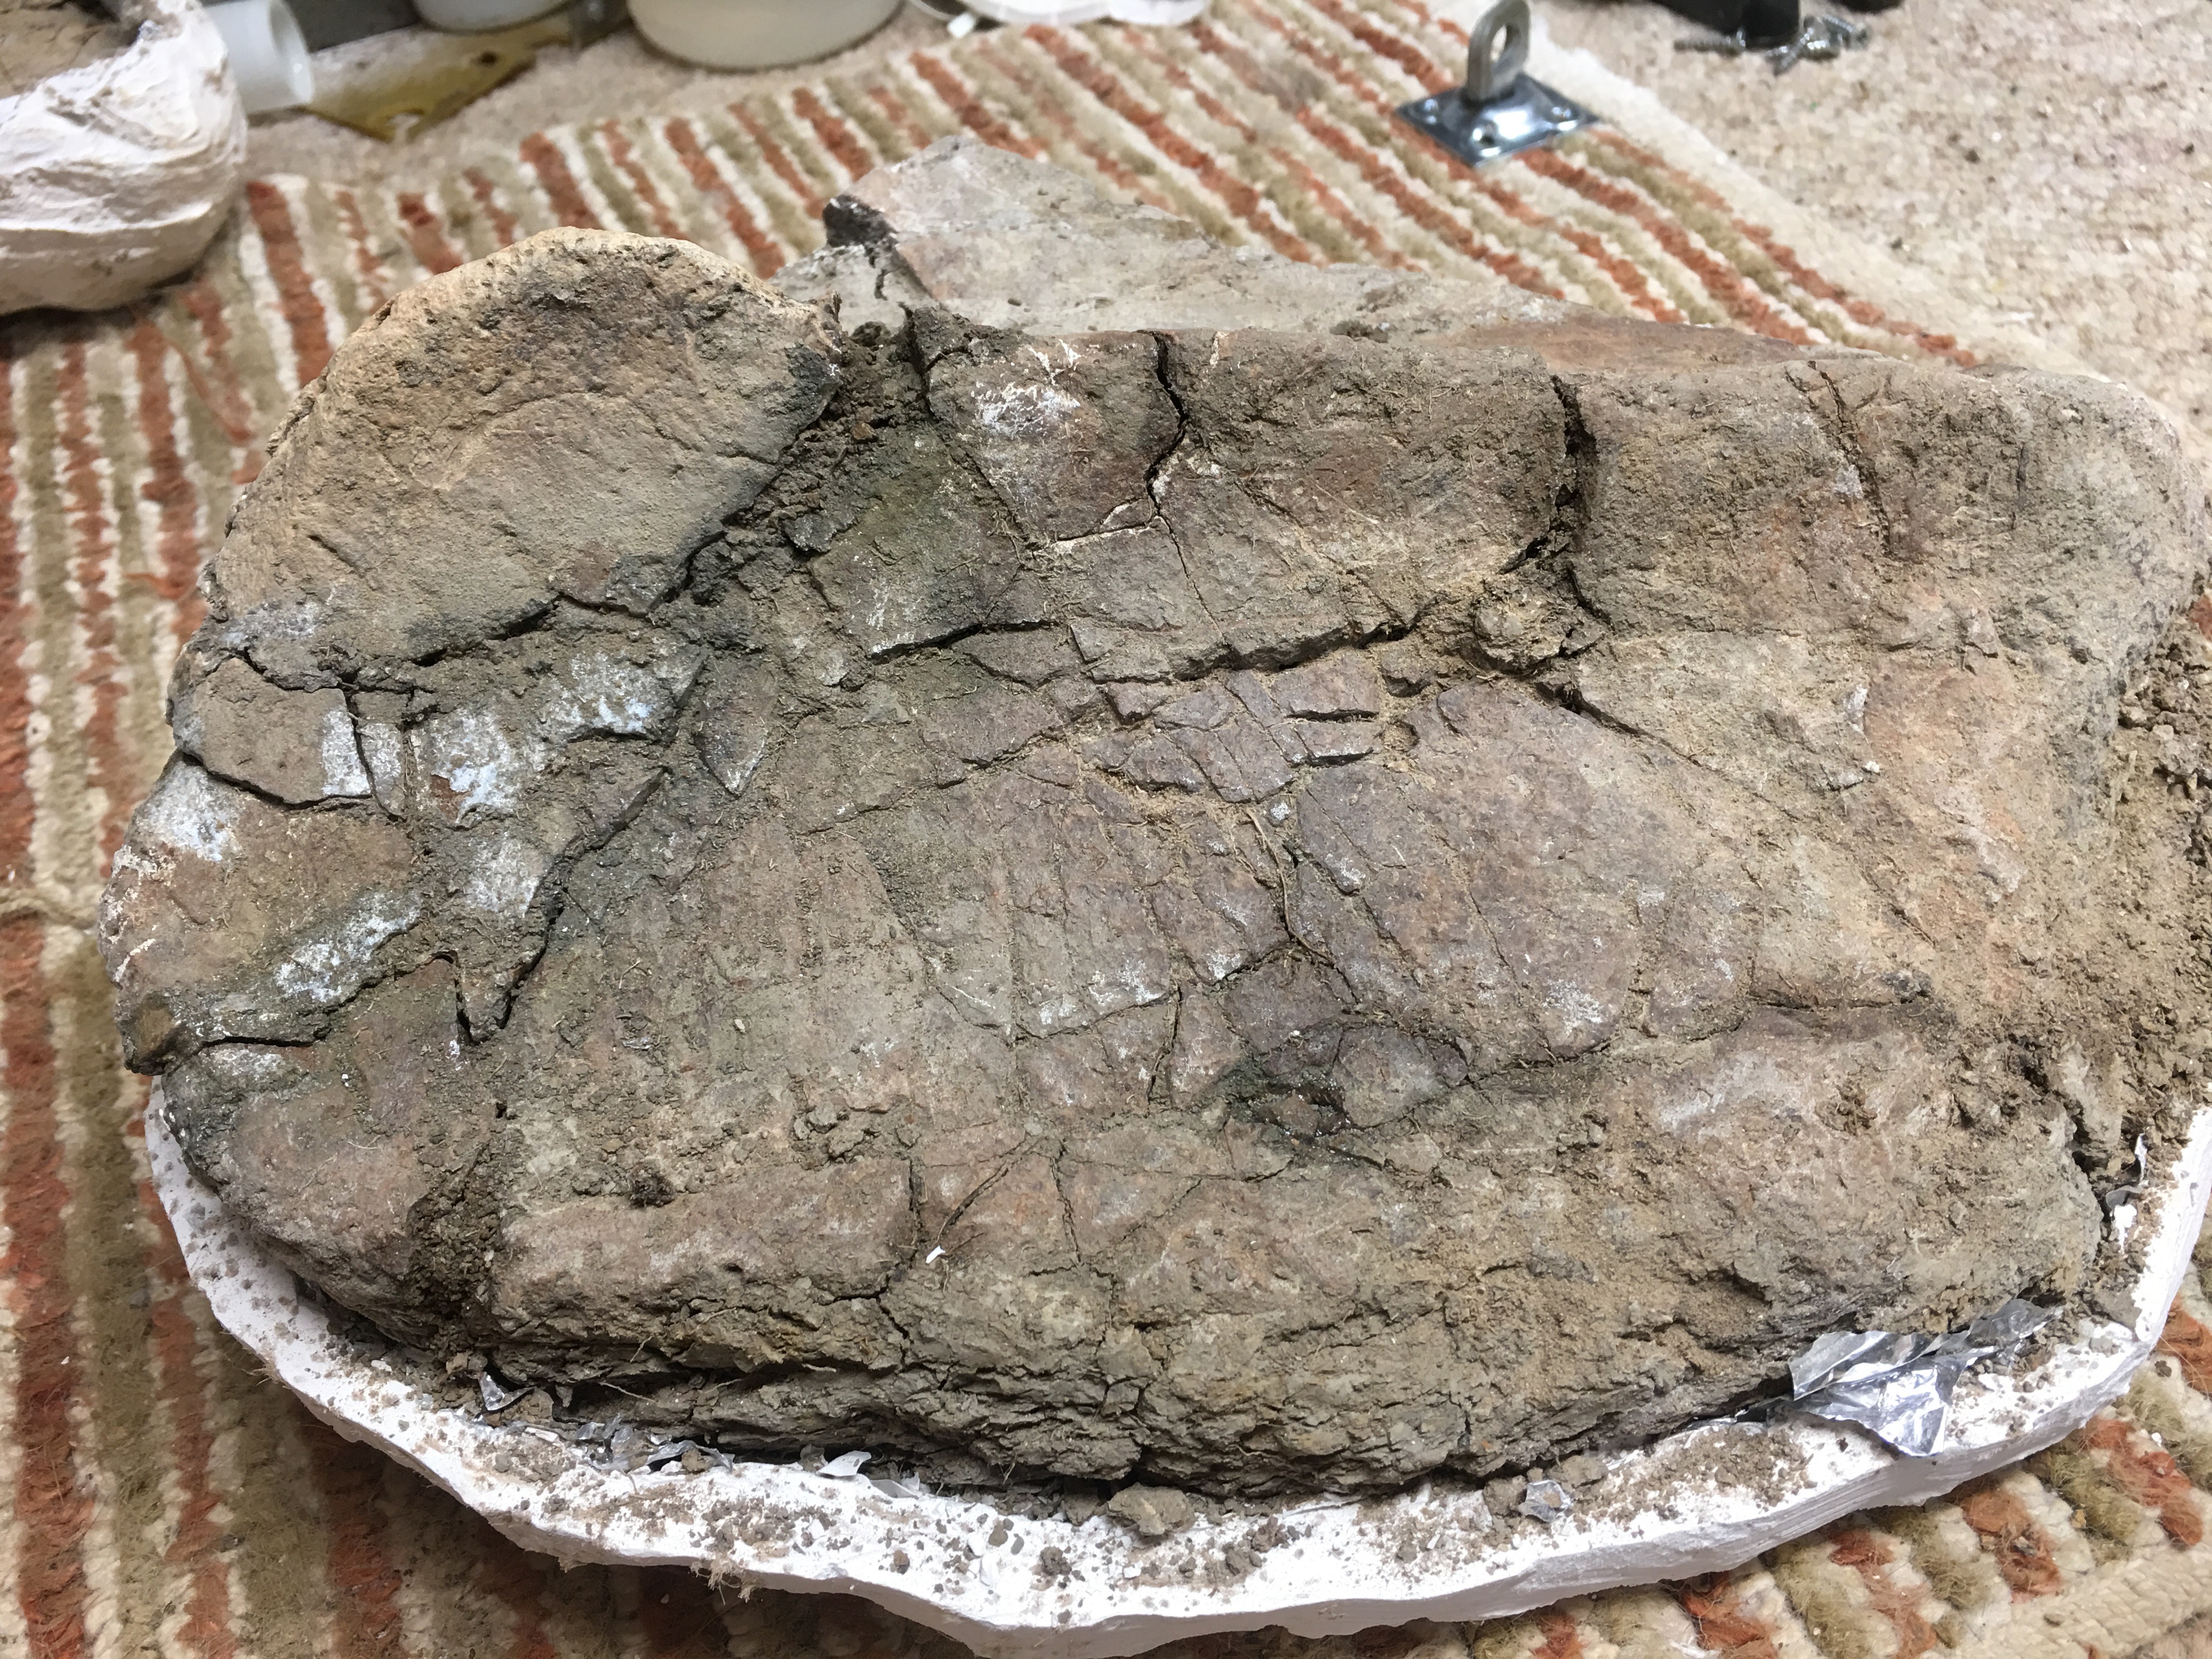
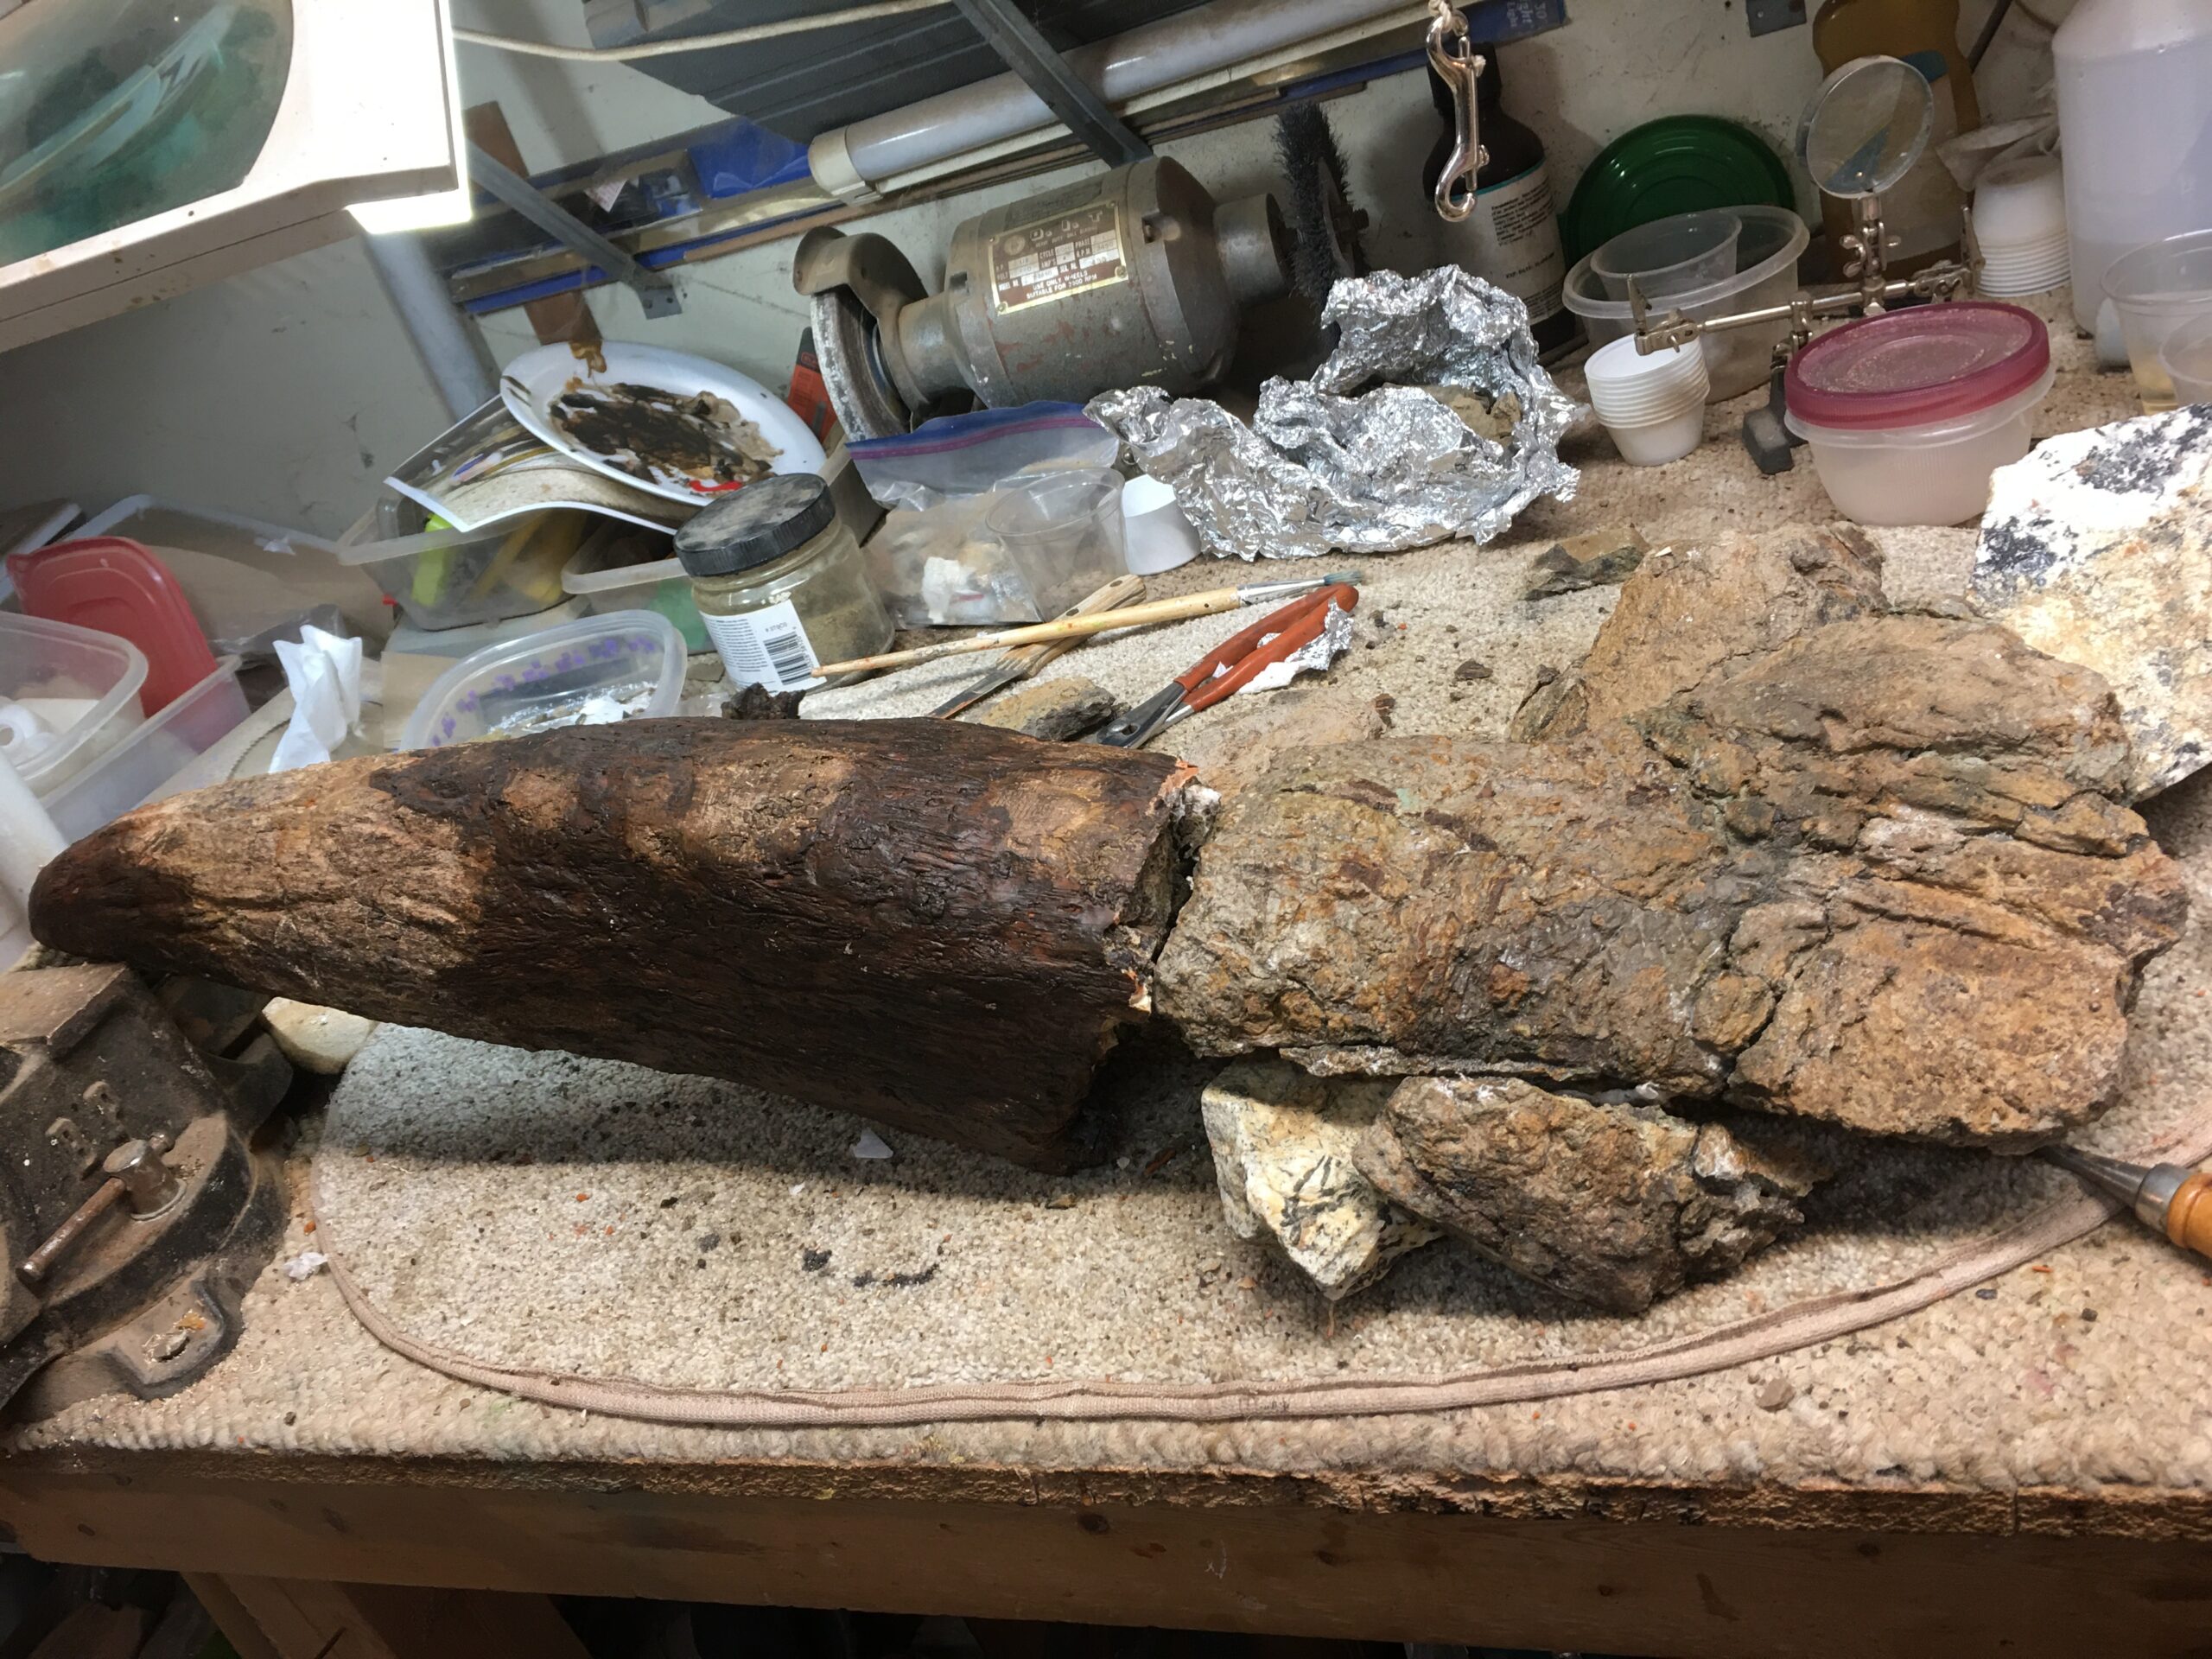
Triceratops Horn Composite
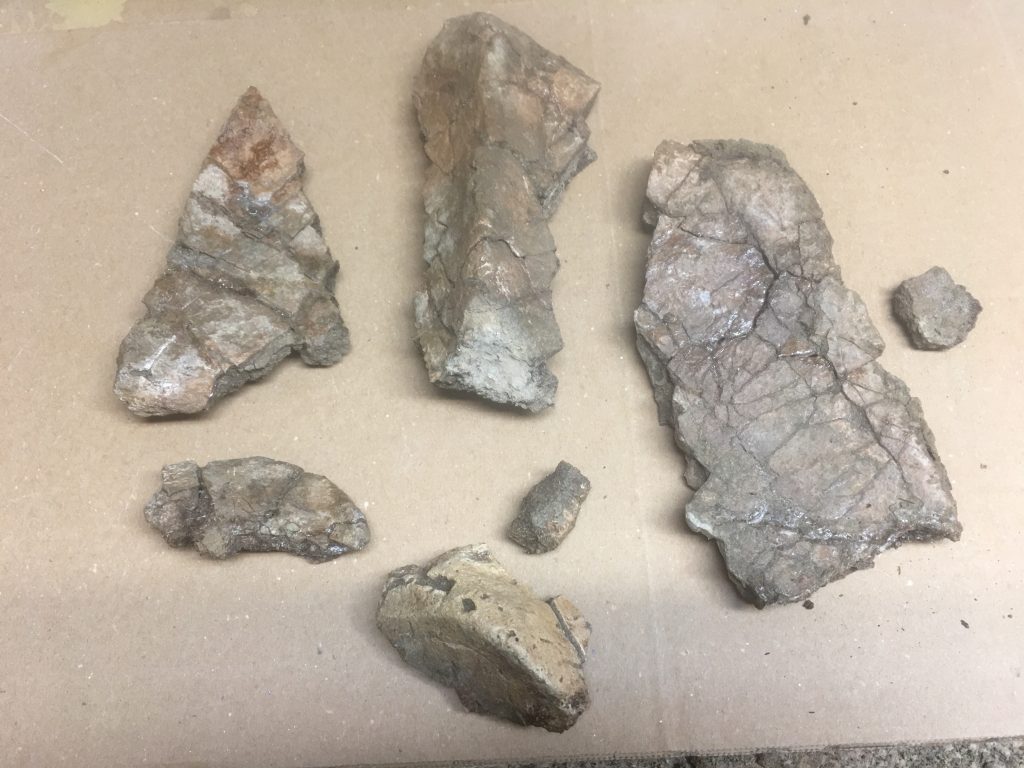
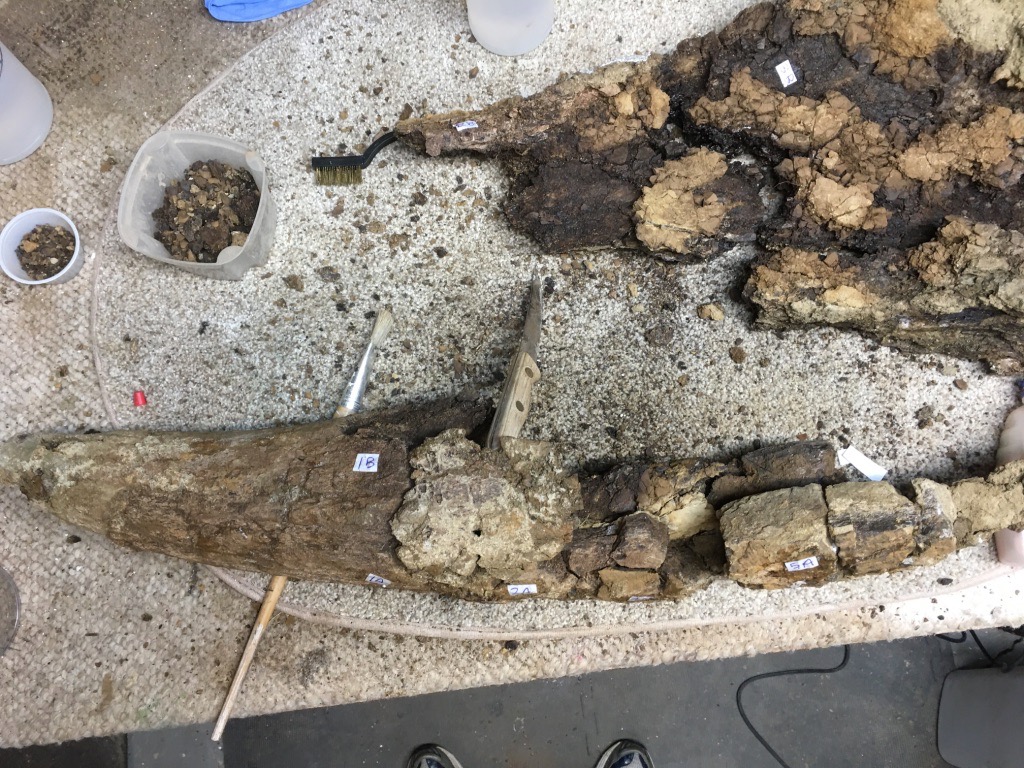
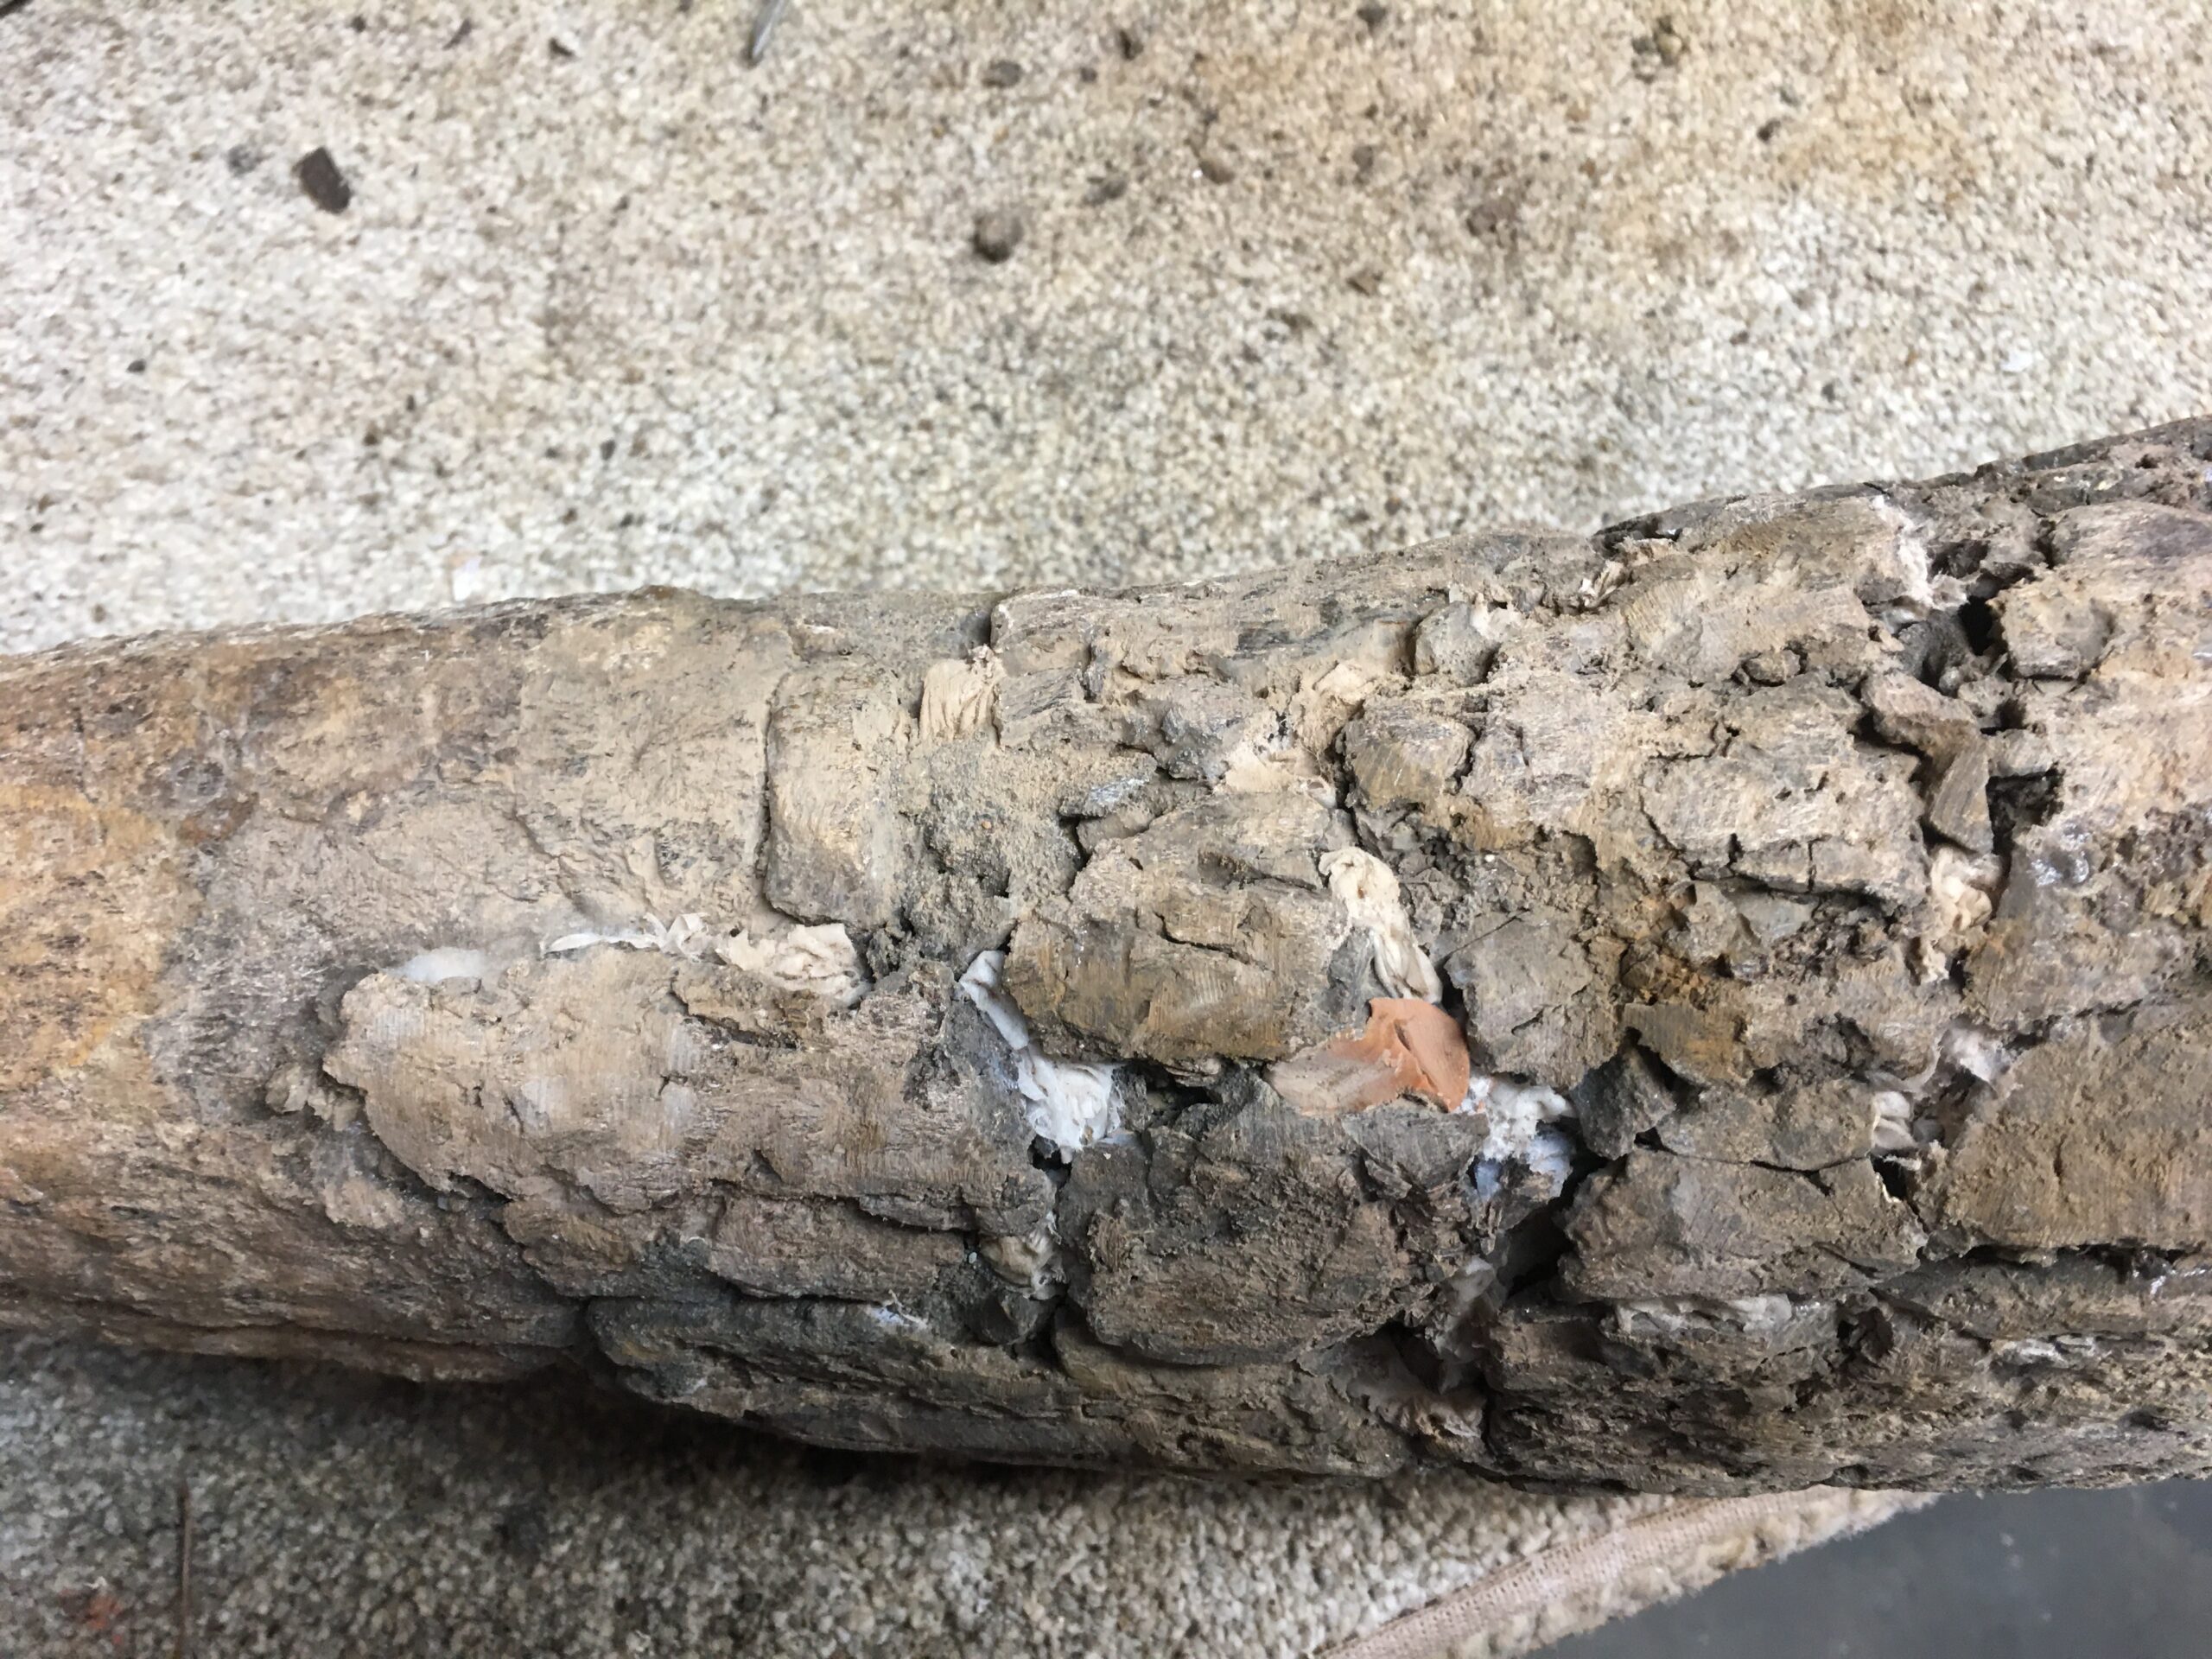
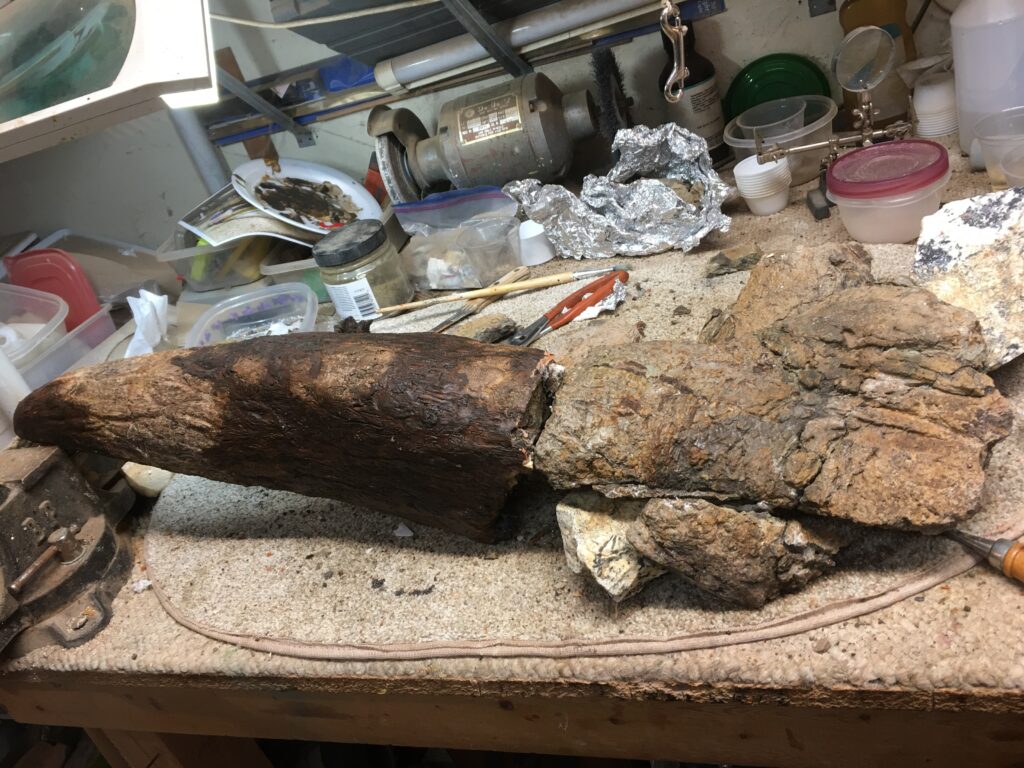
My most difficult reconstruction project was to salvage and match up a Triceratops horn in disastrous condition with a horn base from a different Triceratops. I started with about 12 inches of a solid horn shaft with a missing tip. The remaining portion of the horn was comprised of 20 inches of horn gravel, which had already disintegrated into an unrecognizable mass of bone fragments. This often happens with specimens discovered near the surface. The solid end still had a round shape while this remaining mass was flattened out into a shape twice as wide.
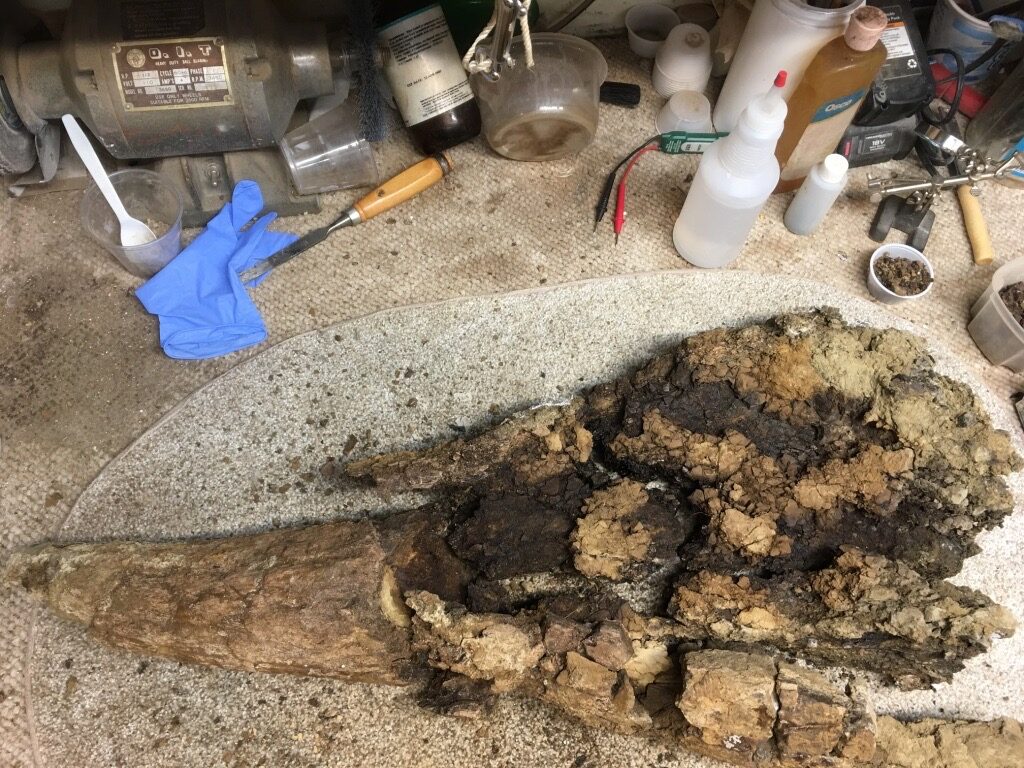
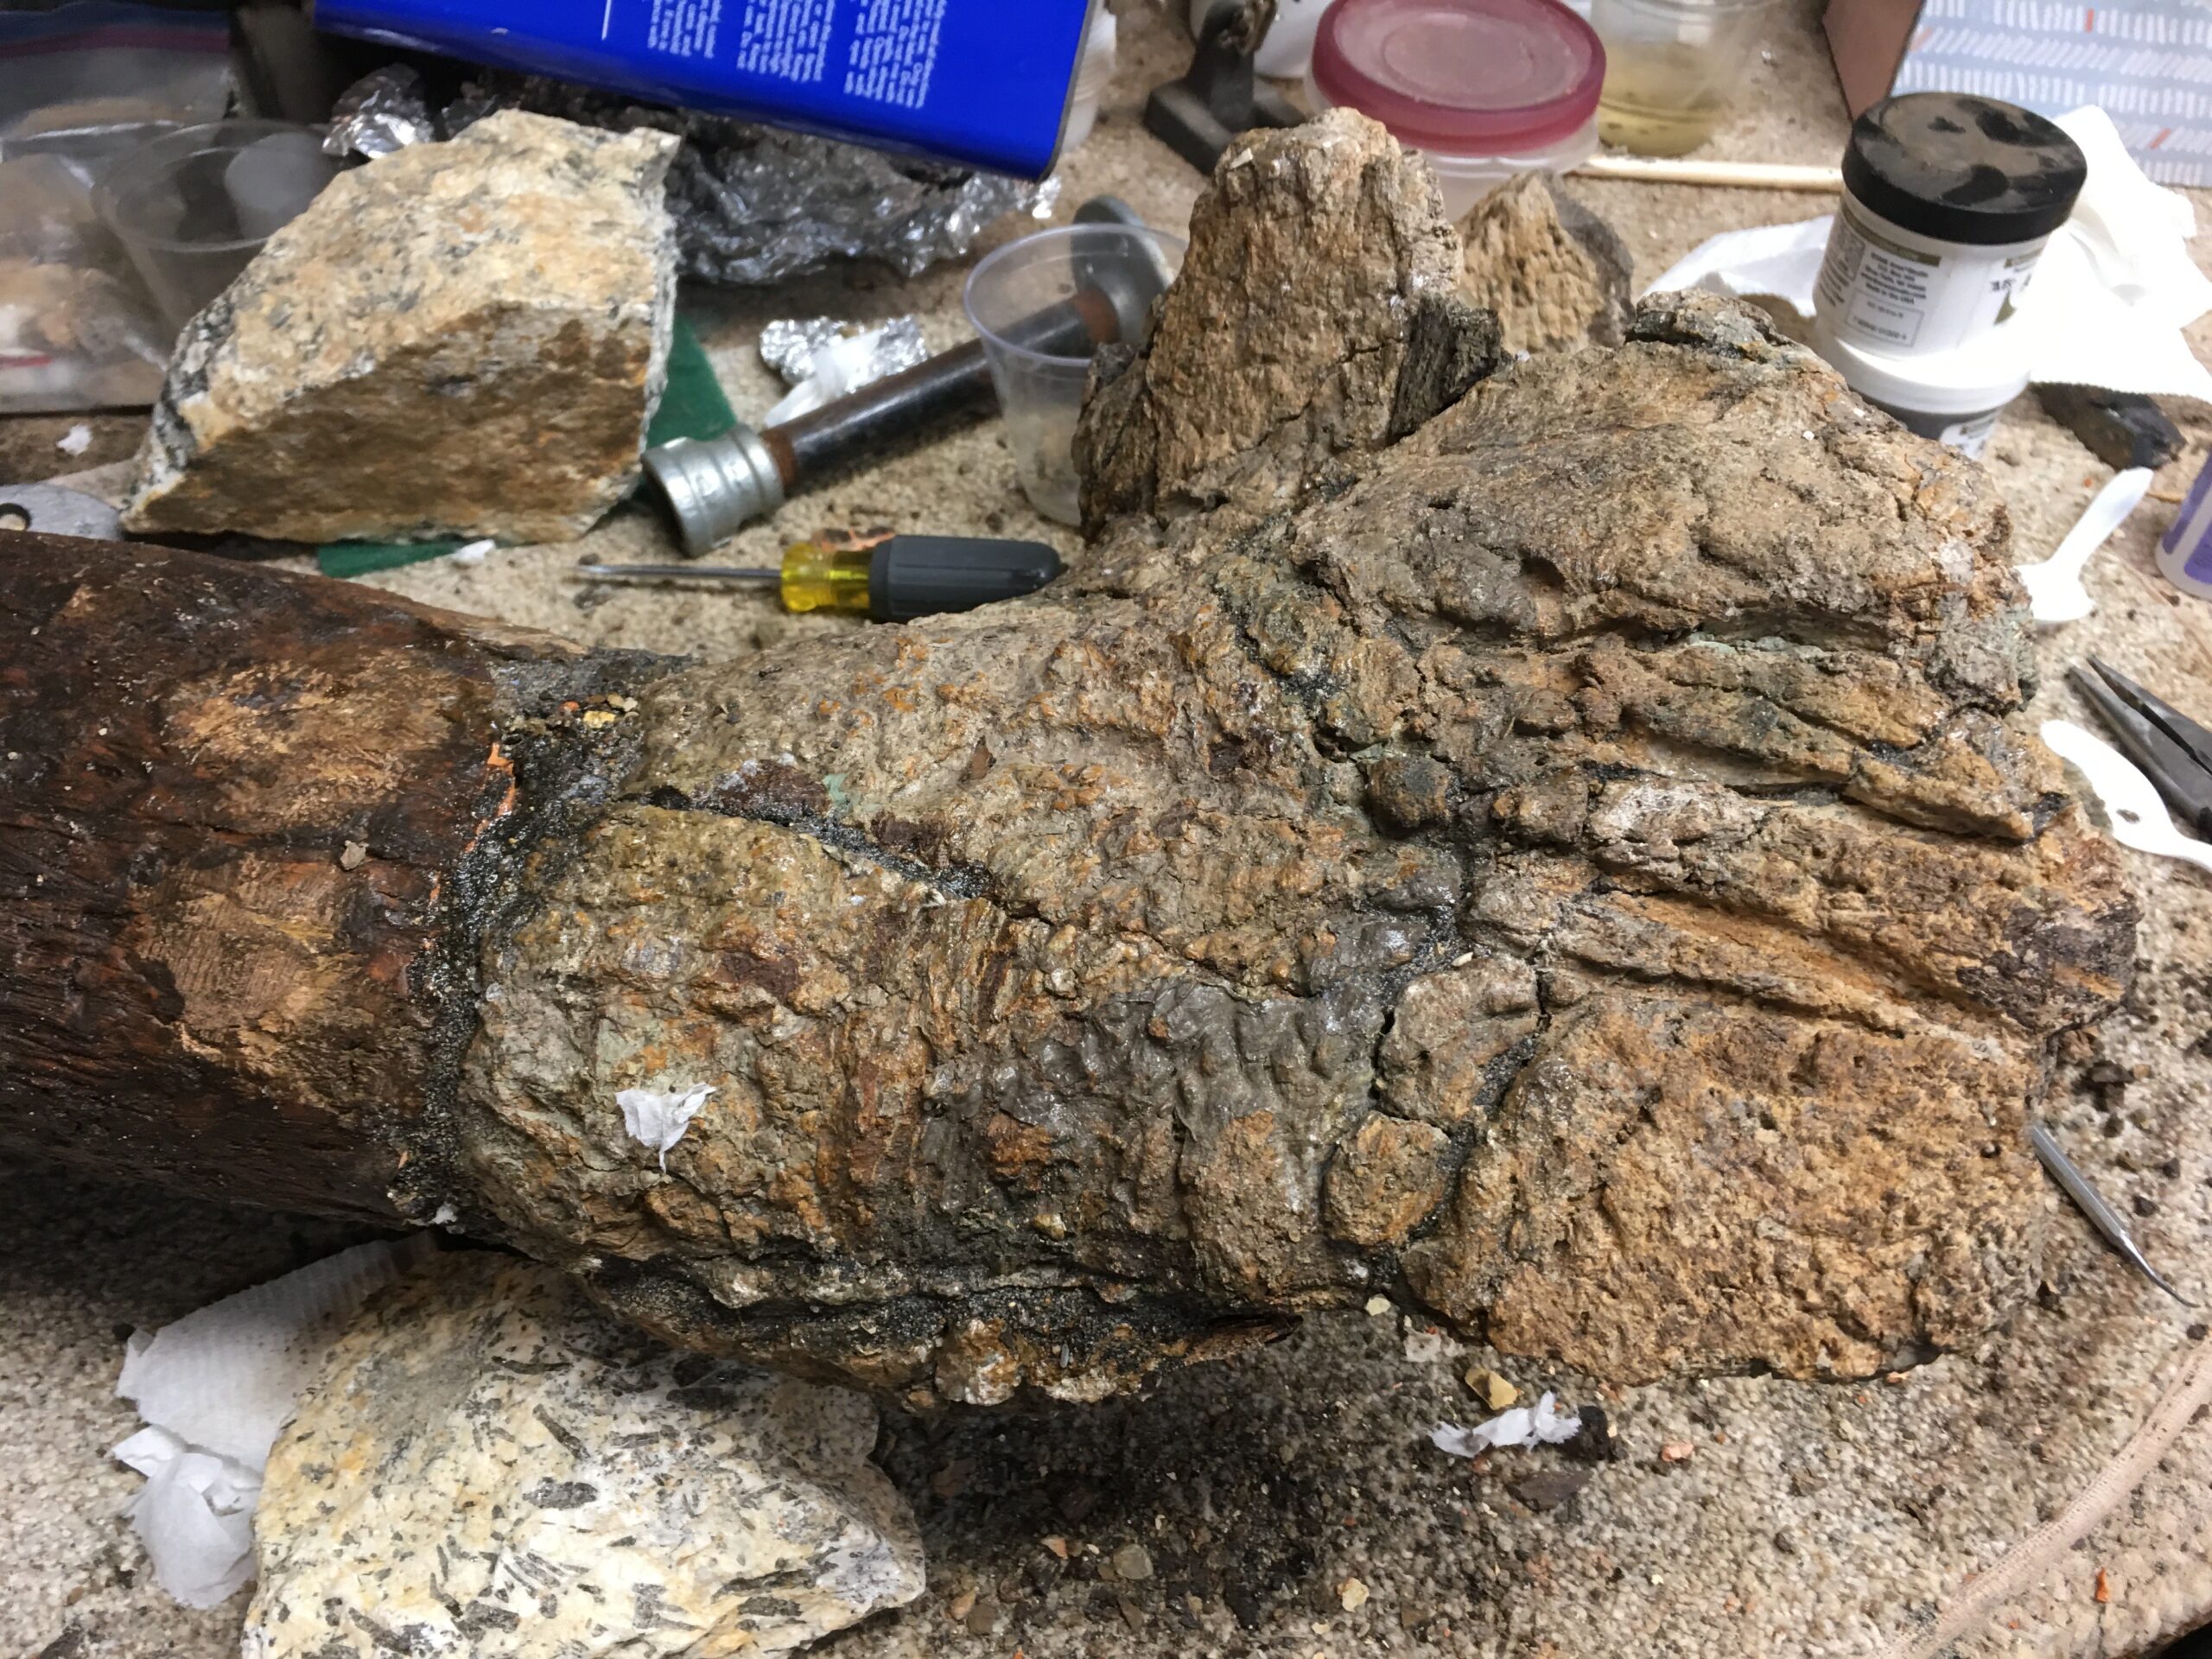
Mass of horn gravel 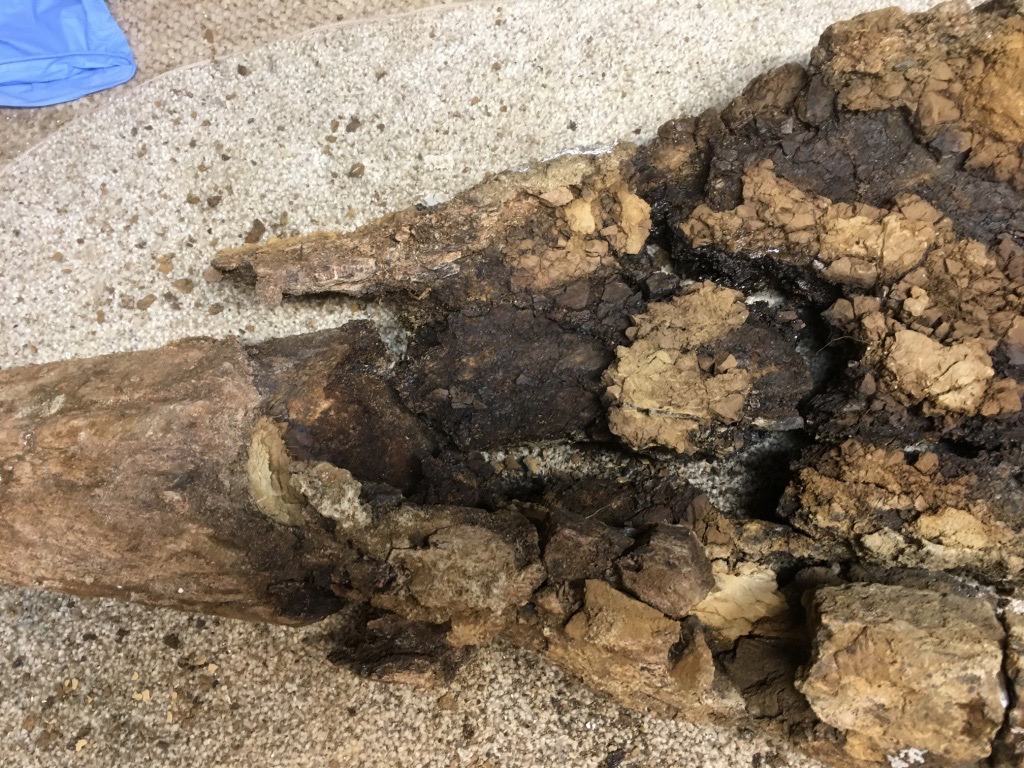
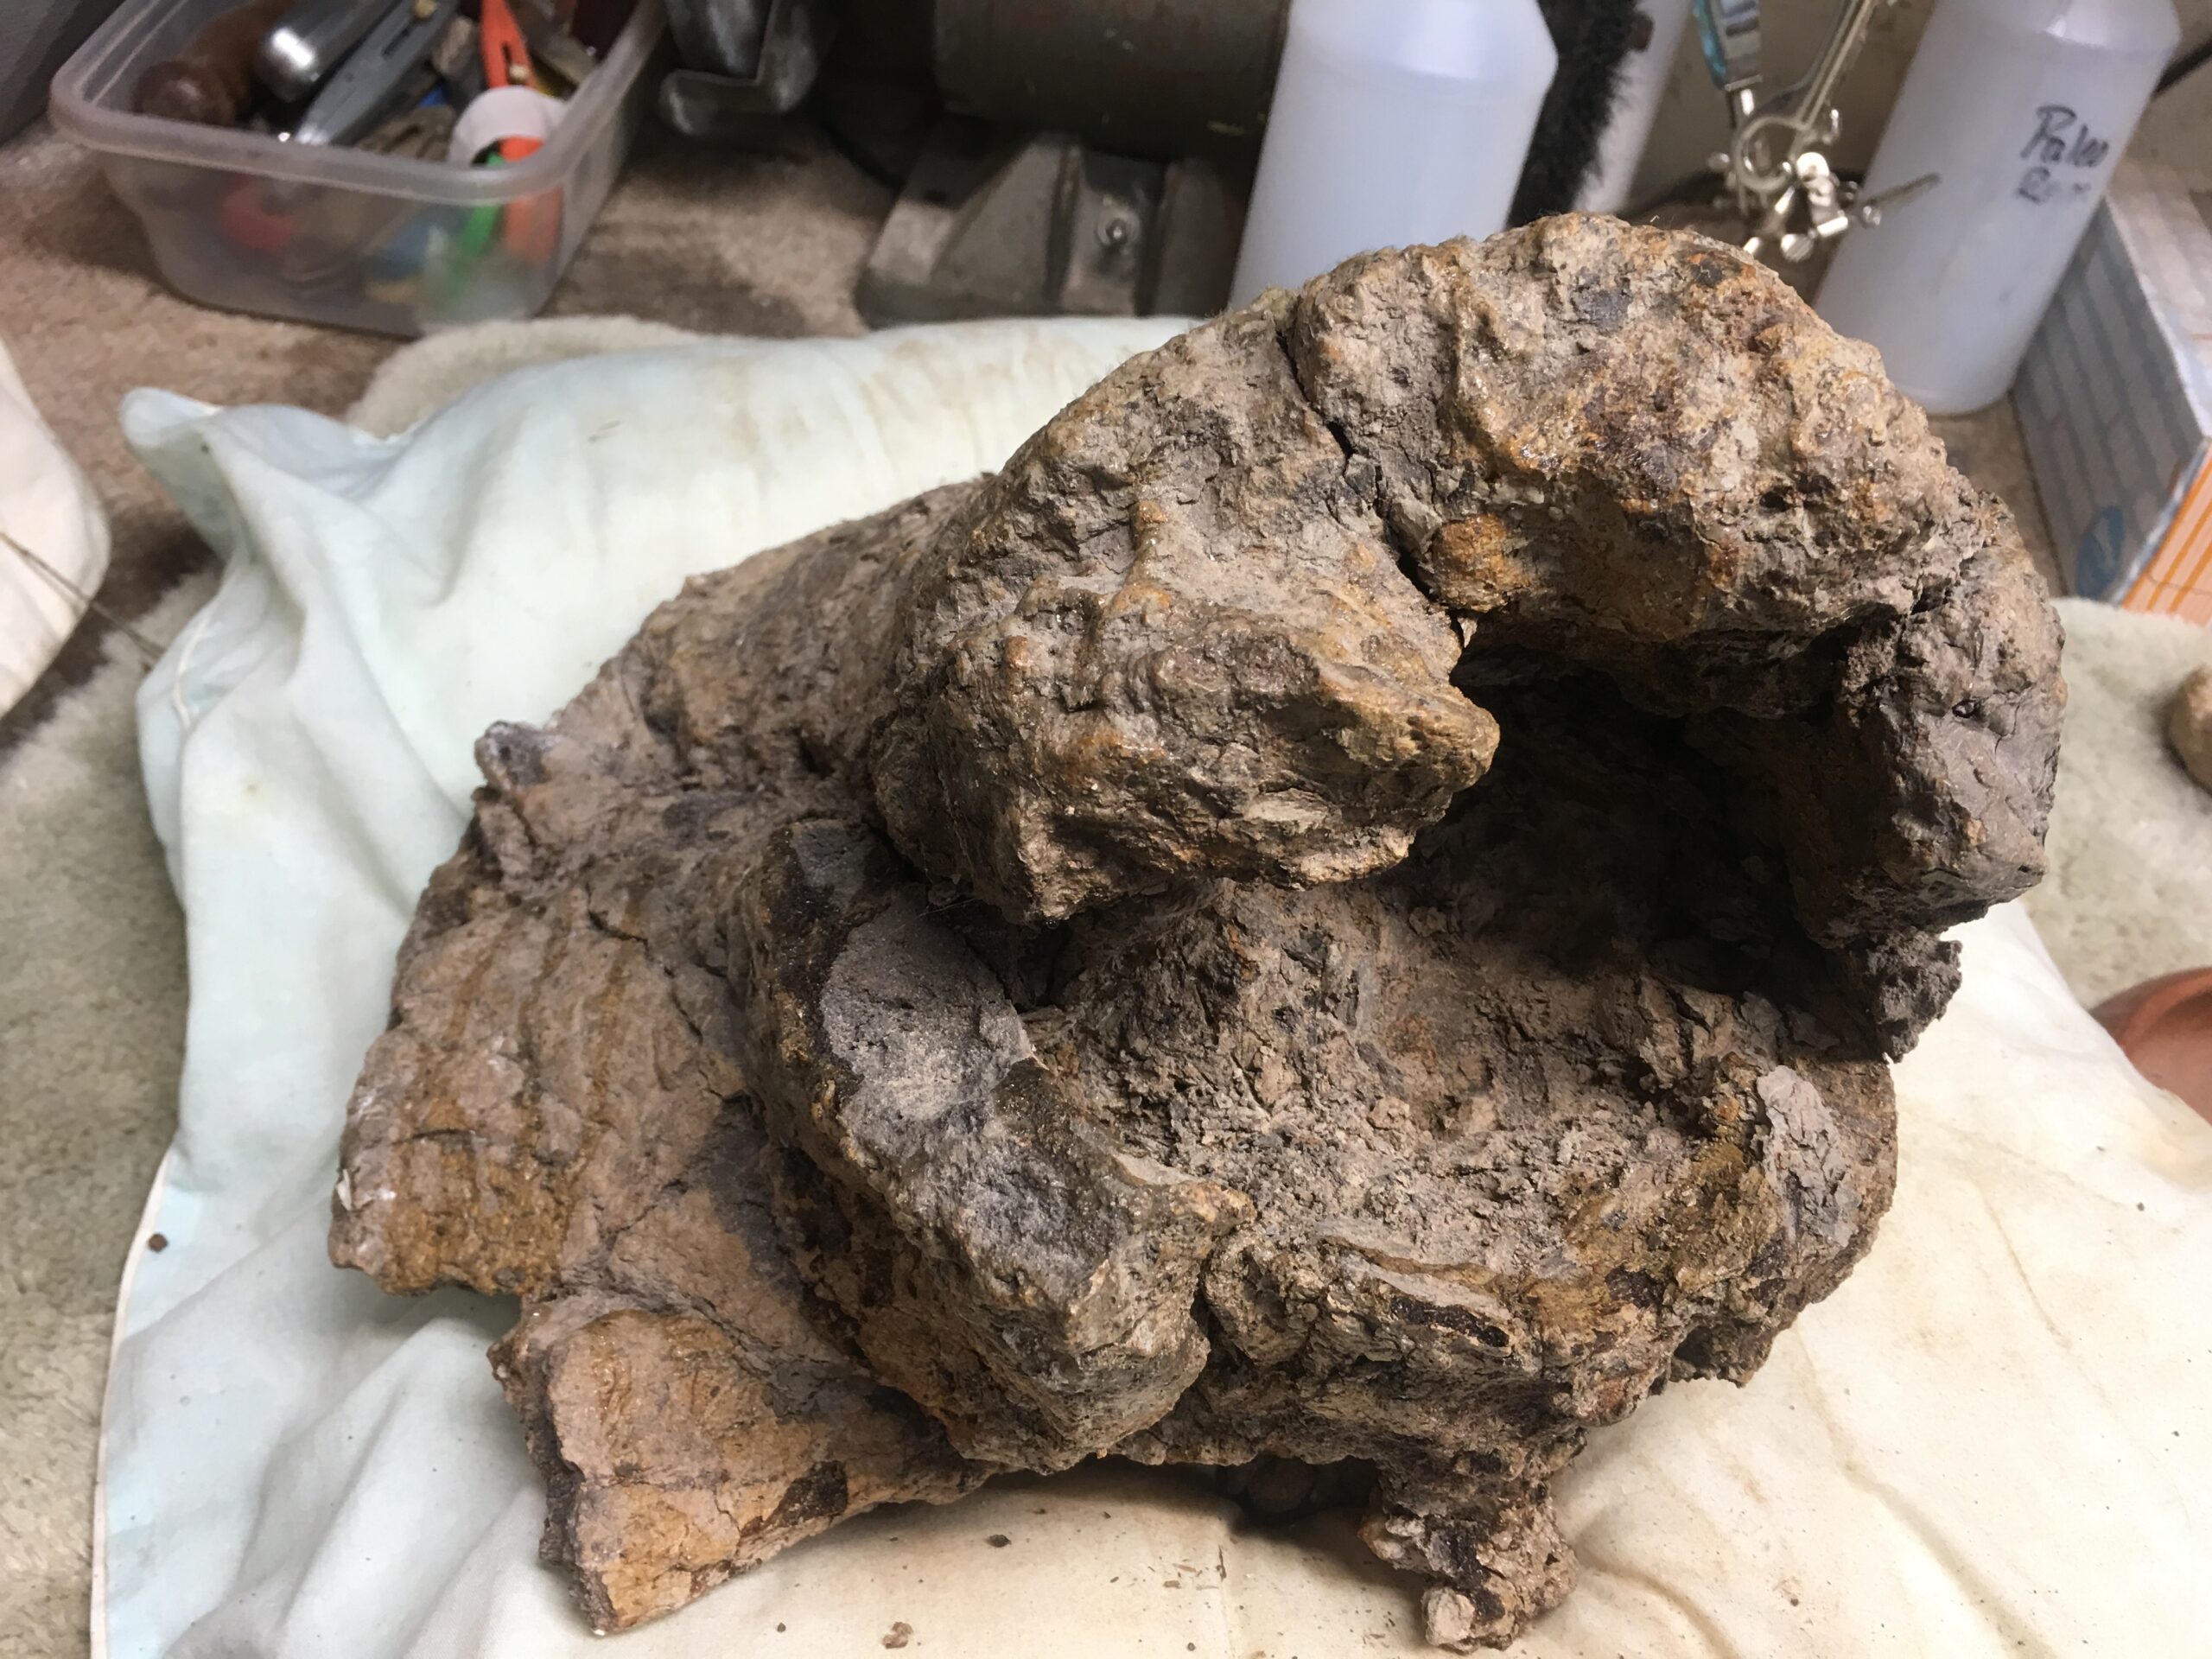
I was ready to toss out these scraps and only preserve the solid portion. But, I had an orphaned horn base on the shelf from an different dig site. It had no horn, only a round hole where a horn had been and a thick skirt that flared out where it had ounce attached to the skull. When I attached guidelines along these parts I found that the slope of the horn would lead to nearly the shape of the hole in the base. The problem was that the middle area was missing or unrecognizable.

Horn Base 
Horn Base 
Horn Base 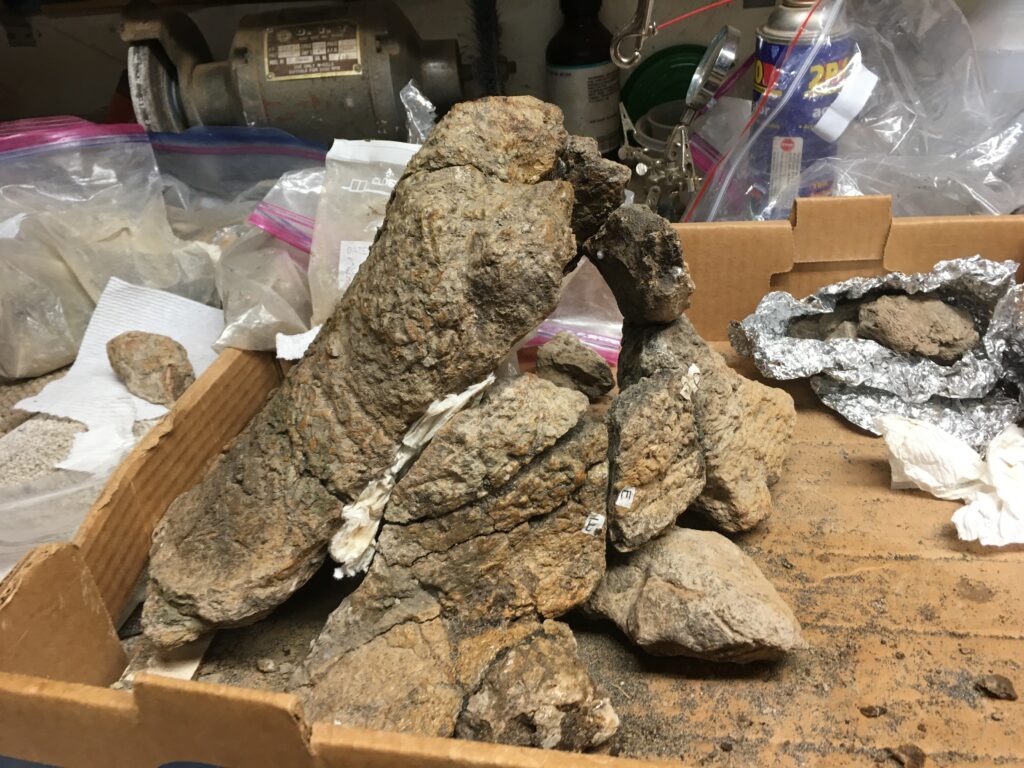
Horn Base

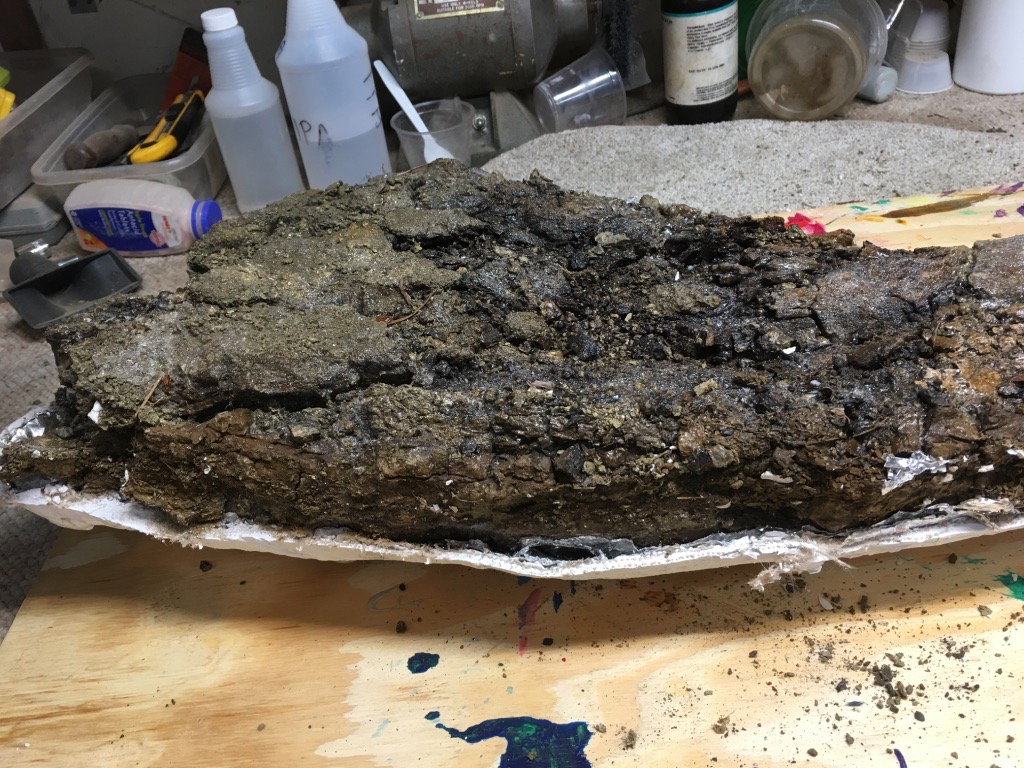
In the field, this fossil was difficult to handle. I could not move it without significant stabilization even after it was in a cast. Back home in my lab, I repeatedly drenched the mass, still in the cast with my “Paleo Lock” solution of PVA and acetone. In time, it did became very stable. The bad news was that the pieces were now frozen into a rigid unusable shape.
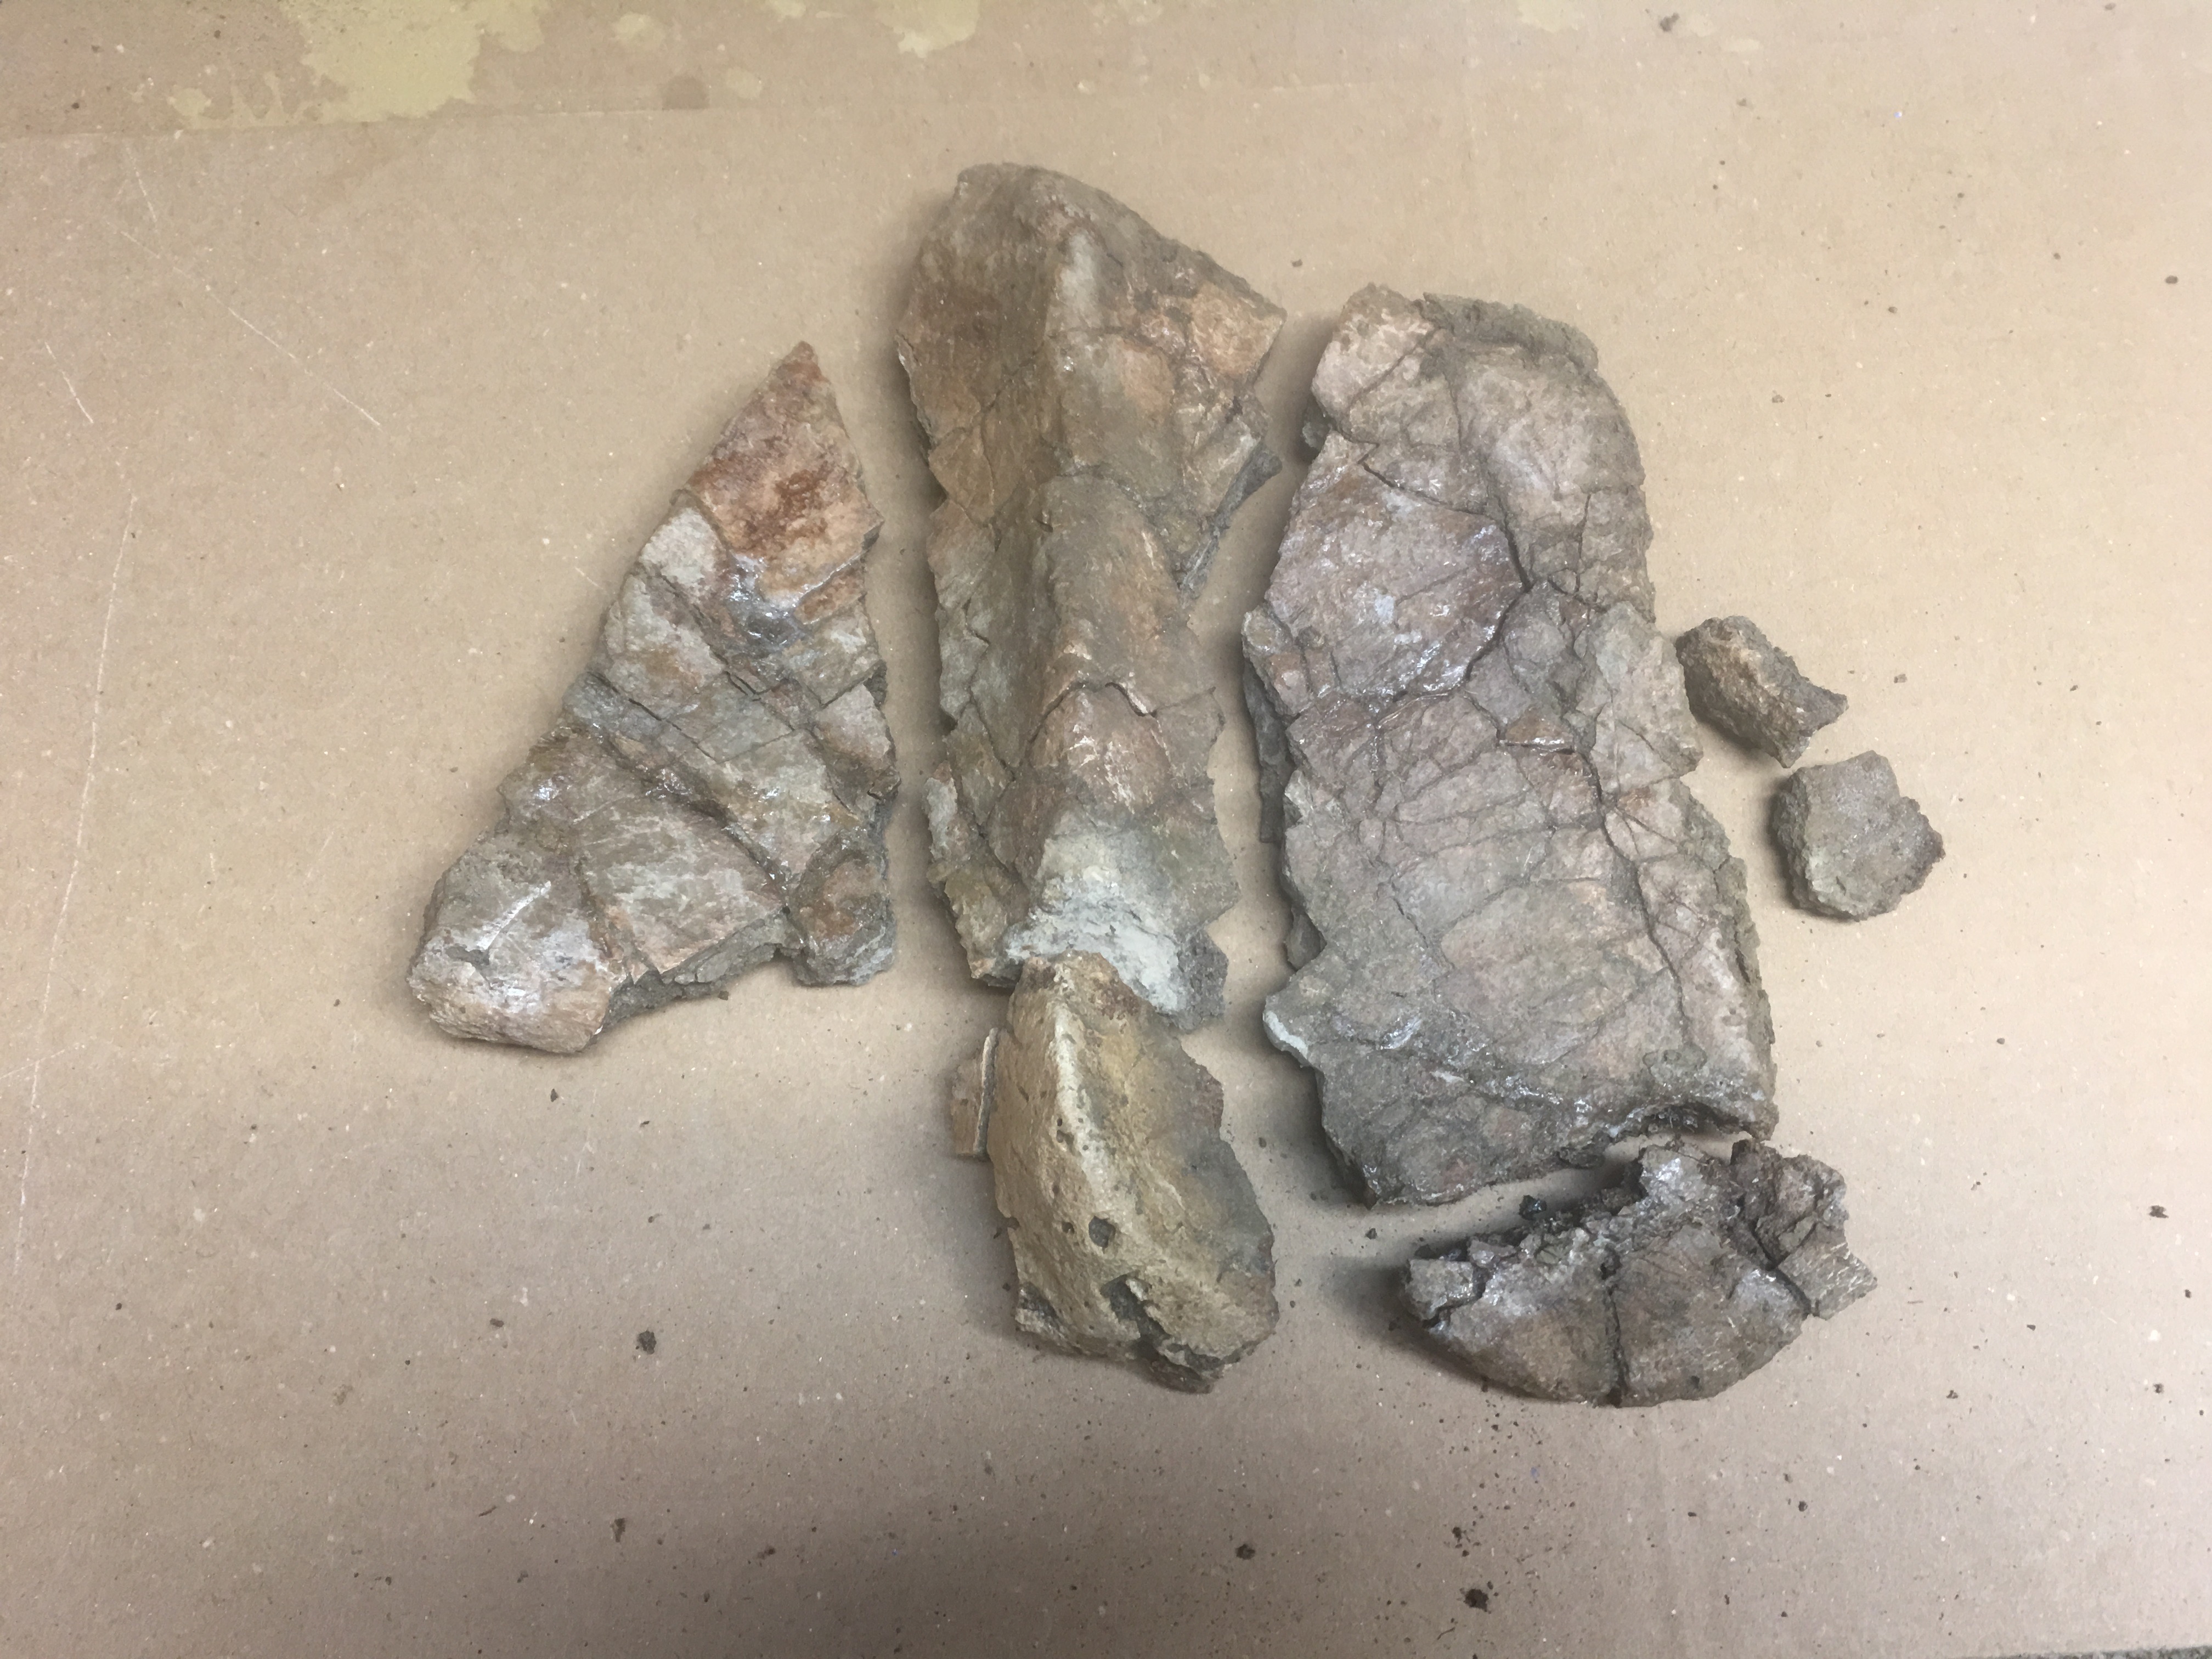
I turned the cast over and lifted it from the horn mass. To my regret, several hand size patches of horn with veneer had peeled away from underside of the mass and were now stuck to the aluminum foil barrier I used between the fossil and the plaster. I did not put a drain hole in the bottom of the cast. I think excess of PVA collected in the bottom and caused this problem.
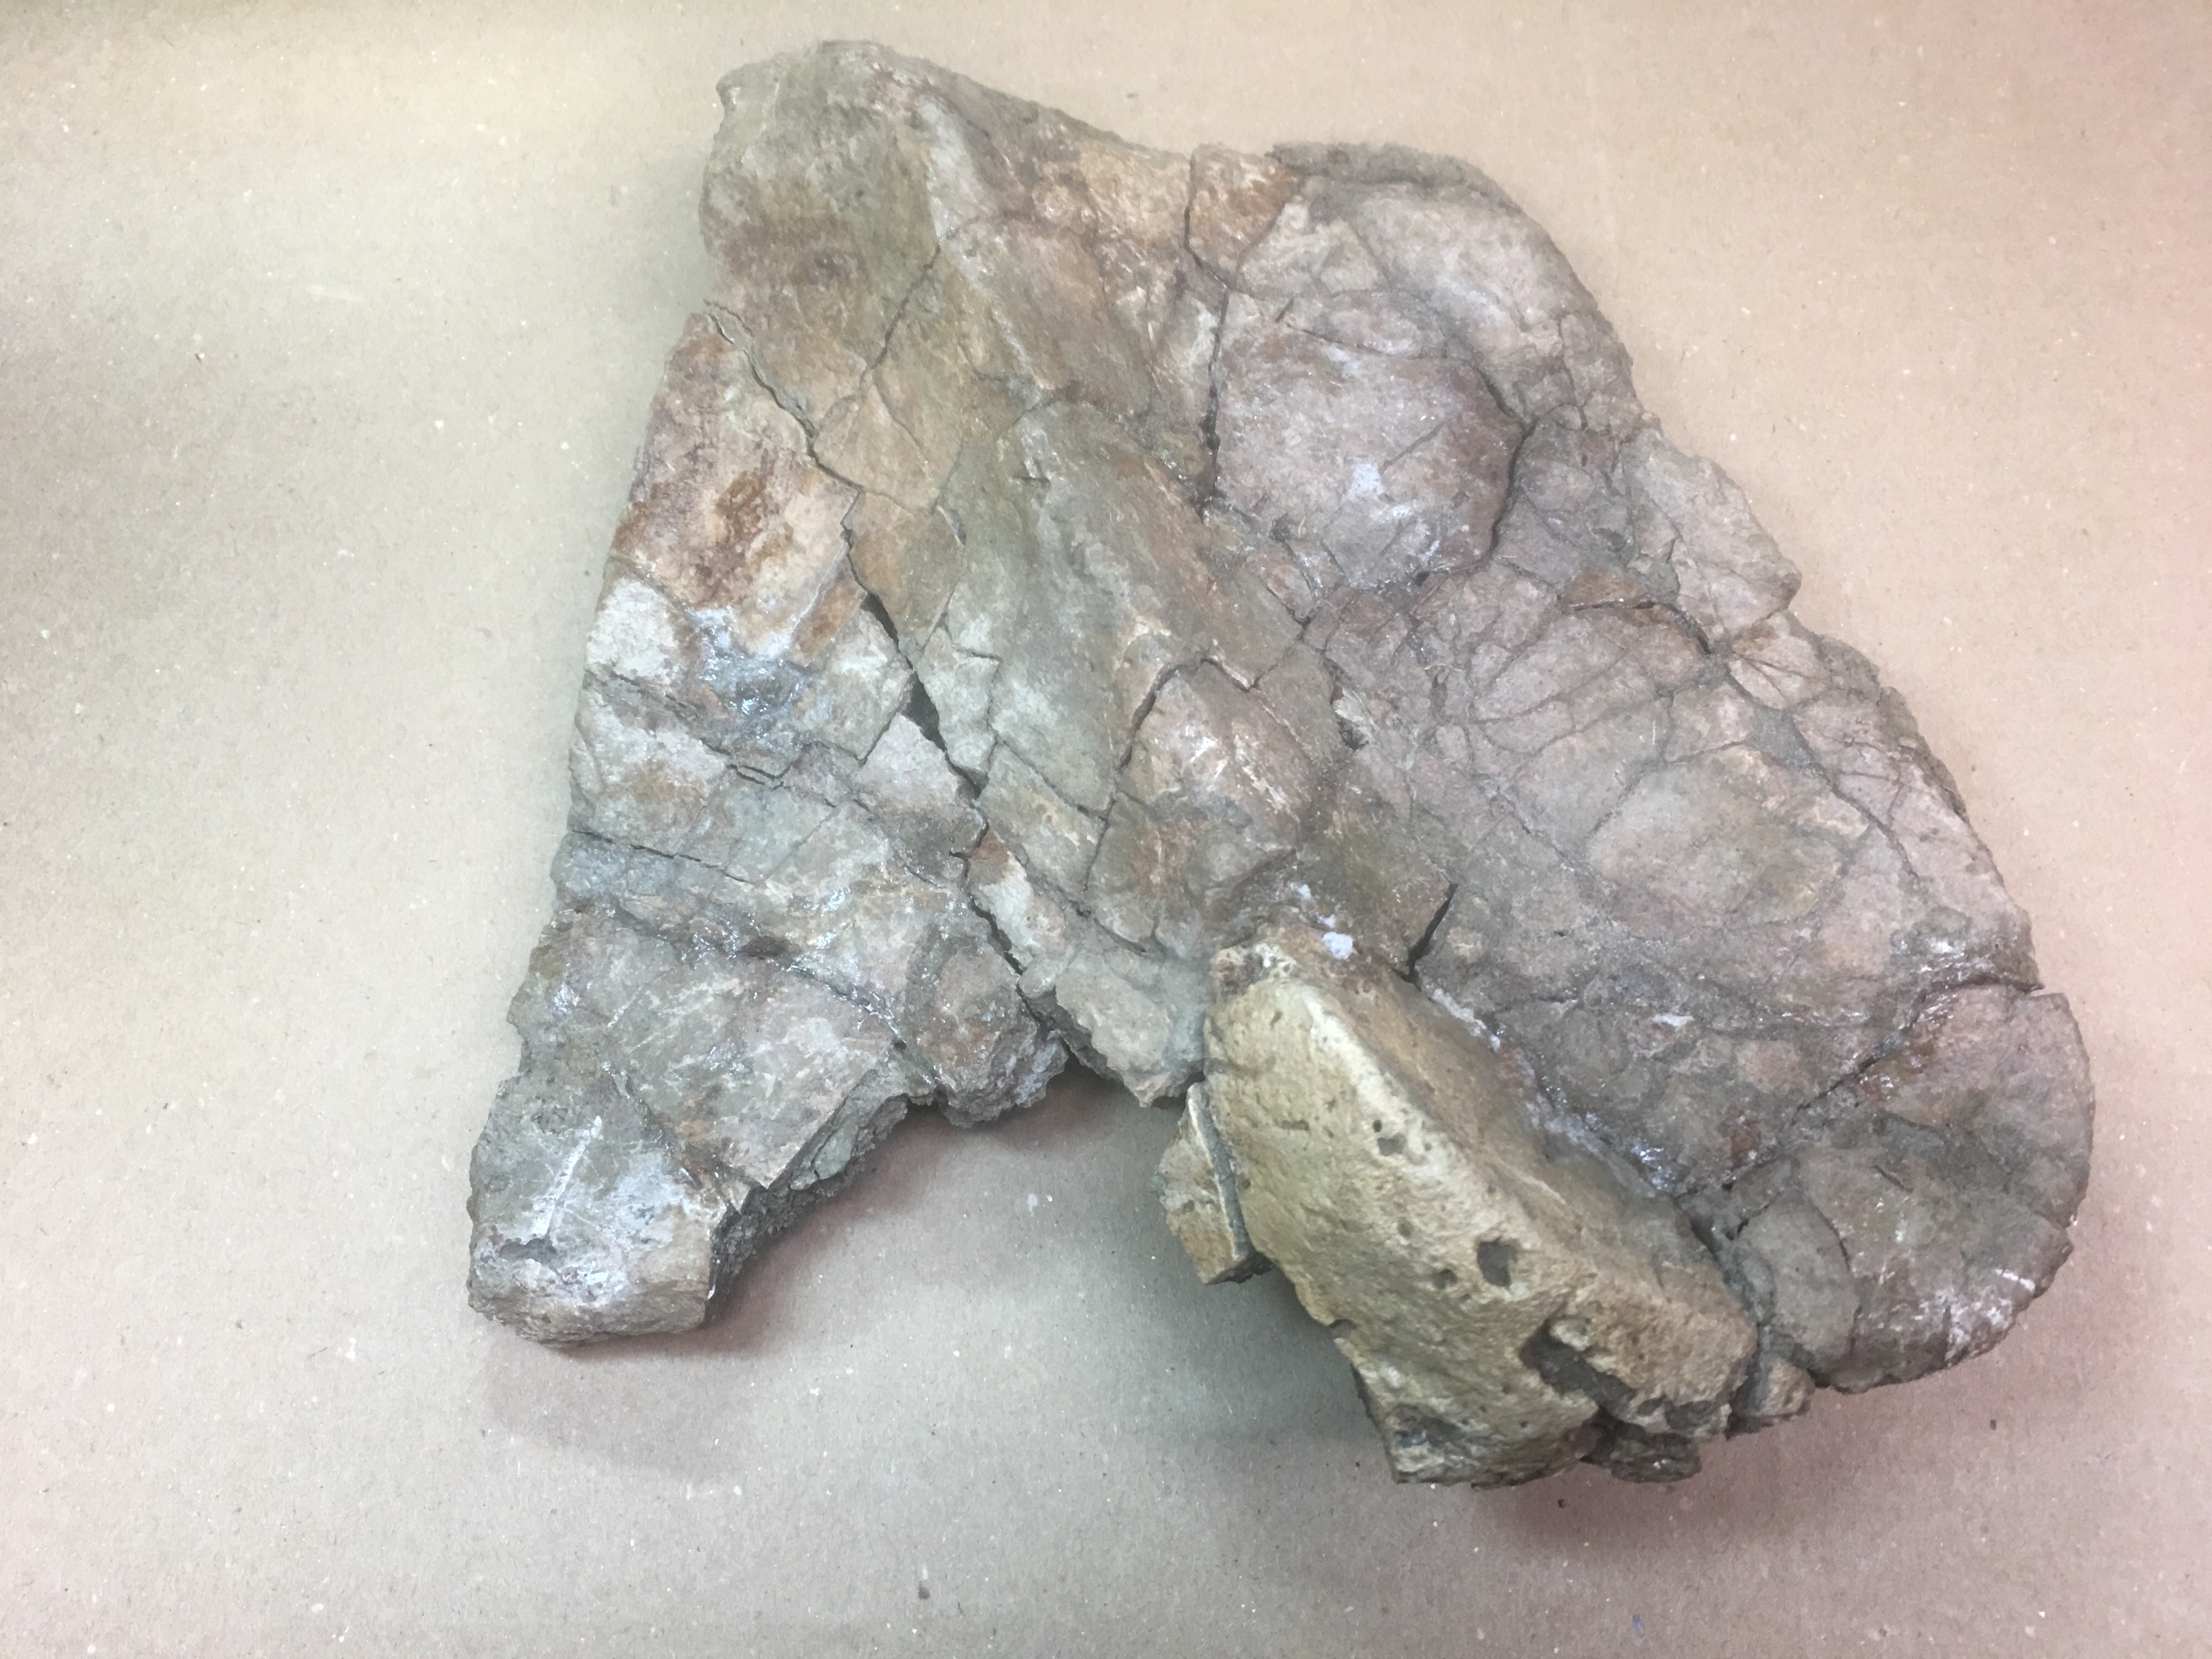
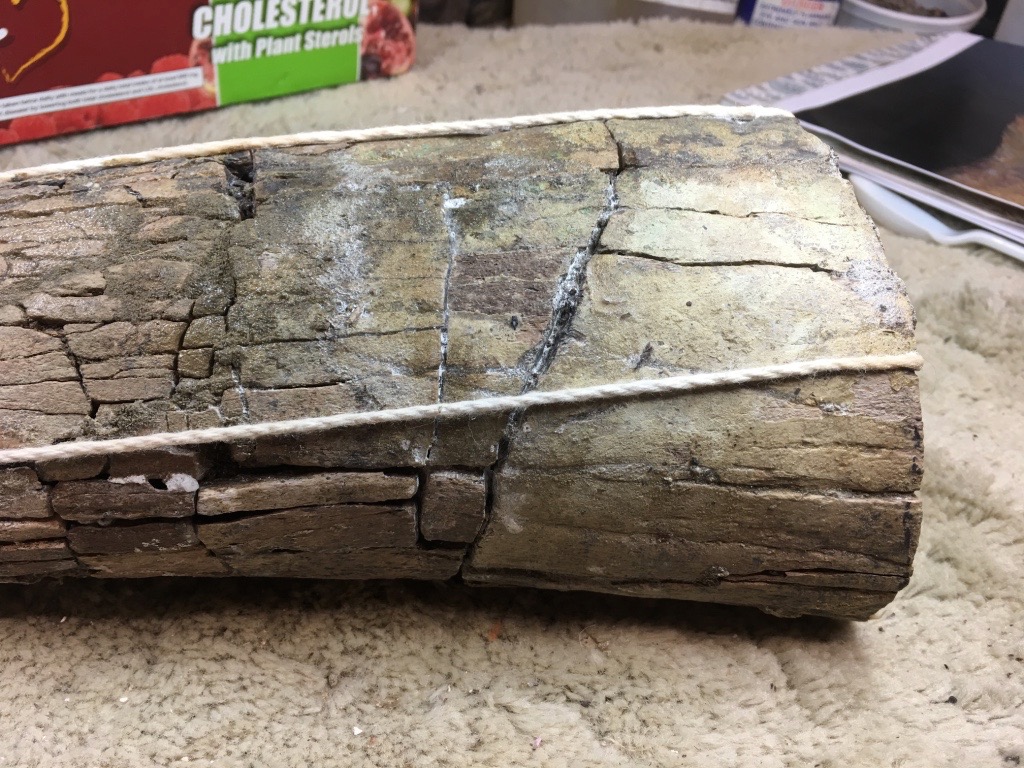
I peeled off the foil and reassembled the patches into their approximate original locations as best I could determine. This created an outer shell of horn sections with veneer in the correct position but with an empty core, all of which looked very scrappy an uneven. Some pieces stuck up above the level of other patches. I could have lived with this, but since the purity was already compromised, I went unconventional and ground down the pure bone to fit the needed couture. Now that was drastic.

Patches matched up to original positions 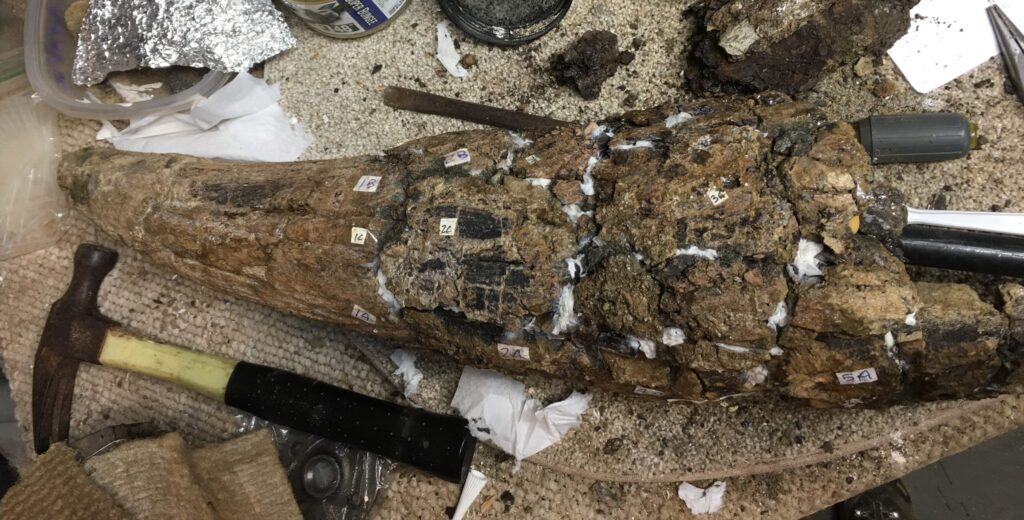
Patches matched up to original positions 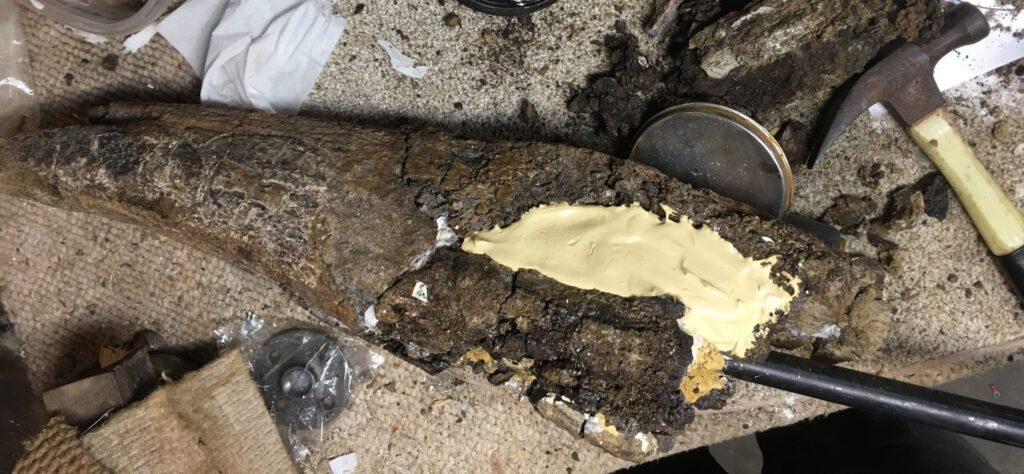
Gluing in pipe with Durham’s “Hard Rock”


I filled the core with pieces of the remaining bone mass. I soaked sections in acetone to loosen the PVA and hand bent and formed the pieces into a curved shape resembling the original and force fitted them into the core void. I could actually say that the assembly was about 95% pure horn, but none of internal pieces in this section were in their original locations.

Rough surface after patch assembly 
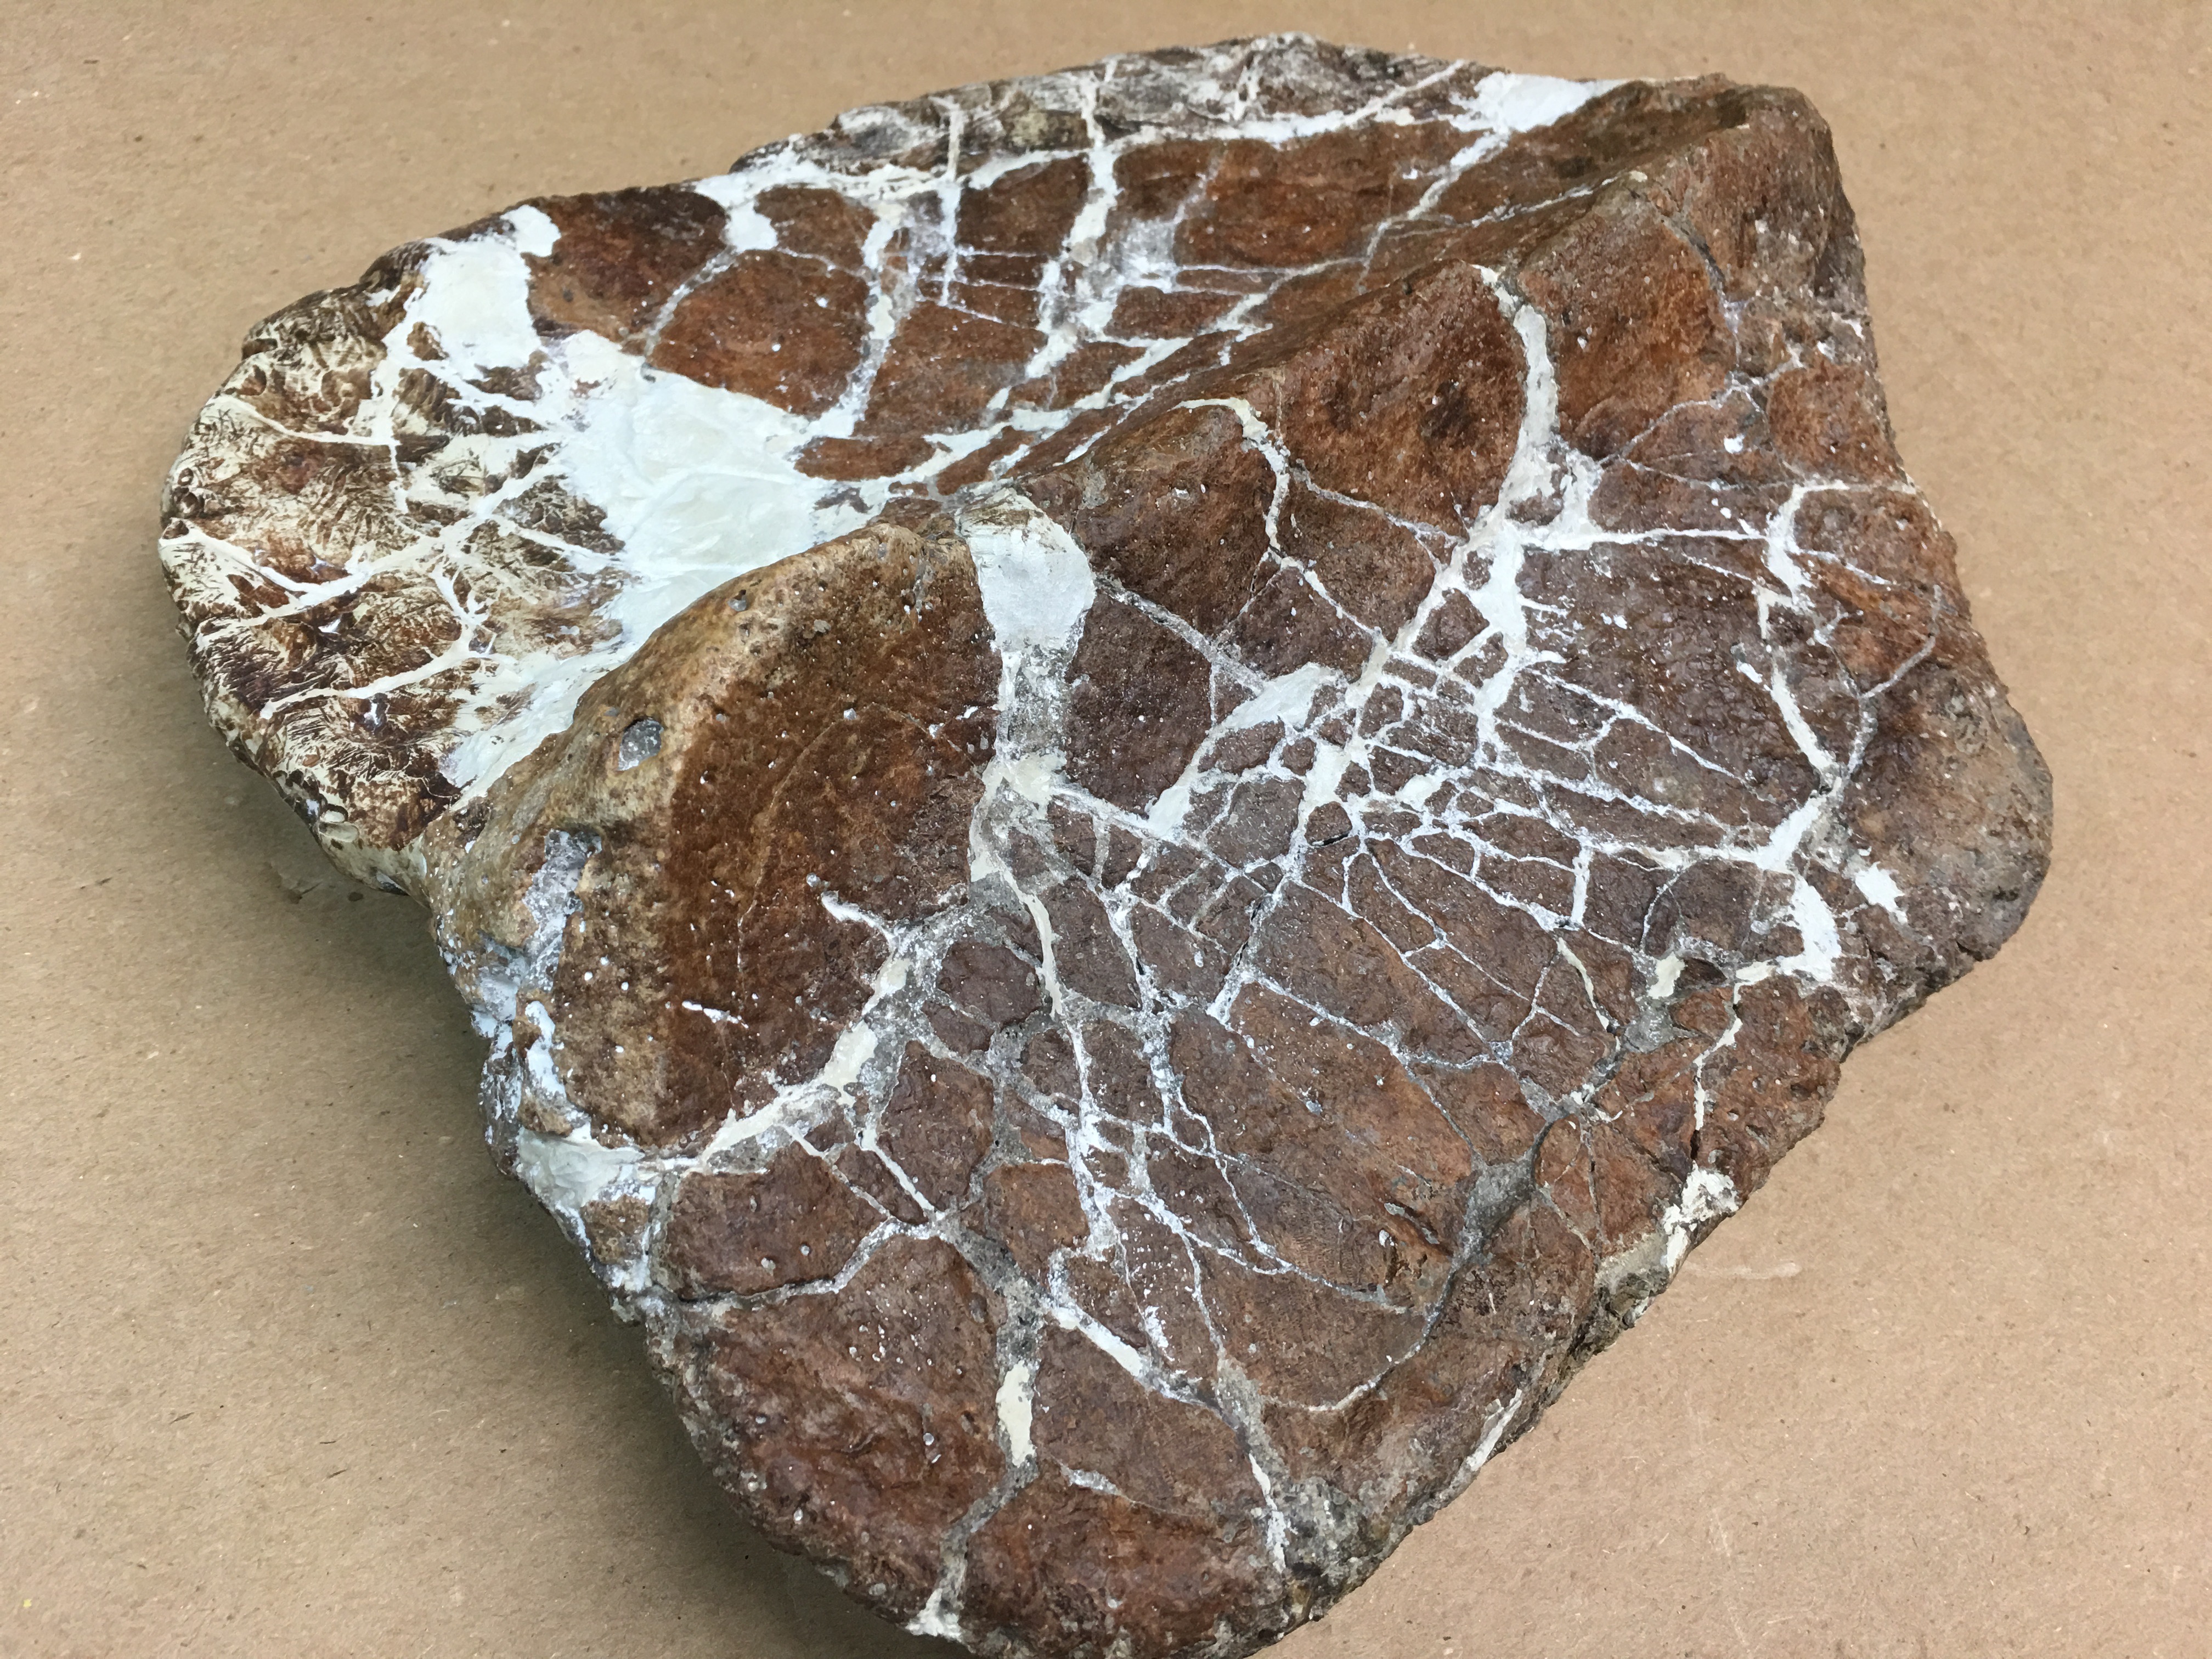
Gaps filled with epoxy 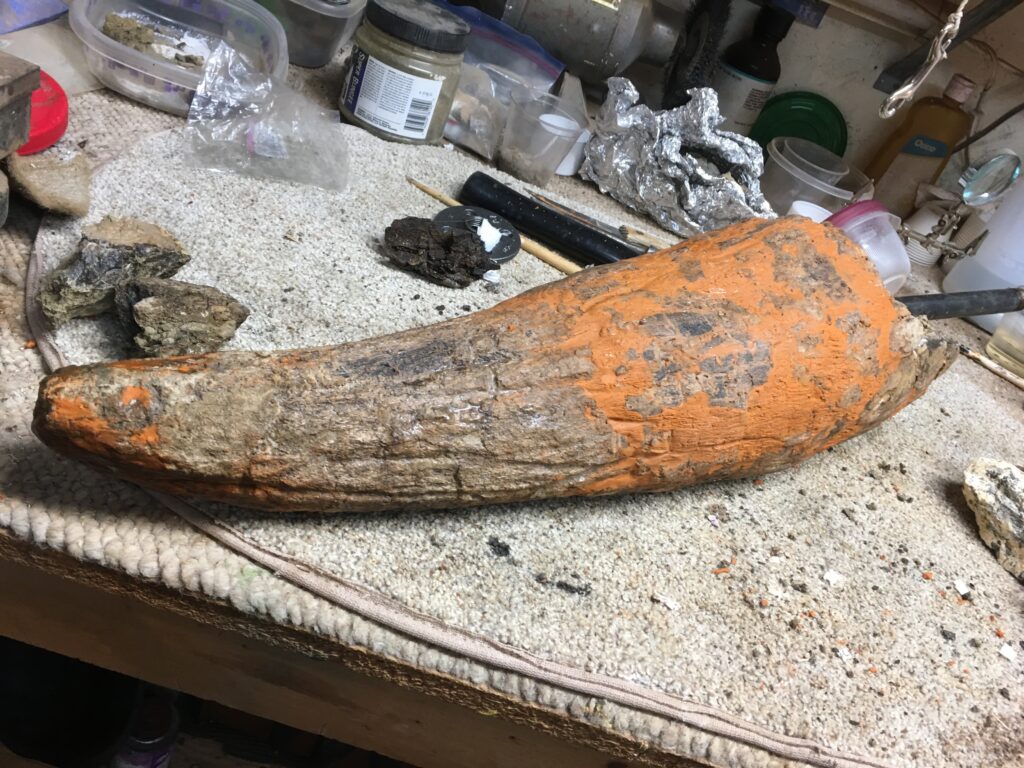
Epoxy painted over


As I mentioned in the “Prep” section, matrix or concretions can be so attached to a bone surface they can not be removed, especially if they are more dense than the bone itself. You can try to get close with a air scribe, but you may inevitably loose veneer in the process. Even with a good micro blasting system there is a limit. I concluded that, if I am going to touch up the fossil surface with paint anyway, what difference does it make what the true surface is: pure bone veneer, ground down bone or iron concretion, or epoxy putty. It will all look the same in the end, and my kids don’t mind.
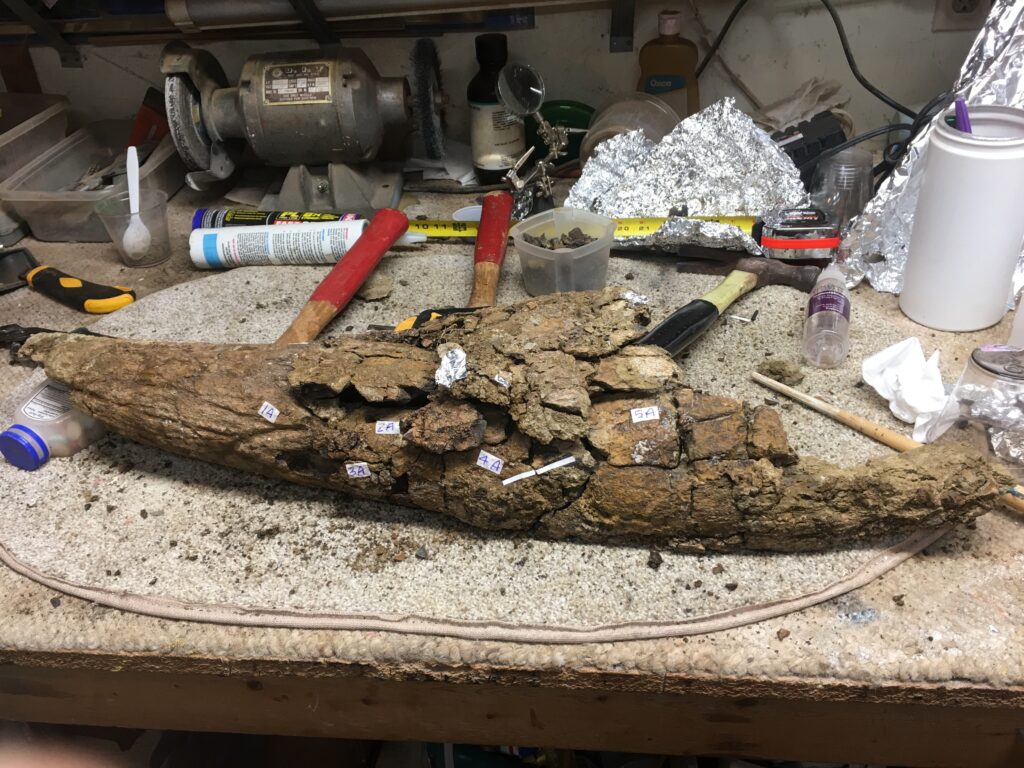
This process results in some pieces with lots of original texture and some areas that are flat and featureless. I took my Dremel tool and ground in vein groves and other features as needed to improve the overall appearance. Where there is an epoxy patch, I pressed in surface texture with a variety of home made tools while the epoxy is still soft. When the shaft core was filled and shaped, I began to attach the hollow base. I placed the sections in a pattern to match the natural curve of the horn. The base proved to be that for a horn on the left side of the skull. In the process, I epoxied in a length of pipe from which to mount a display stand.
Aligning horn to base 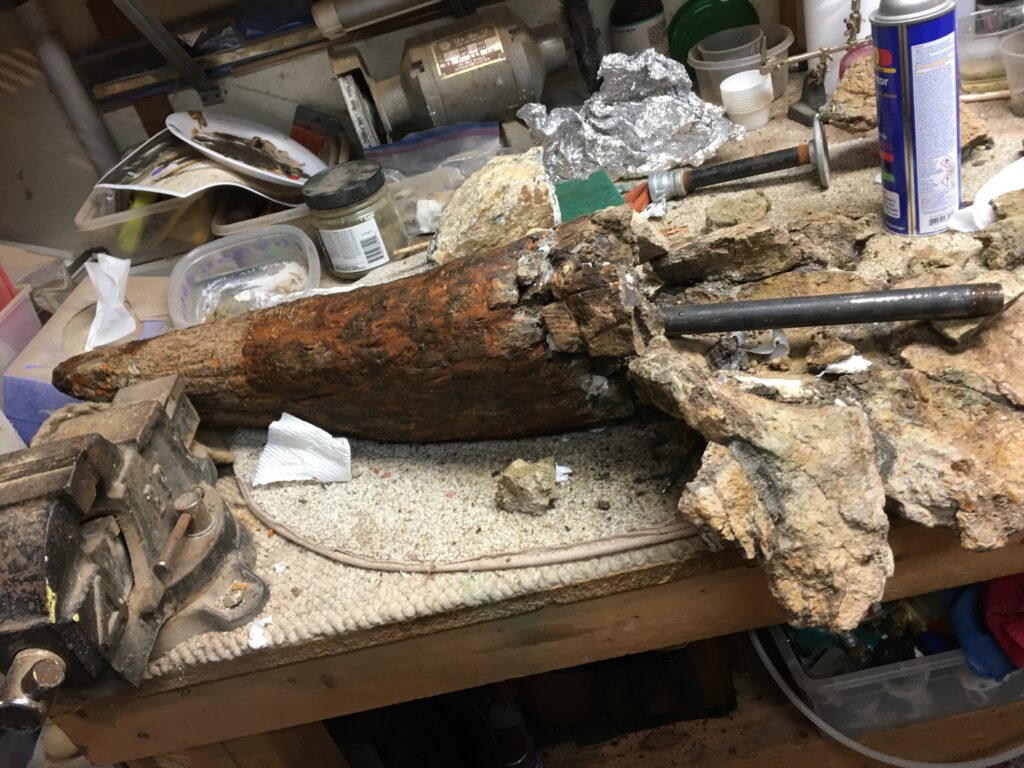
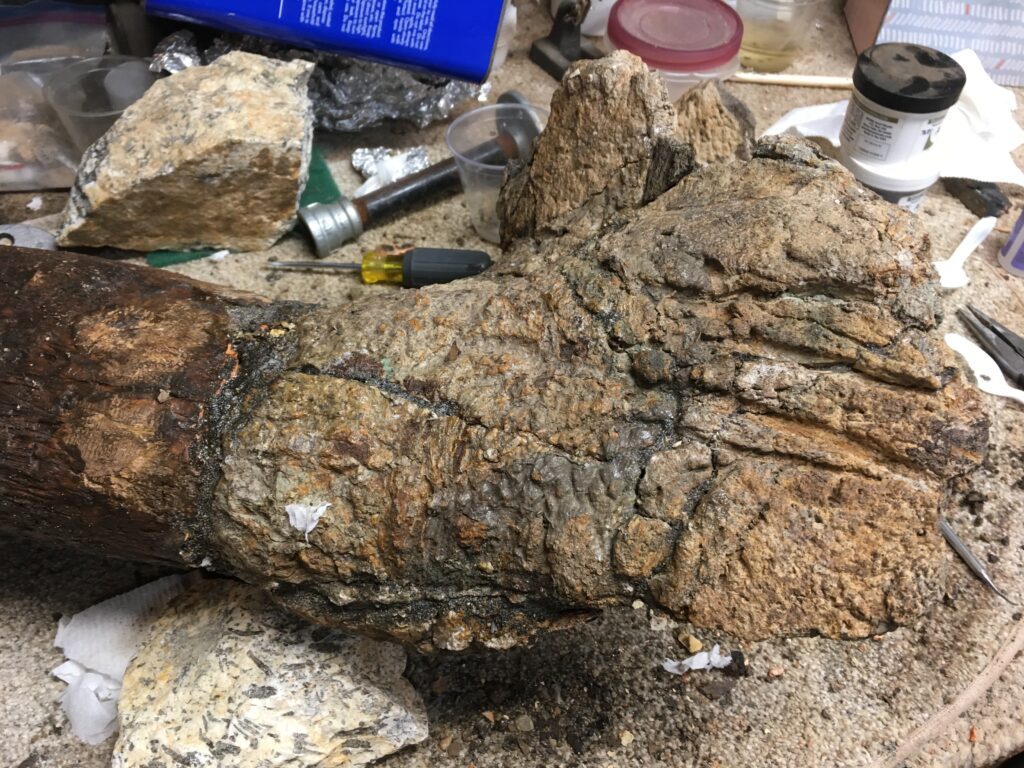
Horn fused to Base

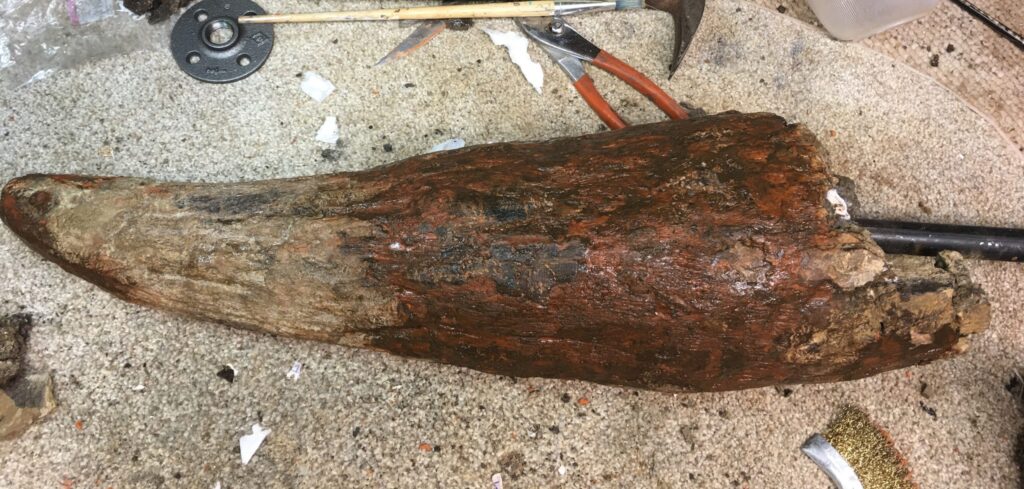
When the base was completely attached there remained a dip in spots between the widest portion of the horn shaft and the narrower neck of the base. And, since perfection was not the issue, I filled in any odd dips with more epoxy putty even if it meant covering up true bone veneer. One patch was about a quarter of an inch thick. If a natural vein groove stopped at the putty fill, I carved and extended the groove into the putty.
The original horn fossil did not have a tip so I constructed one from epoxy and natural veneer scraps to the dimensions of the one that was missing. I touched up the colorations and finally the composite horn looked genuine and natural. This was like putting together a puzzle knowing that 20% of the pieces are in the wrong locations, but yet the picture still looks good.
After this experience, I began to get very creative with the unused fossils and scraps that had remained on my shelves for years.

One Response
I understand why one would want to see a “perfect” fossil, especially a child. I’m a beginner (at best) if not more of just reading about and enjoying places like the Mammoth Site in South Dakota. I’ve been on two digs. One was great, one was a joke. Anyways, I personally like the raw, not tampered with fossils. How they are first found. Maybe because as a child I always thought they came out of the ground in perfect shape. It amazes me how some are found in great shape and others are mear fragments. How a trained eye sees a bone, where I don’t see anything at all. Oh, how I would love to shadow someone for a day on a dig site and be their gopher.