Materials
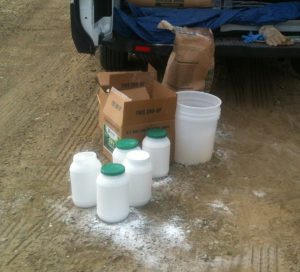
I have tried both Molding and Casting plaster in casting bone specimens in the field. The Casting plaster is a little more expensive, but it is about 50% stronger. It is also harder to remove later in the lab. The plaster I use comes in 50-80 lb. bags. I always open the bag and fill up several 10 lb. jars for easier use in the field. Burlap is traditionally used to wrap and form the cast structure. I have used burlap from old coffee bean bags, fabrics that are used for garden coverings and the jute material used as the backing on carpets. To protect the fossil surface from the plaster, I cover the fossil with the heaviest gage Aluminum foil I can find.
I bring along several 2-3 foot pieces of lumber to support larger bone casts. I wrap the rod or plank of lumber directly into the top layers of the cast. The thicker the cast the more protection it will need, but also the heavier it will be to carry out of the field.
Casting Process
When a bone is sufficiently stabilized, I gently remove the matrix from around the bone while trying not to loose any integrity. I dig out a deep trough all around the bone to at least 6 inches below the bottom of the bone and out to 12-18 inches beyond the sides of the bone. I then gently dig out the matrix from under the edges of the bone to leave the bone sitting on a narrow but stable pedestal.
When I started out I did not make a very deep undercut on the edge of the bone. Then, when I turned the finished cast, I left half of the fossil in pieces in a heap still on the ground. This happened to me only once. I now cup the plaster cast round the underside edges as far as possible, even if I end up casting a lot of extra matrix.
I wrap the bone in the HD foil, and I always press the foil into every crevice. Some prefer to first cover the bone with toilet paper or paper toweling before they apply the foil. They say that this can reduce voids and unsupported pockets. The objective of the cast or jacket is to keep the bone “as is” and unmovable for travel and transport to the lab. Any voids can lead to further cracking and shifting of some of the minor pieces that at this stage remain unglued. See the Step Buy Step Guide below.
I cut the burlap in to pieces about 12” x 18” each. I usually use many small pieces on each bone. I find they are easier to control in the wind. I put on at least two layers. I have friends who use mega sheets and lap then back and forth to make a thick layer. On larger bones their casts are often 2 inches thick.
I do not make a cast of every bone. Some times I find that several layers of heavy-duty aluminum foil will hold a specimen stable for transport to the van. If I find a rib in 4-5 pieces, I stabilize each segment and then stack then together and cover the grouping in layers of foil. I gave up trying to glue all the sections into one long piece in the field, which then I cannot transport without a cast. At times I have made a larger cast of several foiled bundles cushioned together. This requires good documentation and a lot of labeling. Yes! I have lost track of my bones before…“Now, what cast has which bones?”
Turning A Cast
I am always anxious when I turn a bone cast. I make a deep well by the side of the cast so that there is enough room to turn the cast completely over. I do not want it to stop half way. I use my shovel to turn the cast and try to hold the matrix in with my hand or any other tool. With very tall pedestals I capture a lot of matrix in the cast. After I remove the excess matrix the empty lip of the cast can be 4-5 inches above the actual fossil surface. I can carry the fossil out of the field in this condition, but for longer travel I always add a cast the underside. I foil the exposed bone underside. I then split the protruding cast edges every 3-4 inches, and fold these flaps down onto the foil. I then cast the bottom as before.
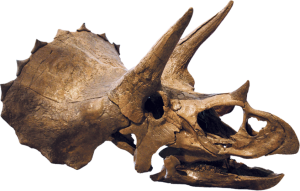
I had a large, thin Triceratops Squamosal, that was 30 inches long but only 1½ to 2 inches thick. I needed to cover 75% of the underside in plaster before I turned it. PHOTO I first cast the top with a wrap around. Then I dug the matrix out from under one end about 6 inches toward the center and cast the under side of that section. I removed another 4-5 inches in and again wrapped plaster around the exposed underside. I repeated this process on the other end of the fossil. By the time I turned the squamosal cast over, there was only a 12” x 12” unsupported area remaining.
On a different dig I cast a 4-foot femur in the same fashion. I again tunneled under the bone and had eighty percent of the underside already in a cast before I would dare turn it over. Loosing a nice fossil in the turn is heart breaking, so be cautious.
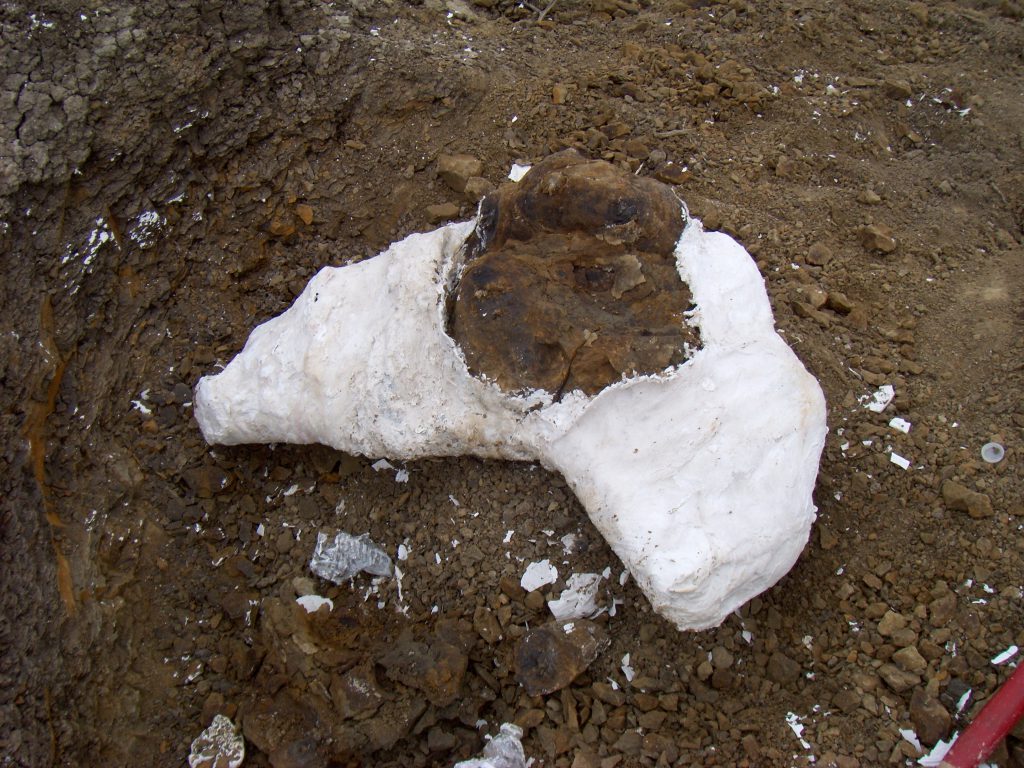
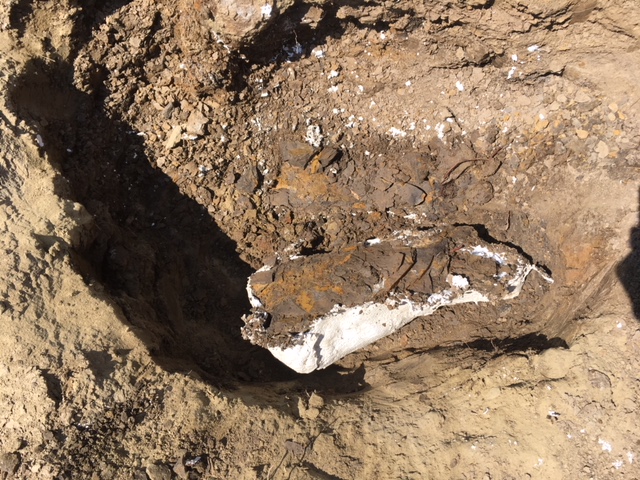
Squamosal After Turn 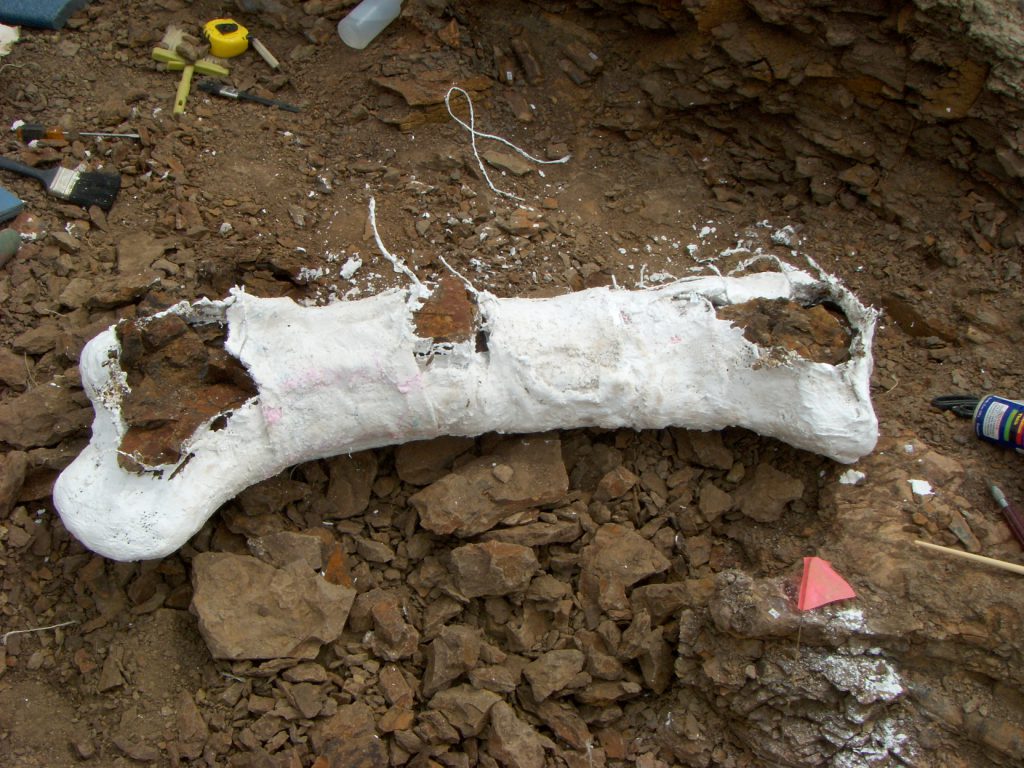
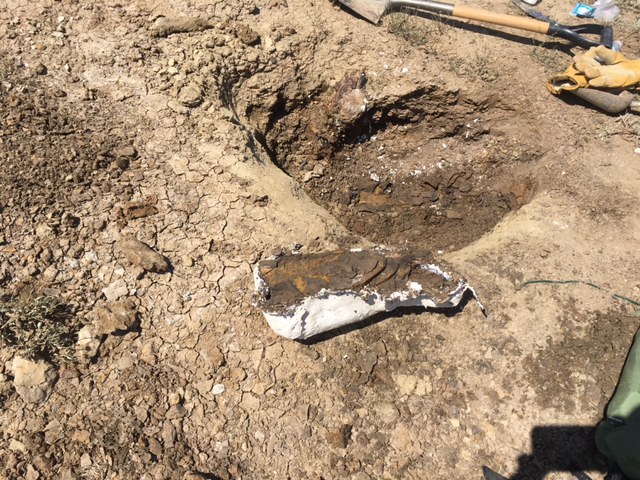
Triceratops Femur cast underside
I label each bone and cast with a code number that represents “A” the property or parcel, “B” the site number within that property, and “C” the bone number within that site. I do this as I uncover each bone or I may forget. You do not want to sit down later with five new bones only to ask yourself, “Now, which was which?” I gave myself away again. I write out a small paper label and glue them to the bone surface with PVA Elmer’s glue. It dries clear and will blast off easily in prep. I double up and use a felt marker to make a larger label on the outside of the cast on both sides. When you have casts in the same facility from several sites it also helps to organize them if you mark those from each location with a different color spray paint.
Cast Identification
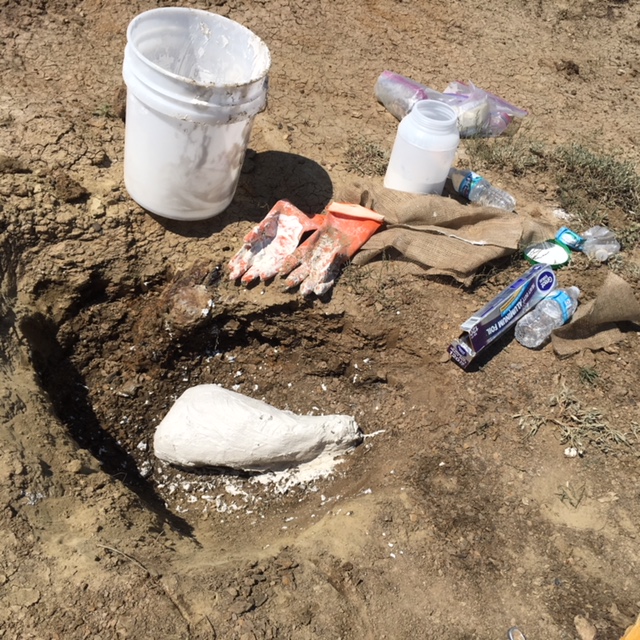
When you discover a fossil that requires a cast, you may find yourself a mile from your vehicle and all of your casting materials. I usually pack on the heavy side to assure I have all the gear I may need on a hike, but I never take along casting materials just to explore. You should anticipate more than one trip back and forth to get all the materials and gear you need to cast.
At a site I mix my plaster in a 5-gallon pail. So to return to the site, I fill my pail with several bottles of water, a 10 lb. jar of plaster, a set of rubber gloves and enough burlap to make the cast.
Cast Transport
When the cast is complete I have a new problem… weight. A three-foot fossil bone is first of all a rock, and my cast just added the weight of the plaster and water. These casts are often heavier than I can carry, so I try to drag them out of the field. I place the cast on a fiberglass tarp, attach rope to the eyelets, and drag the cast along the ground. A flat ravine basin is no problem. But the straight direct path back to my van is usually up and down several slopes, which can be 60 foot high and at 30-40 degrees. These slopes can be a real struggle and this is an instance where you need to be in good physical condition.
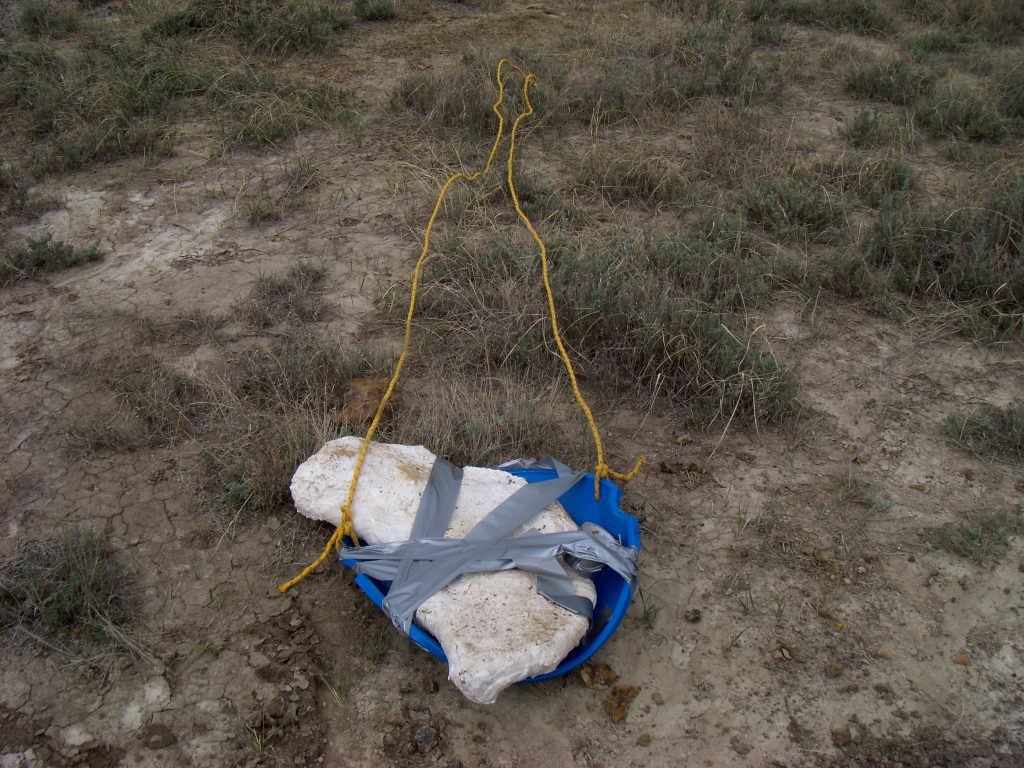
Cast on Removal Sled 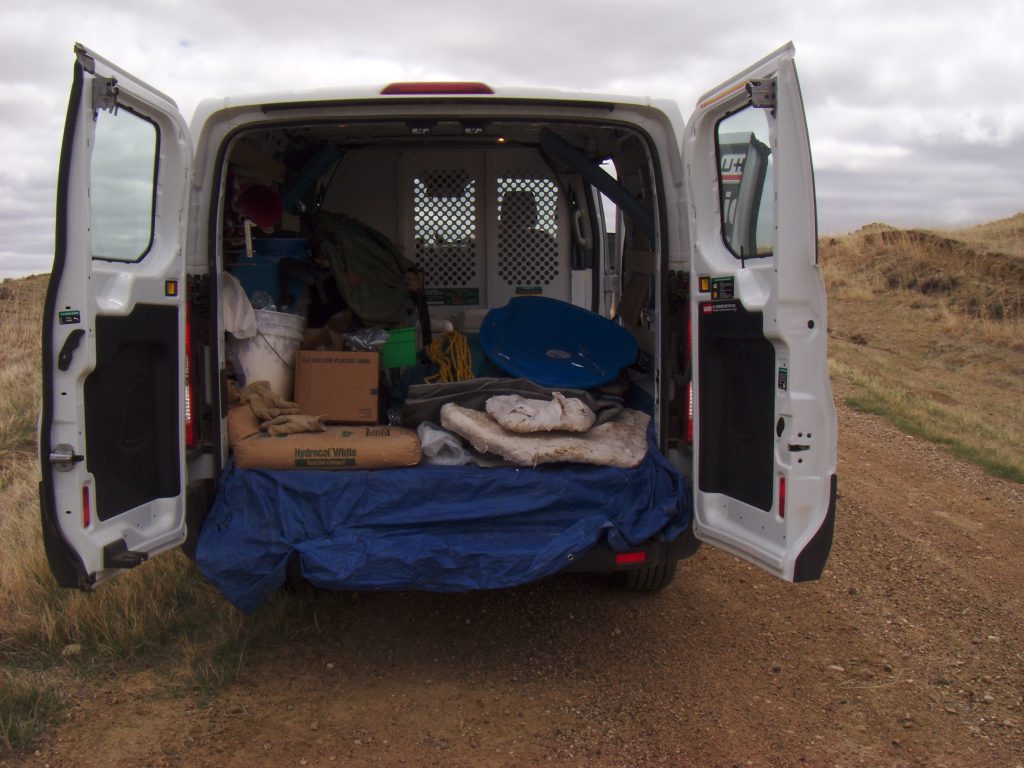
Where possible I also use a fossil sled. This is the round plastic sled kids use on snow. I drill holes in the sides near one side and attach rope. If I can get the cast onto the sled, I strap it in place and then drag it to my van. The dry grass helps lubricant the sled. Oh what I’d give for an ATV on those days.
I ounce have had a large 6 foot long cluster of 8-10 bones that were so intertwined I could not separate them in the field to make individual casts. I wanted to defer all these separation issues until I get back to the lab, or workshop. I run out of field time and I had to resort to making a mega cast of the cluster. I could barely get it to the van. This was the largest bone cluster and cast I will ever try to handle without help.
Step By Step Casting Guide

Casting Step by Step 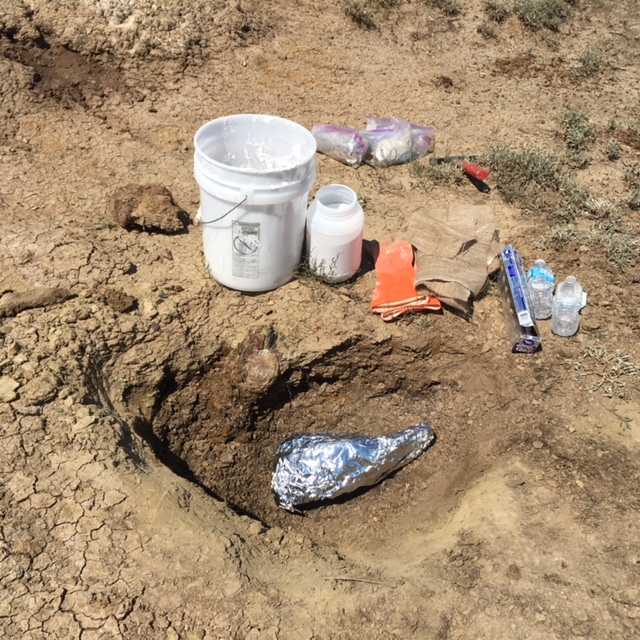

The following photos show the casting process step by step.
- Remove the matrix covering the bone
- Stabilize the cracks
- Dig a trough around the bone
- Dig out the underside enough to create the pedestal
- Dig a wider trough on one side in which to turn the cast
- Cover Bone with Aluminum foil
- Cover foiled bone with burlap saturated with plaster
- Let Plaster set up and harden
- Turn the cast over into side trough
- Remove excess matrix from underside
- Fold excess cast edges over and matrix
- Cast the bottom

One Response
How can I find out if I found a dinosaur fossil bc I think I found a baby triceratops head ?