After you have worked on several hard excavations and then you find a new bone you may have two reactions. First there is always, “Yeah! I found another bone,” soon followed by “Uh-Oh! I found another bone,” as you contemplate all the work that could be ahead of you. Still you got to love it.
When I started, I thought I would just find a whole bone, dig it out and take it home. I did not realize that the bones can be in hundreds of pieces even thousands of slivers. I have found fossils so weathered I did not even try to remove it. I could look, but not touch. It would be like trying to preserve dust. Some discoveries are just made too late. You cannot preserve what nature has already destroyed.
Dig Strategies
I start a site with a DSI or Death Scene Investigation. You see CSI drama programs describe how detectives examine a crime scene. I treat a new fossil site with the same intent. When I find a new specimen I first back off several feet and look around the site 50’ to get a perspective of how the specimen might fit in the overall landscape. I try to determine if it is a single floater or part of a cluster of exposed specimens?
Then the frustration begins: what it is?… I don’t recognize it?… how big is it?… how deep does it go?… in what direction?… where do I start?… I don’t want to damage it…. AHHHH! When I finally settle down, I do what I was taught: “follow the bone.”
If I find an bone edge, I slowly remove the matrix and following the bone surface. It will tell me where it is going inch by inch. If I get impatient and jump ahead then I may break a hidden bone in the process. I cannot get bone out without digging, and the digging invariably can damage a nearby bone I have yet to discover. I have often heard the phrase, “You will break bone to find bone.” No one tries to break a fossil. It just happens. I need to take risks to get the bone out, and I can guess wrong about the location of other bones. I have learned to expect an adjacent bone where it is the least likely.
If I start digging too soon my site gets covered with tailings of matrix and I realize that I have lost the chance to search an undisturbed scene. Now, if I were to find a tooth with a missing tip, I would ignore the tooth for a while and spend my time searching first for the tip on fresh ground.
Sometimes when the matrix is soft enough, I can use an ice pick to probe around to get an idea which way a hidden bone is laying or to locate the adjacent bones. I have ounce found a group of ribs stacked together like in the game “pick up sticks”. I worked on one rib and uncover another. I turned my attention to the second and found a third. I ended up working to remove a bone far removed from where I started.
Corral The Bones
I have colleagues who use a corral dig strategy. If they find a multiple bone site that is in a relatively flat area, they try to surround the site. From the first bone they face North. Then they move 3 feet West, and dig North again until they again find bone. Then they move another 3 feet West and dig North to bone. If no bone is found they continue to dig North in a line for at lease 8-12 feet. This defines the West side of their site. They return to the corner of the first bone and move 3 feet East and dig North to bone. They continue in this fashion until they have the cluster surrounded. When you know the overall dimensions of the site you can develop a better work plan.
I have watched others work from the top down. They dig several pilot holes or shafts around the first bone to gauge the breadth of the bone deposit. Then they uncover the matrix between the holes and finally work down and then around the edges of the bones.
The 45 bones and fragments at my T-Rex site were spread out up to 6-8 feet apart and over an area of 800 sq feet. The site was so large I needed the help of several experienced friends. Our strategy then was to just keep digging in every direction until we ran out of bones, which we eventually did.
How far To Dig
Where do you stop? Professionals suggest that you dig at least 10 feet past the last bone. If no additional bones are found you might assume you have the site cleared.
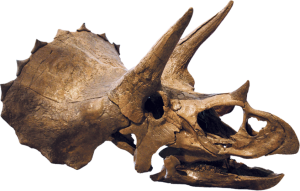
On my best Triceratops site, the matrix got so hard that I could no longer dig by hand. For every foot further into the slope I had to remove 10-12 feet of overburden. I did not want to risk tunneling in for one more bone. So, I rented a small excavator, had it delivered close to my site, and took the site slope back another 8 feet. I uncovered three more bones.
Later, a friend and colleague with a large bobcat scraped the slope of my Triceratops site back and down to the bone layer an additional 20 feet beyond the last bone just to make sure. No additional bones were uncovered. I already had all there was. You just never know until you go beyond. At my T-Rex site, we finally stopped at 40 feet past the last bone.

Removing overburden back 8 feet 
Opened 20 more feet with Bobcat 
T-Rex Site
Stabilizing Fossil Bones
I use CA glue (Super Glue) to stabilize fragments, as do most fossil hunters. I use heavy and thin viscosity glues in the field to attach fragments, to fill in all the cracks, and to stabilize the fossil for removal. I try to use as little CA glue on the surfaces as possible because I know it will be difficult to remove in the prep work later. There are numerous brands of glue to consider and each has their own following. Many let the glue set up on its own over time. I prefer to use an accelerant, which is available as an aerosol or in a finger sprayer. Ask the experts at the American Museum of Natural History:
http://preparation.paleo.amnh.org/48/
There are two kinds of fossil hunters: those who have glued their fingers to a bone or to themselves and those who are about to. It’s almost unavoidable. CA glue can run down behind the bones that you are trying to hold together and you get stuck, especially with the low viscosity glues. Just be prepared… it will happen. I always carry a small 2 oz bottle of acetone and a supply of Q-tips in my backpack just in case. Just swab the contact area with acetone and soften the glue as needed until it lets go.
The thin, low viscosity CA glue penetrates into the small cracks but will bottom out through a wide 1/16 inch wide crack. I have not had success in bridging a gap with the heavy viscous CA glue. Instead, I grind up the local matrix into a powder and use it as fill. I flood the crack with the powder, brush off the excess, and then glue the entire area, which binds the two pieces.
When possible I also try to stabilize the bone by flooding it with a resin solution. As most fossil hunters, I use PVA, polyvinyl acetate dissolved in acetone. Depending on the bone size, when saturated, the solution can take hours to completely evaporate even in direct sunlight. Vinac is registered trade name of Celanese and currently refers to their PVA emulsion. But for most fossil hunters, Vinac remains a synonymy for any brand of PVA dry resin, all of which easily dissolve into acetone. I use the PVA B-15 or the lower viscosity Vinnapas B 100 from Wacker. There are many other effective stabilizing resins, and I have also used Polyvinyl Butyral. I use a 5-10% solution. If it is too concentrated the viscosity will be too high, and the solution will not penetrate all the small cracks.
If you stabilize the top and sides of a newly exposed bone this does not mean the underside is stable. I have tried to handle a thin rib section too early only to have the bottom fall out in pieces. You need to think about support for the underside before you pick up or turn any bone. The larger the bone, the more support that may be needed.
Excavation Tips
I was taught to power down the closer I get to bone. At the bone surface I am using an exacto knife, dental picks and tweezers. I was also advised to pay more attention to how the bone may be moving when I dig rather than how the matrix is moving. To remove matrix debris next to bone I use a variety of brushes. I pack brushes of 6” 3” 1” and even a ladies makeup brush for delicate removal.
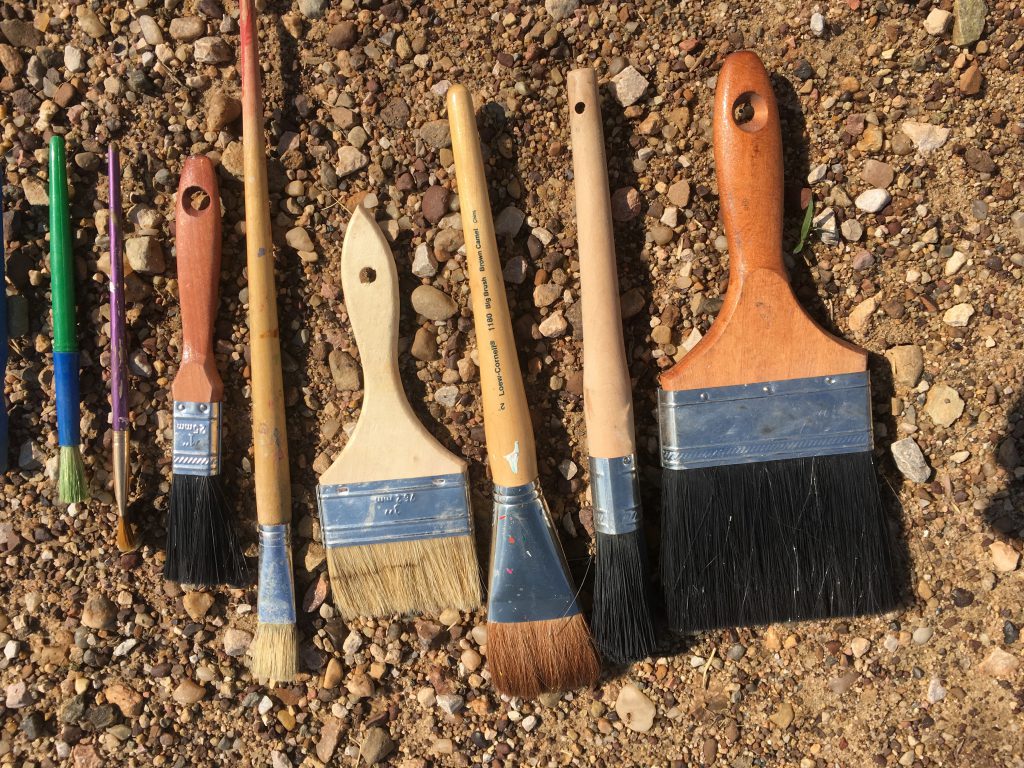
Brushes I Use 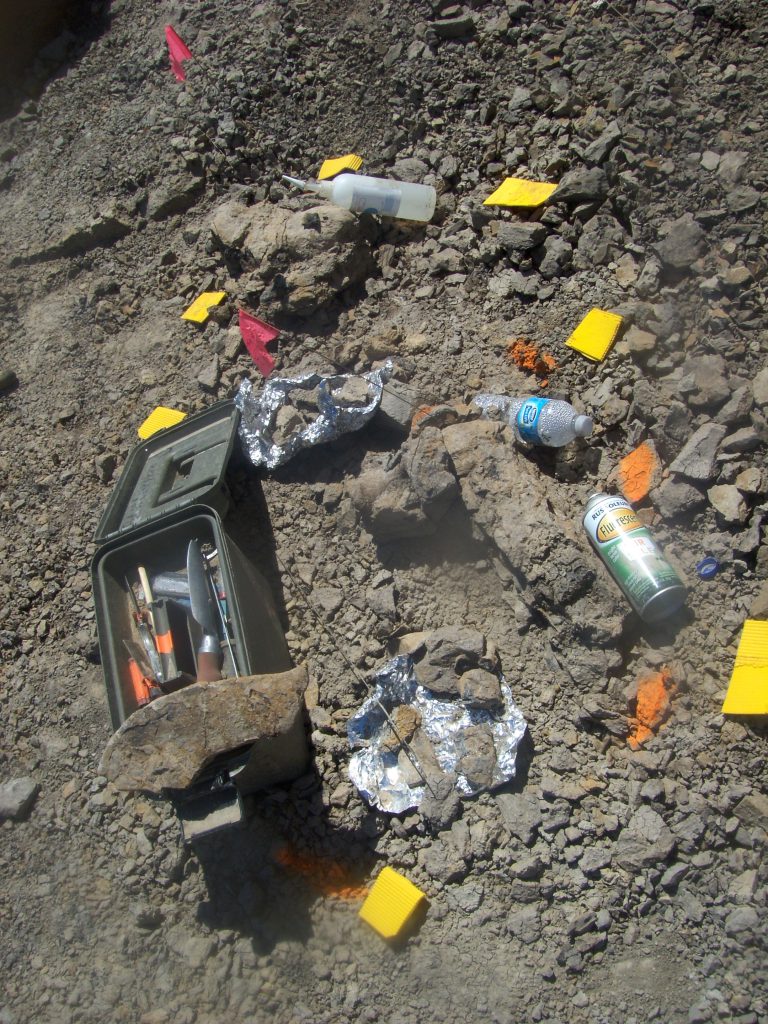
Bone Area Markers 
Site Caddy
There are times when I have been working on a larger multi-bone site that I loose track of the adjacent bones. I will shift my digging position only to realize that I am now sitting on the second bone. Or, I push myself up to change positions and realize a different bone was under my push off hand. To avoid this I carry a can of bright florescent marking paint to make a colored circle around the bone grouping. Or, I plant florescent flags, or I nail down bright yellow 2″x2″ patches to the surrounding matrix. There must be better ways to do this.
When you find a fossil on a slope, the outer surface of the matrix may be easy to remove with a buck knife and scoop. To move into the bank you need to remove the over burden. The further you go into the slope the stiffer the matrix can become. By the time you go 25 feet in, you need air hammers and a pickaxe to move the matrix.
I use a standard plastic tool caddy or tray to help keep my most frequently used tools together as I scoot around on the ground at a site. As you work, you are up and down all day. On your knees, then your elbow, then down on your hip, then back up again over and over. In the morning you may jump up quickly to get that tool that is out of reach. By the end of the day you will begin to think of what else you might need before you move. You think, “If I have to get up one more time!!!” The caddy helps.
If I run out of time in the field and I have exposed specimens, I cover the bones with a small tarp and then cover the tarp with a layer of matrix. I surround the spot with small fluorescent flags so I can quickly spot my dig site on my next trip out.
